The difference in embossing vs debossing is direction. Embossing pushes a logo or pattern up so it stands proud of the box surface; debossing presses it down so it sits below. Both use a pair of matched metal dies and pressure to permanently reshape the board, with no ink required, which is why a blind embossed or debossed logo can look expensive while using no color at all.
Which one to choose depends on the board, the box style and how the package will be handled. Embossing reads best on thick, flexible paperboard and wrapped rigid boxes when light hits it from the side. Debossing survives stacking and shipping better and works on a wider range of surfaces. This guide covers realistic depths, die types, artwork rules and cost, so you can specify the effect correctly the first time.
Key takeaways
- Embossing raises the image from the front; debossing recesses it. Both leave the opposite shape on the reverse side of the sheet.
- Relief depth is limited by the board. Folding cartons usually show a shallow, crisp relief; rigid box lids and soft specialty papers allow the deepest-looking results.
- Debossed logos hold up better in transit because nothing stands proud to be crushed; embossed boxes make a stronger first impression on a shelf or in hand.
- Keep typical minimum line weights around 0.5 mm, spacing of at least 0.5–1 mm, and relief at least 1/8 in from creases; exact limits are confirmed at proofing.
- At Box Sense, embossing or debossing carries a one-time tooling charge of about $60, and dies can be combined with foil for a raised metallic logo.
Embossing vs debossing at a glance
Both finishes change the shape of the board rather than adding material, so they are often called "blind" effects when used without foil or ink. The table shows how they differ in practice.
| Factor | Embossing | Debossing |
|---|---|---|
| Direction | Image raised above the surface | Image pressed below the surface |
| Reverse side | Recessed impression shows inside | Raised bump shows inside |
| How it reads | Catches highlights on its top edges; strongest under side lighting | Casts shadow into the recess; readable in flat light |
| Durability in shipping | Raised areas can flatten under stacking pressure | Recess resists crushing and scuffing |
| Best boards | Thicker SBS, uncoated and textured papers, rigid wrap paper | Rigid box lids, thick paperboard, kraft, some corrugated |
| Pairs with | Foil (sculpted foil logos), registered printed art | Foil or ink filled into the recess, blind on soft-touch |
| Common uses | Cosmetic cartons, gift boxes, spirits packaging | Rigid and magnetic lids, eco and kraft ranges, notebooks |
A quick way to decide
Choose embossing when the box will be picked up and examined at retail, when the logo is bold, and when the board is thick or soft enough to hold a raised shape. Choose debossing when the box ships through parcel networks or stacks in warehouses, when you want a quiet, pressed-in look, or when the reverse side of a raised bump would interfere with an insert or inside print.
If you cannot decide, a debossed logo on a rigid lid is the safer default. It is harder to damage and still reads clearly without foil.
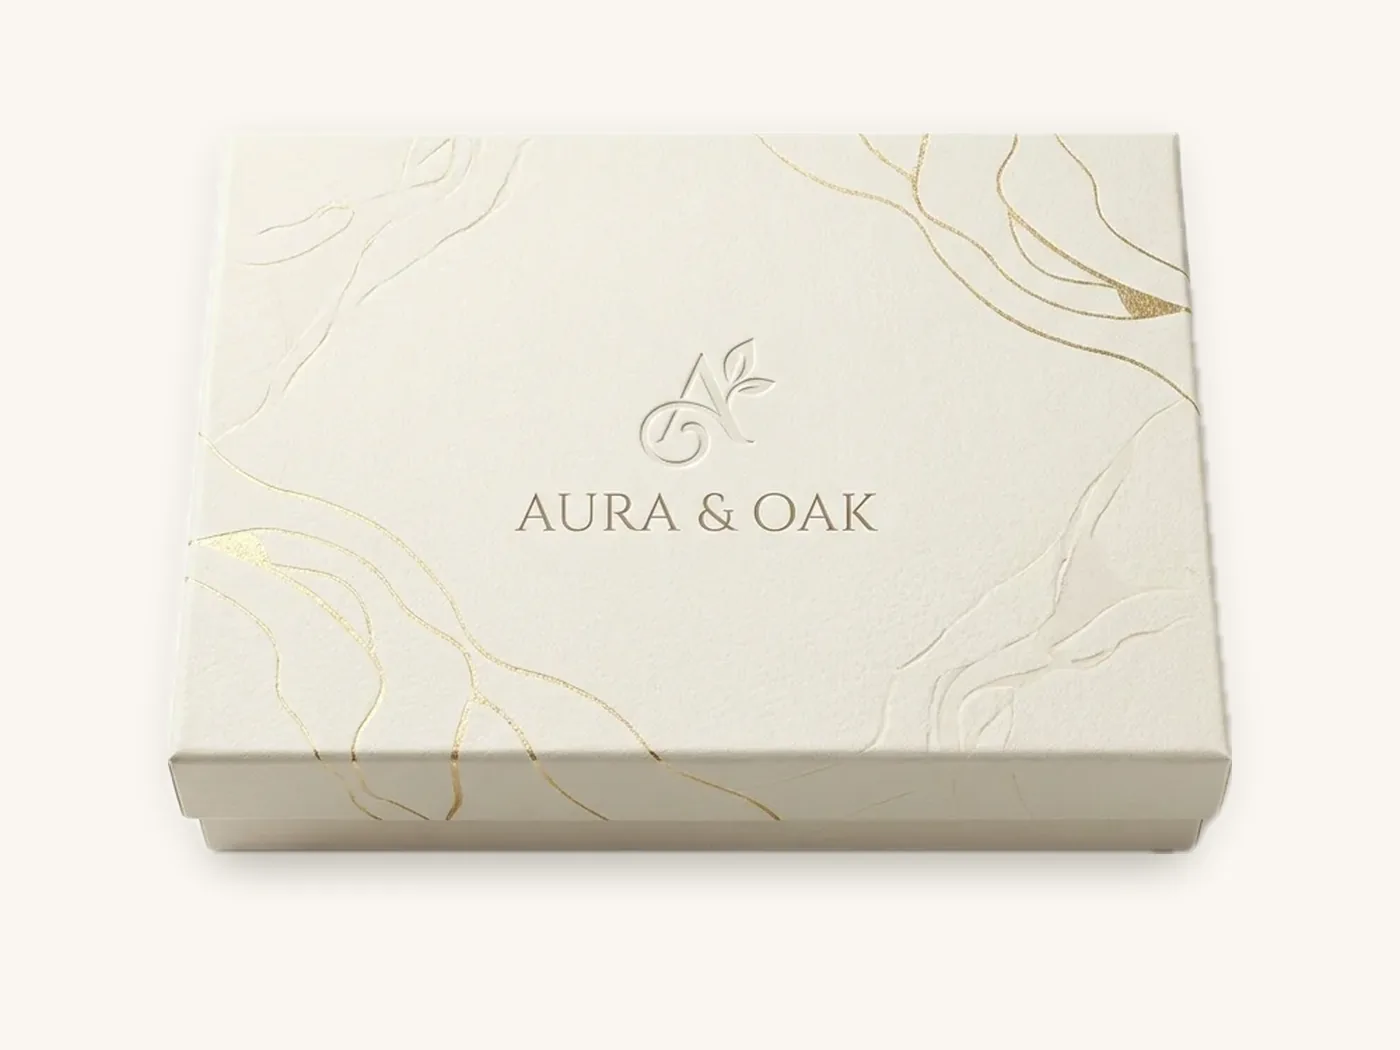
How embossing and debossing dies work
Every embossed or debossed effect needs a matched pair of dies. The female die is engraved with the recessed shape. The male die, or counter, is its mirror image. The sheet passes between them under pressure, often with heat, and the fibers stretch and compress into the new shape.
For embossing, the female die sits on the front of the sheet and the counter pushes up from behind. For debossing, the arrangement flips. Heat softens coatings and fibers so the shape sets sharply without cracking.
Die materials
- Magnesium: chemically etched, economical and quick to make. Suits single-level relief and most short to medium runs.
- Copper: holds finer detail and conducts heat evenly, useful when embossing is combined with foil or when the run is longer.
- Brass: machine-engraved, very durable, and the only practical material for sculpted, multi-level and combination foil-emboss dies.
Single-level, multi-level and sculpted relief
A single-level die raises or lowers everything to one flat height with straight or slightly beveled walls. It is the most economical choice and suits logos, wordmarks and simple icons.
A multi-level die has two or more heights, so part of a logo can sit higher than another. A sculpted die carves rounded, contoured shapes, like a portrait on a coin. Both need brass and hand or CNC engraving, which raises tooling cost and needs thicker, softer board to show the detail.
Blind, registered and combination effects
- Blind: relief only, no ink or foil. Elegant on uncoated, soft-touch and solid-color boxes.
- Registered: relief aligned to a printed element, such as an embossed logo over the same printed logo.
- Combination (foil emboss): foil stamped and embossed in one pass using a combination die, which keeps the metal and the relief perfectly aligned. Our foil stamping guide covers foil choices and file setup for that part of the job.
How deep can embossing and debossing go?
Depth is the question buyers ask most and the one suppliers answer least precisely, because it depends on board caliper, fiber quality, coating, grain direction and die shape. The ranges below are typical visible relief for single-level effects; your exact result is confirmed on a proof or sample.
| Surface | Typical visible relief | Emboss or deboss? | Notes |
|---|---|---|---|
| 14 pt SBS carton | Shallow, about 0.2–0.4 mm | Either, keep designs bold | Thin board can pillow or crack; keep shapes simple |
| 18–24 pt SBS carton | About 0.3–0.6 mm | Either | The practical sweet spot for folding cartons |
| Laminated or soft-touch SBS | Similar to board, slightly softer edges | Deboss often cleaner | Film can stretch or whiten on steep walls |
| Kraft paperboard | About 0.3–0.6 mm | Deboss preferred | Long kraft fibers resist cracking; recycled grades vary |
| Textured or cotton specialty paper | Deepest-looking relief | Either, embossing excels | Soft fibers take sculpted detail well |
| Rigid box lid (wrap paper over 2 mm greyboard) | Deboss can look about 0.5–1 mm deep | Deboss preferred | Greyboard supports the recess and hides the reverse |
| E-flute corrugated | Very shallow | Deboss only, bold shapes | Flutes crush; expect a soft, pressed look |
Two points matter more than the numbers. First, relief that is deeper than the board can stretch will crack at the edges, so more depth is not always better. Second, perceived depth comes from shadow. A beveled edge on a 0.4 mm emboss often reads more dramatic than a straight-walled 0.6 mm emboss.
If you are still choosing a board, the paperboard thickness guide explains calipers and how they affect stiffness and finishing, and the rigid greyboard guide covers board for rigid boxes.
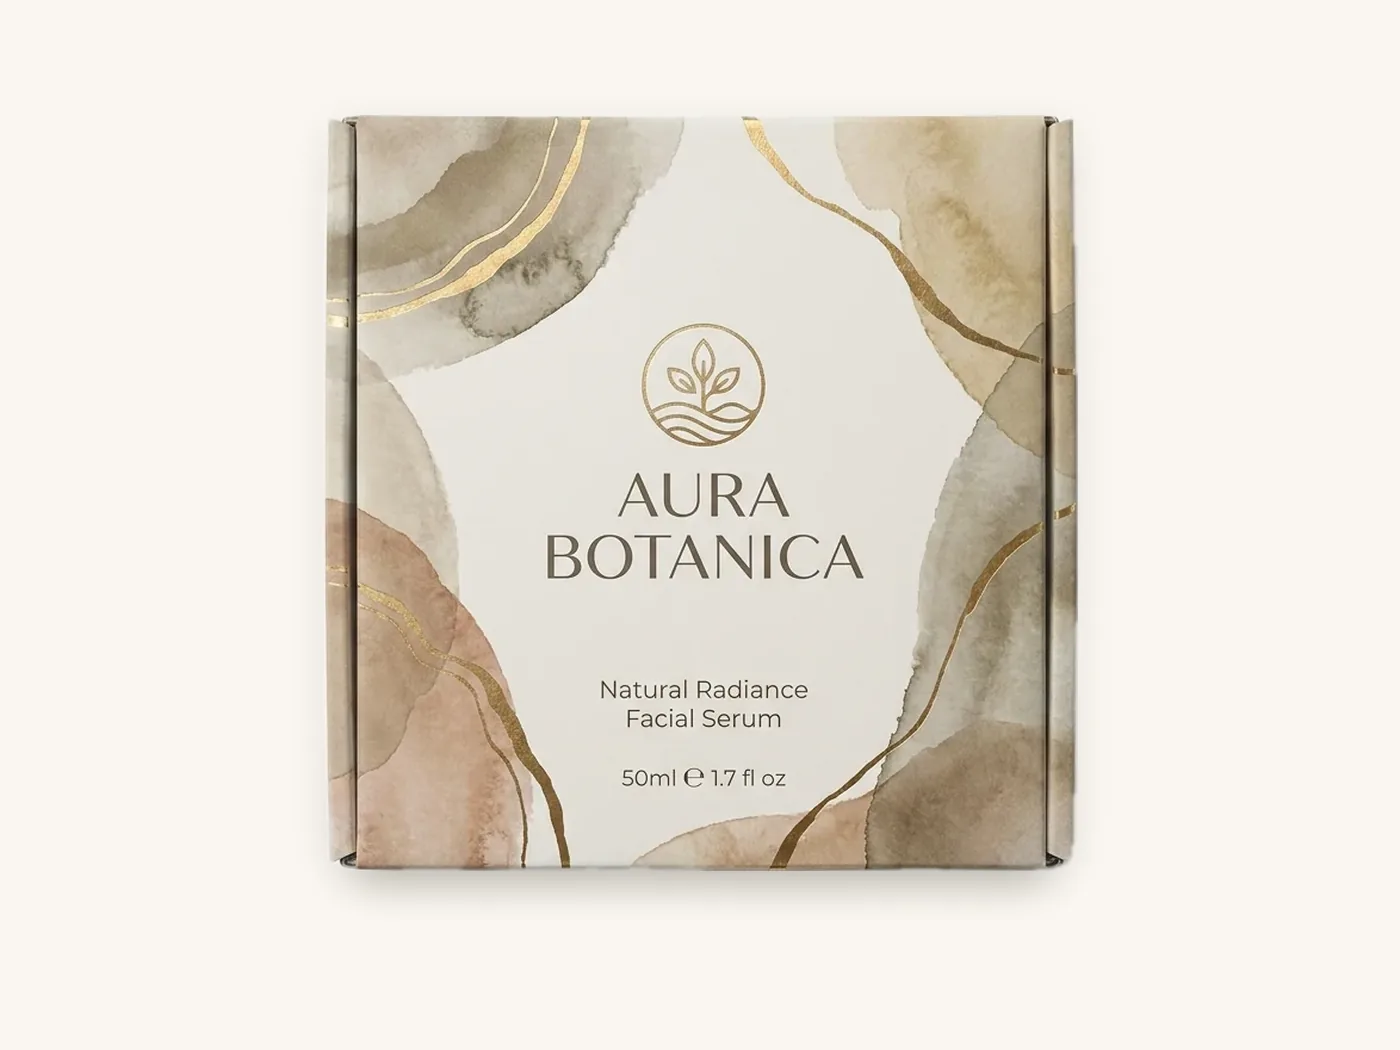
Embossed boxes by style: what changes
The same logo behaves differently on a carton, a rigid box and a mailer. Plan the effect around the structure.
Folding cartons
On an 18 pt cosmetic box, the raised logo shows as a recess on the inside of the panel. That usually does not matter, but it can clash with inside printing or with a product that sits flat against that panel. Keep embossing off glue flaps and tuck flaps, which need to lie flat to close and bond.
Rigid boxes
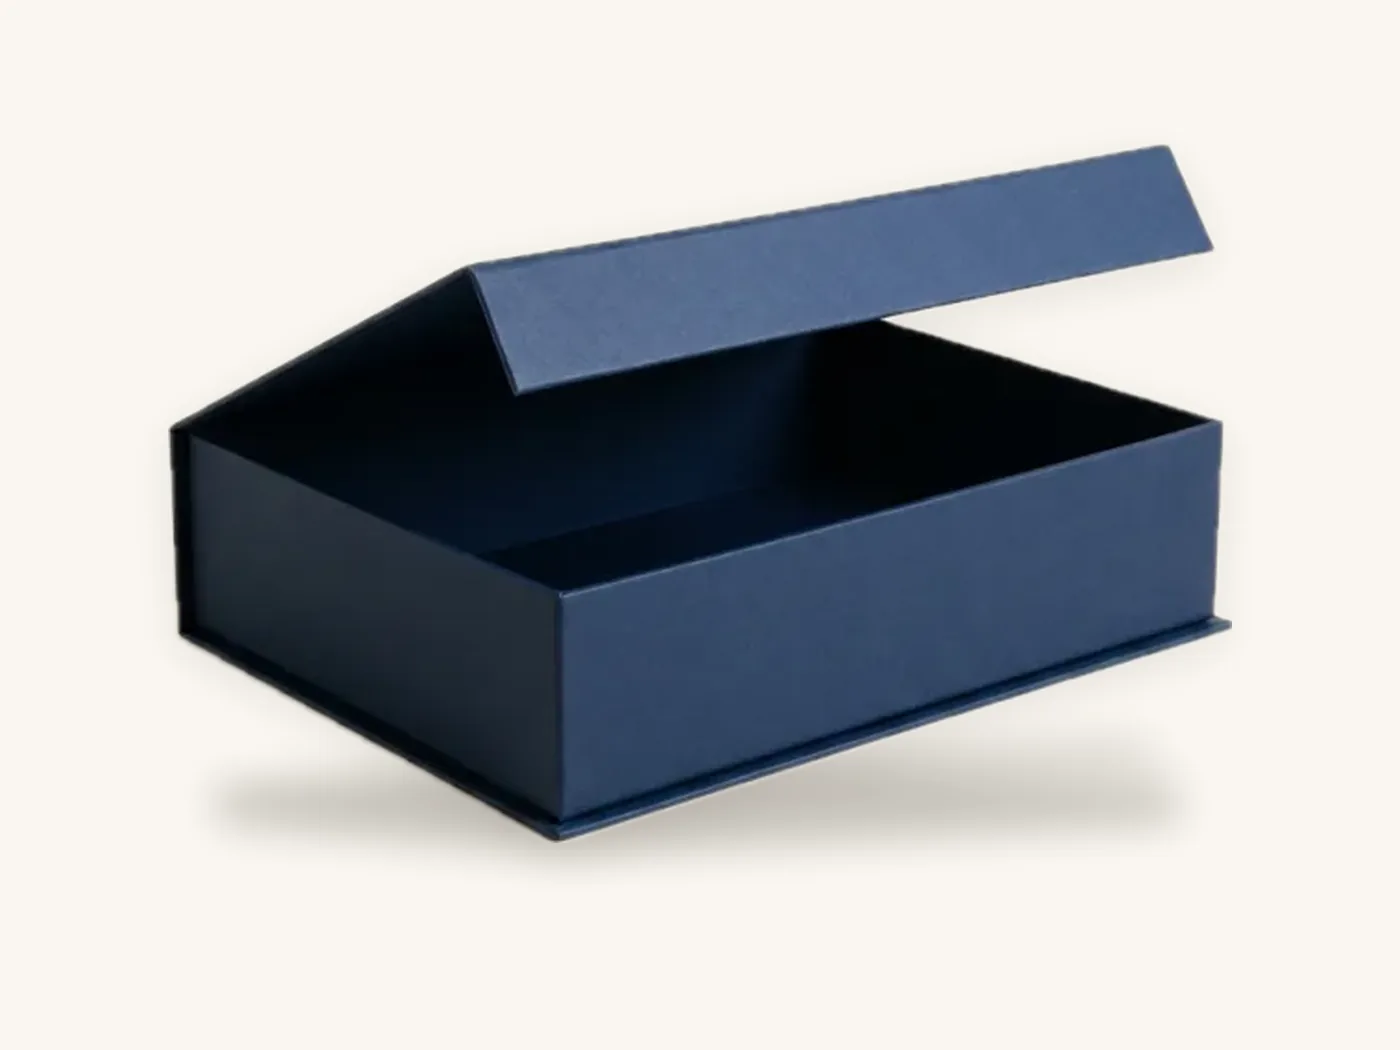
For custom rigid boxes, there are two approaches. The wrap paper can be embossed flat and then wrapped around greyboard; this gives crisp detail, but the relief must survive the wrapping pressure. Alternatively, the finished lid can be debossed after wrapping, pressing wrap and greyboard together; this gives a deep, clean recess and hides the reverse entirely. Debossing the finished lid is the more common choice for a signature logo.
Magnetic closure boxes
Magnetic closure boxes have a front flap that folds over, so a logo on that flap is the first thing touched. A debossed mark there tolerates the repeated handling of opening and closing better than a raised one. The rigid boxes style page shows the rigid formats that suit a deep deboss.
Mailers and corrugated
E-flute mailers can take a simple, bold deboss on the lid, but expect a gentle, softened impression rather than a crisp edge. Fine embossing on corrugated is not realistic. If you want relief on a shipped product, consider a debossed rigid box inside a plain shipper.
Design rules for a debossed logo or embossed pattern
Relief artwork has different rules from print. Fibers need room to stretch, and details that look sharp on screen can merge into a blur in board. The figures here are typical industry ranges for single-level relief on 18–24 pt board; exact limits are confirmed at proofing.
Artwork setup, step by step
- Supply vector artwork only. Put relief elements on a separate layer named "EMBOSS" or "DEBOSS", filled with a spot swatch, with text converted to outlines.
- Check line weights. Keep strokes at about 0.5 mm (roughly 1.5 pt) or heavier. Thinner lines barely register or tear the surface.
- Open up spacing. Leave at least 0.5–1 mm between separate relief elements, and more inside letters with small counters.
- Set a text floor. Use bold sans serif type around 10–12 pt or larger. Script fonts, hairline serifs and small legal copy do not emboss well.
- Keep clear of folds and cuts. Place relief at least 1/8 in (3 mm) from creases, cut edges and rigid lid turn-ins, and ideally 1/4 in (6 mm).
- Plan the reverse side. Check what sits behind the relief: inside print, an insert, or a product surface.
- Decide on registration. If the relief must align with a printed element, allow for about ±0.5–1 mm movement. Make the relief slightly smaller than the printed shape so a small shift stays hidden.
- Mark levels and bevels. For multi-level or sculpted dies, note which areas are highest and whether edges should be beveled or rounded.
Patterns and large areas
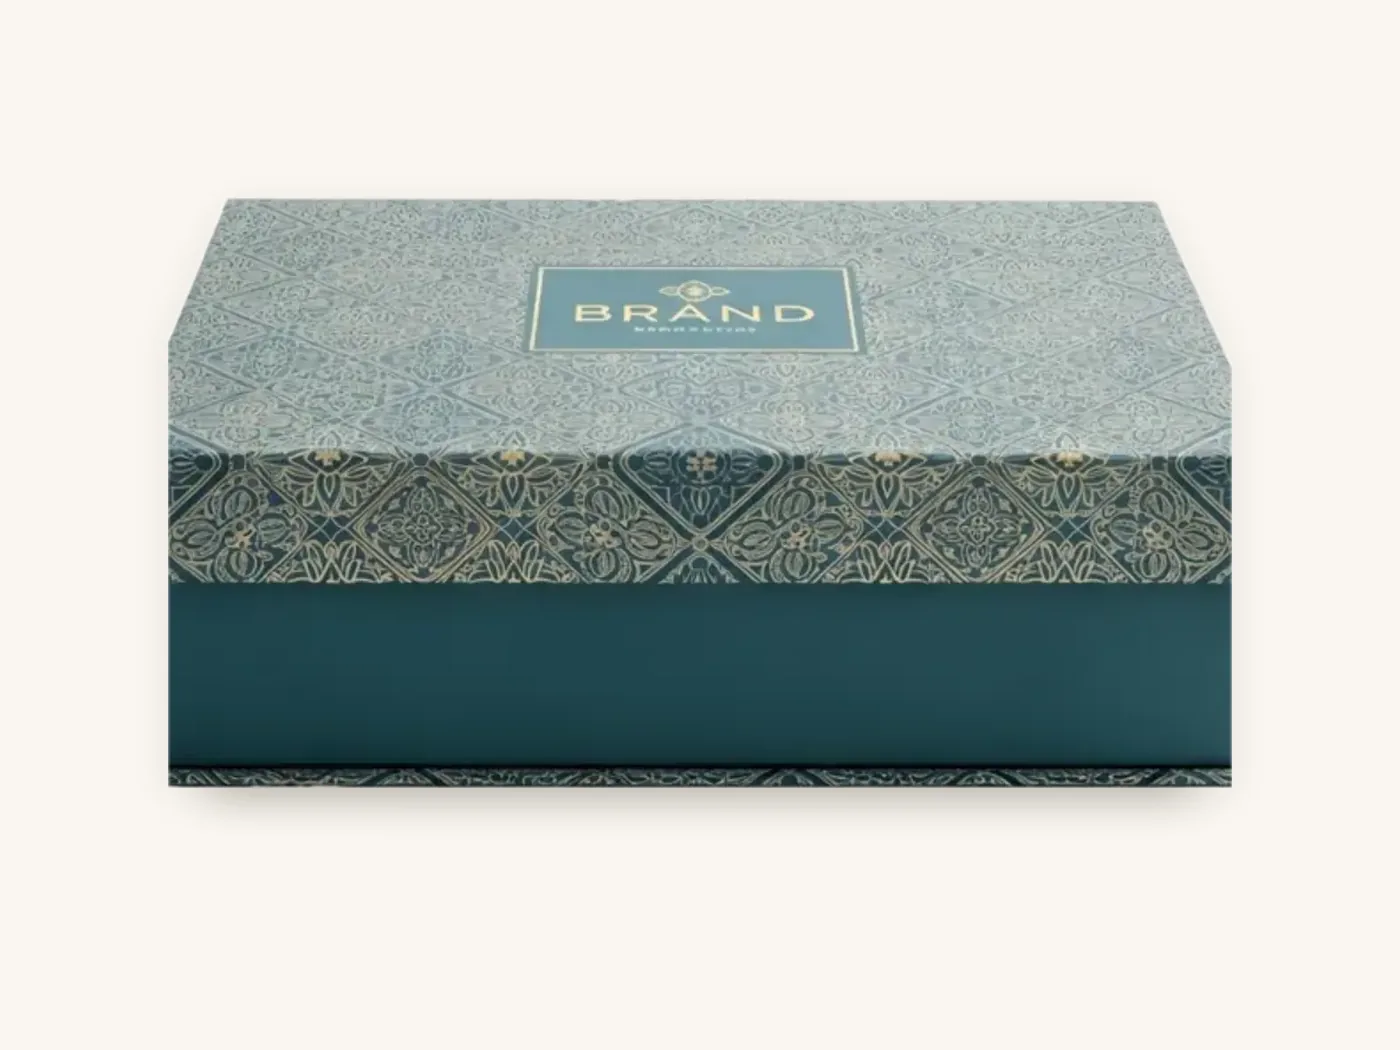
All-over embossed patterns, like a linen texture, a repeating monogram or a geometric grid, can look superb on gift boxes. They need more pressure, work best on uncoated or textured papers, and should stop short of creases. Large solid embossed shapes tend to look flat in the middle, so outlines, lines and patterns usually read better than big filled areas.
Tip: photograph your proof or sample with a single light from one side at a low angle. That is how shoppers see relief on a shelf, and it shows immediately whether thin details are readable.
Coatings, foil and print: getting the order right
Relief is applied late in the process, after printing, coating and foil. The usual sequence is print, laminate or coat, foil stamp, emboss or deboss, then die-cut and glue.
Lamination and soft-touch
Films are applied before embossing, so the film stretches with the relief. Matte and soft-touch films generally handle shallow, beveled shapes well. Steep walls or very deep relief can make the film whiten, lift or micro-crack at the edges. The soft-touch lamination guide explains that film's behavior, and debossing into soft-touch is one of the most popular pairings for premium cartons.
Foil and embossing together
A foil-embossed logo is stamped with a combination die for perfect alignment, or foil is stamped first and embossed second with a separate die. Combination dies cost more but avoid the foil sitting slightly off the relief.
Printed art under relief
Registered embossing over a printed logo gives a strong, dimensional effect. Keep the printed area slightly larger than the relief, as noted above, and avoid dense dark solids where the fibers stretch, since very heavy ink films can crack at the relief edge.
What embossing and debossing cost
Relief adds a one-time charge for the matched dies and a per-unit charge for the extra pass. At Box Sense, one-time embossing tooling is about $60, and the same applies whether the die raises or recesses the image. Sculpted, multi-level and combination foil-emboss dies are more involved, so they are quoted to the artwork.
Cost drivers to know
| Driver | Lower cost | Higher cost |
|---|---|---|
| Relief type | Single-level blind emboss or deboss | Multi-level, sculpted or combination foil emboss |
| Number of locations | One logo on one panel | Relief on several panels, each needing its own die position |
| Artwork size | Logo-sized mark | All-over pattern needing more pressure and larger dies |
| Pairing | Relief alone | Relief plus foil plus spot UV, each with tooling |
| Quantity | Tooling spread across more units | Tooling spread across very few units |
For context on base box prices before relief is added, a jewelry rigid box at 3x3x1.5 in with matte lamination, foil and an insert runs about $3.35 each at 100 units, and a 10x8x3 in magnetic rigid box with soft-touch, foil and an insert runs about $14.23 at 100 units and $6.32 at 1,000. Tooling is extra. Our custom packaging cost guide explains how finishes stack up, and the price estimator lets you add embossing to your own spec.
When relief is worth it
Relief earns its cost when the box is handled before purchase or kept afterward: rigid presentation boxes, drawer boxes, cosmetics, spirits and corporate gifts. It is less valuable on boxes that are discarded quickly, on small cartons where the logo would fall below safe line weights, and on shipping boxes where stacking will flatten raised areas.
Troubleshooting embossed and debossed packaging
Most relief problems are visible on a printed sample, which is why we recommend one before a large run.
| Problem | Likely cause | How to prevent it |
|---|---|---|
| Cracked edges | Relief too deep for the board, steep walls, or embossing across the grain | Shallower depth, beveled edges, heavier or softer board |
| Blurry, merged details | Lines and gaps below minimums | Thicker strokes and more spacing in the artwork |
| Flattened emboss on arrival | Stacking pressure in transit | Switch to deboss, add an outer shipper, or use a stiffer board |
| Relief off its printed logo | Registration shift between print and emboss pass | Make relief slightly smaller than the printed shape |
| Whitening in laminated film | Film overstretched at the relief edge | Shallower relief or a gentler bevel |
| Bump shows through inside print | Reverse of relief not considered | Move inside art away or choose a rigid construction |
Watch out: a 3D render or PDF proof shows relief as a flat outline. Use the digital proof to approve position and size, then judge depth, crispness and readability on a physical sample before approving a large order.
How to order embossed or debossed boxes from Box Sense
Relief is a finishing option on our cartons and rigid boxes, and the details below help us recommend the right die and depth.
What to send
- Box style and size, such as a 2 mm rigid lid-and-base box or an 18 pt cosmetic carton
- Board and coating, including lamination or soft-touch
- Emboss or deboss, blind or combined with foil or print
- Relief location and approximate size on the panel
- Whether you want a single-level, multi-level or sculpted effect
- Vector artwork with relief on its own labeled layer
- Quantities to price and your target delivery date
If you are unsure what depth or style suits the board, our design services team can review the artwork and suggest adjustments before the proof.
From quote to delivery
- Quote within 24 hours, including the one-time embossing tooling.
- Free design support: dieline, artwork setup and a 3D digital proof, with two revision rounds.
- Samples: unprinted structural samples are free, and a printed sample of approved artwork is free on orders of 100 or more, which is the best way to judge relief depth.
- Production: 8–12 business days after proof approval, with rush in 5 business days on most paperboard and corrugated styles.
- Shipping: free on every US order; international shipping is quoted at cost.
The minimum order is 10 boxes. Tooling applies only for foil, embossing, spot UV and custom inserts, with no die or plate charges otherwise, and defective boxes reported within 14 days are reprinted free.
Frequently asked questions
What is the difference between embossing and debossing?
Embossing raises a design so it stands above the surface of the box, while debossing presses it into the surface so it sits below. Both use a matched pair of metal dies and pressure, often with heat, to reshape the board without ink. Embossing catches light on its raised edges; debossing casts shadow into the recess and holds up better when boxes are stacked or shipped.
Which is better for a logo, embossing or debossing?
It depends on the box and how it is handled. Embossing gives more visual drama on cartons and gift boxes examined in hand or on a shelf. Debossing is more durable, reads clearly in flat light and suits rigid lids, magnetic flaps and boxes that ship. For a single logo on a rigid box, a deboss is usually the safer, cleaner choice.
How deep can you emboss a box?
Typical visible relief on 18–24 pt paperboard is about 0.3–0.6 mm, and less on thin 14 pt board. Debossing a finished rigid lid can look roughly 0.5–1 mm deep because greyboard supports the recess. Deeper is not always better, since relief beyond what the board can stretch will crack. Exact depth is confirmed on a proof or sample.
Can you emboss corrugated mailer boxes?
Only in a limited way. The flutes inside corrugated board crush under die pressure, so fine embossing is not realistic. A simple, bold deboss on the lid of an E-flute mailer is possible and gives a soft pressed look. If raised detail matters, consider a debossed rigid or paperboard box shipped inside a plain corrugated mailer.
How much does embossing add to box cost?
At Box Sense, embossing or debossing has a one-time tooling charge of about $60 for a standard die, plus a per-unit charge that shrinks as quantity rises. Multi-level, sculpted and combination foil-emboss dies are quoted to the artwork. The tooling is not repeated on reorders of the same design, and the pricing estimator shows the per-unit effect for your spec.
Can embossing be combined with foil stamping?
Yes. A foil-embossed logo can be made in one pass with a combination brass die that stamps foil and raises the shape at the same time, which keeps metal and relief perfectly aligned. It can also be done in two passes with separate dies. Combination dies cost more but avoid visible misalignment on detailed logos.
Does embossing show on the inside of the box?
On folding cartons, yes. An embossed logo leaves a matching recess on the inside of the panel, and a debossed logo leaves a raised bump. That can clash with inside printing or an insert. On rigid boxes debossed after wrapping, the greyboard hides the reverse, so the inside of the lid stays smooth.
Next steps
Pick the direction, board and location for your relief, then add it to your spec in the box price estimator to see the effect on unit cost. When your artwork is ready, request an embossed box quote and we will confirm pricing within 24 hours and check your line weights and spacing before the digital proof.
Boxes in this guide
Order the packaging we covered
Written by the Box Sense Packaging Team
Our structural designers, prepress technicians and production staff print and convert custom boxes every day for brands in the United States, United Kingdom and UAE. Questions about this guide? Talk to us.