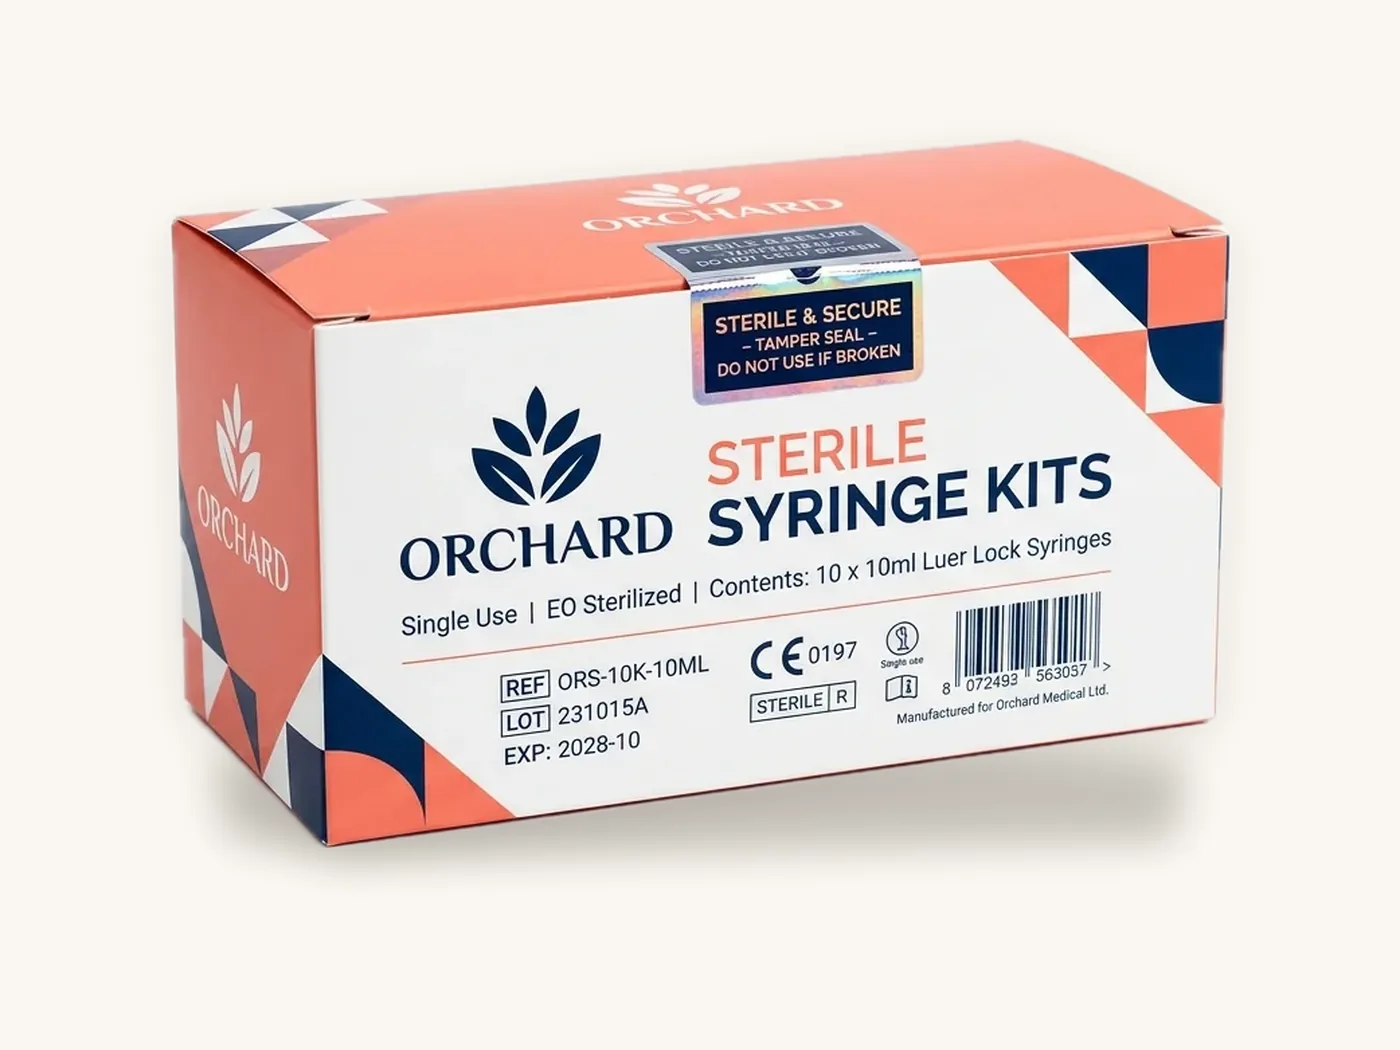
Medical device packaging has two jobs that pull in different directions. It must hold a device and its accessories so firmly that nothing moves in transit, and it must open cleanly for a clinician, caregiver or patient who wants to find the right component quickly. For most non-sterile devices and for the outer layer of sterile ones, that means a carton, rigid case or corrugated kit box with a fitted insert.
This guide focuses on that outer, protective layer. It walks through how to pick a box format for the device, how to design the insert and kit layout, where to leave space for UDI and regulatory labels, and how to test a packed kit before you commit to a full run.
Be clear about scope from the start. Box Sense supplies secondary packaging: printed cartons, rigid boxes, mailers, shippers and inserts. We do not make sterile barrier systems, pouches or trays that maintain sterility, and we do not validate packaging for regulatory submissions. Your regulatory and quality teams own those decisions.
Key takeaways
- The outer box protects the device and any sterile barrier inside it; it does not create or maintain sterility.
- Match the format to how the device is used: folding cartons for single-use items, rigid boxes for reusable devices kept in their case, corrugated mailers and shippers for direct delivery.
- The insert matters more than the board. Foam, molded pulp and paperboard each suit different weights, shapes and sustainability goals.
- Plan a flat, unprinted panel for the UDI label and other variable labeling before artwork starts.
- Test a packed sample through a drop and vibration sequence based on an ISTA or ASTM procedure your quality team accepts.
- A 2 mm rigid box at 8x6x3 in with full color and matte finish runs about $9.10 each at 100 units and about $4.05 at 1,000.
What the outer box does, and what it must not be asked to do
Device packaging engineers usually describe layers. The sterile barrier system is the pouch, tray or wrap that keeps a terminally sterilized device sterile until use, and it is designed and validated to standards such as ISO 11607. Around it sits protective packaging, often a folding carton. Around that sits a shipper.
The outer box protects the inner layers from crushing, puncture and abrasion, identifies the product, carries labeling and keeps a kit organized. It is a mechanical and communication layer. It is not a barrier against microbes, moisture ingress over shelf life or sterilant exposure unless your team has specifically designed and tested it for that role with suitable materials, which is outside what a paperboard or rigid box converter supplies.
If your device is sterile, keep the sterile barrier decisions with your specialist packaging supplier and your quality team. Then design the outer box to protect that barrier: no sharp internal edges, no insert pressure on seals, and enough room that pouches are not folded over their seal area.
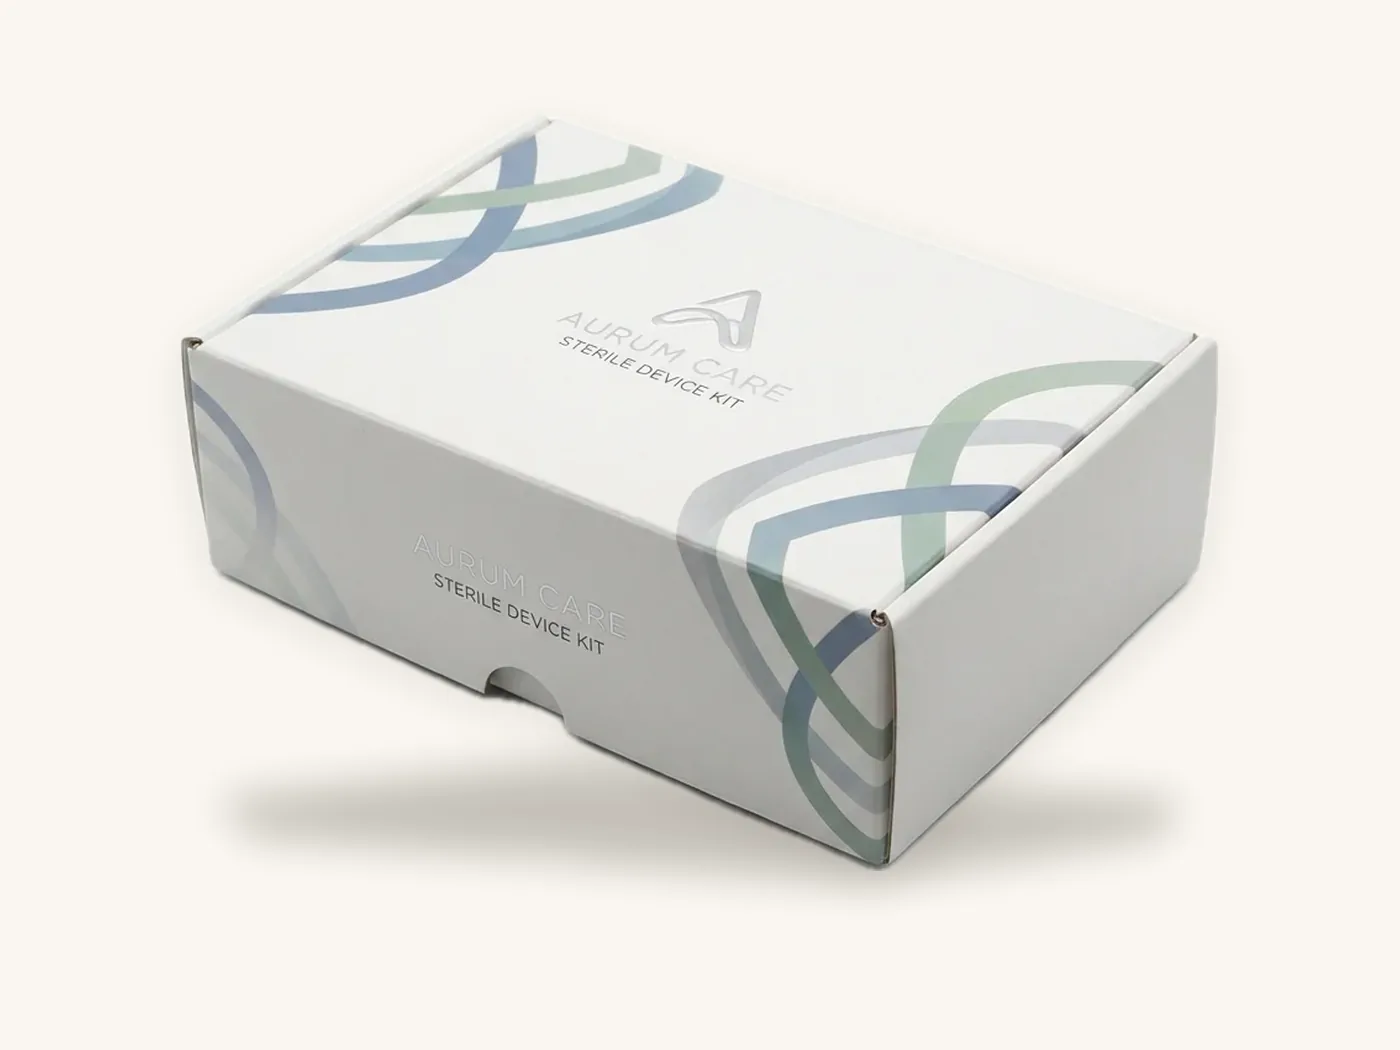
Matching the box format to the device
The best starting point is how the device lives after it is opened. A disposable item thrown away after use needs a very different box from a handheld monitor that goes back in its case every night.
| Device situation | Recommended format | Why it works | Typical insert |
|---|---|---|---|
| Single-use, lightweight items sold in multiples | Folding carton, tuck end or auto lock bottom | Low cost, compact, prints labeling well | Paperboard divider or none |
| Reusable handheld device returned to its case | Rigid box, lid and base or magnetic closure | Survives repeated opening, looks professional | EVA foam cavity |
| Home-use kit with several components | Corrugated mailer with printed interior | Ships directly to patient, keeps parts in order | Die-cut foam or molded pulp tray |
| Diagnostic test kit sold at retail | Folding carton with window or tuck top | Shelf presence, efficient storage | Paperboard tray with compartments |
| Clinic or distributor bulk supply | Printed carton inside a corrugated shipper | Protects cartons in freight, labels cases clearly | Corrugated partitions |
| Demo or sales representative unit | Rigid magnetic box | Presents the device and protects it between visits | Foam with finger cut-outs |
Folding cartons for disposables and retail kits
Paperboard cartons are the lightest and most economical option. SBS paperboard at 16 to 18 pt prints small regulatory text sharply and holds its shape on a shelf. The same styles used for medicine boxes work here, and the pharmaceutical packaging guide covers tuck end and seal end closures in detail.
Rigid boxes for reusable devices
A rigid box is made from greyboard, typically 2 mm, wrapped in printed paper. It does not fold flat, so it costs more to ship and store, but it stands up to daily opening and closing for months. For devices such as reusable monitors, stimulator units or instrument sets, a custom rigid box or magnetic closure box becomes the storage case, which gives your brand a presence at the point of use.
Corrugated mailers and shippers for direct delivery
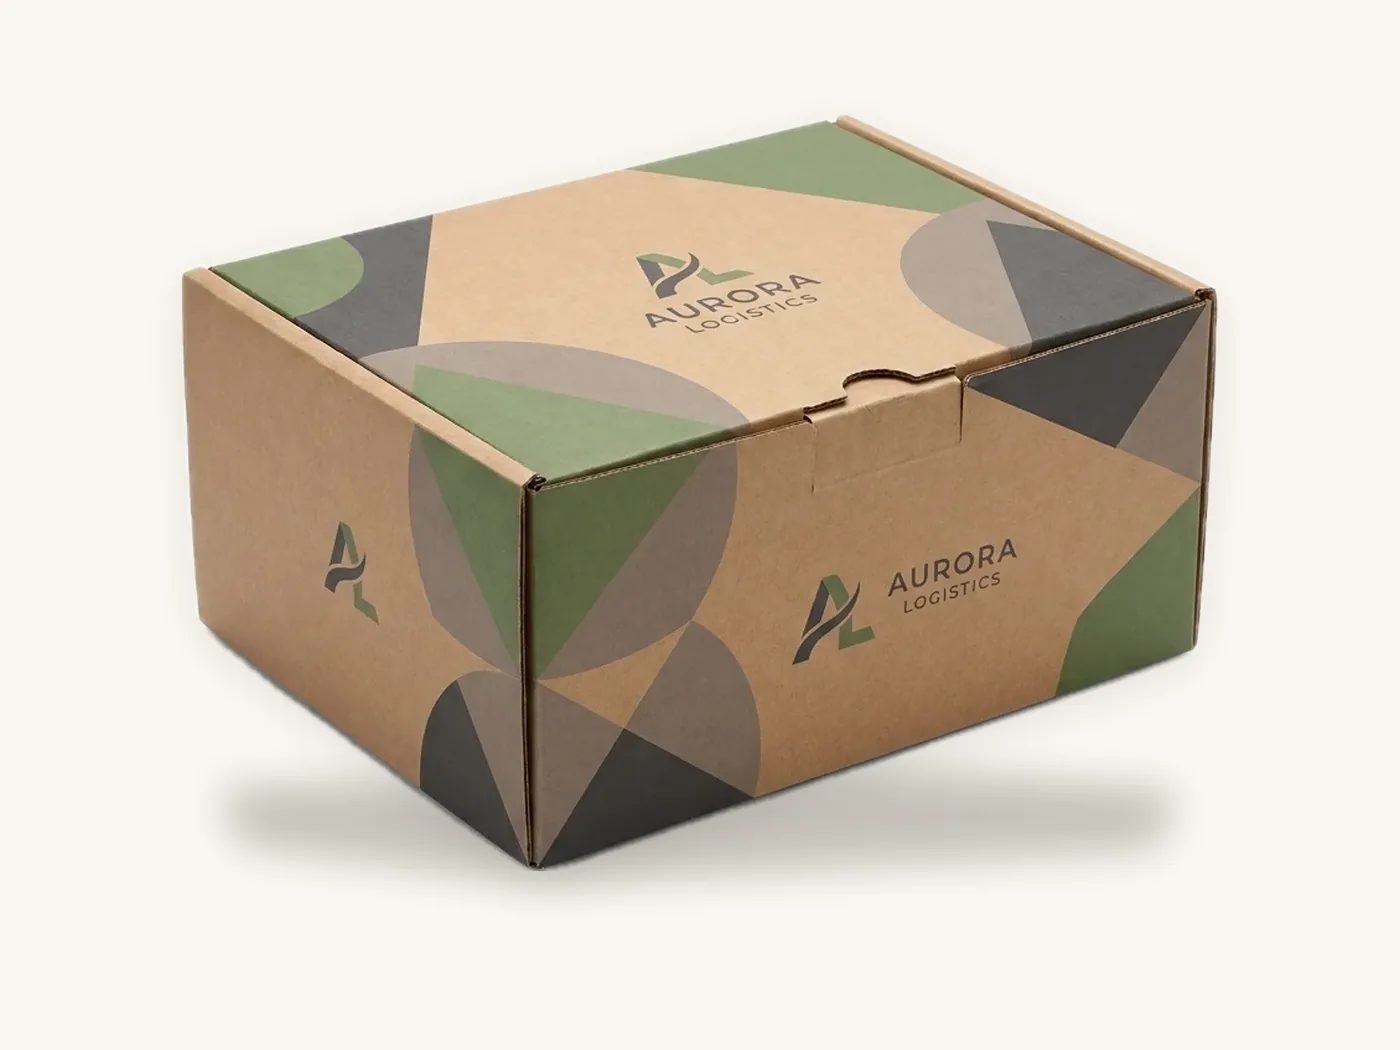
When a device ships straight to a patient's home, the outer box has to survive the parcel network on its own. An E-flute custom mailer box with a fitted insert handles most kits under a few pounds. Heavier equipment belongs in a B-flute custom shipping box, either on its own or as an overbox around a printed carton.
Designing inserts for medical kit boxes
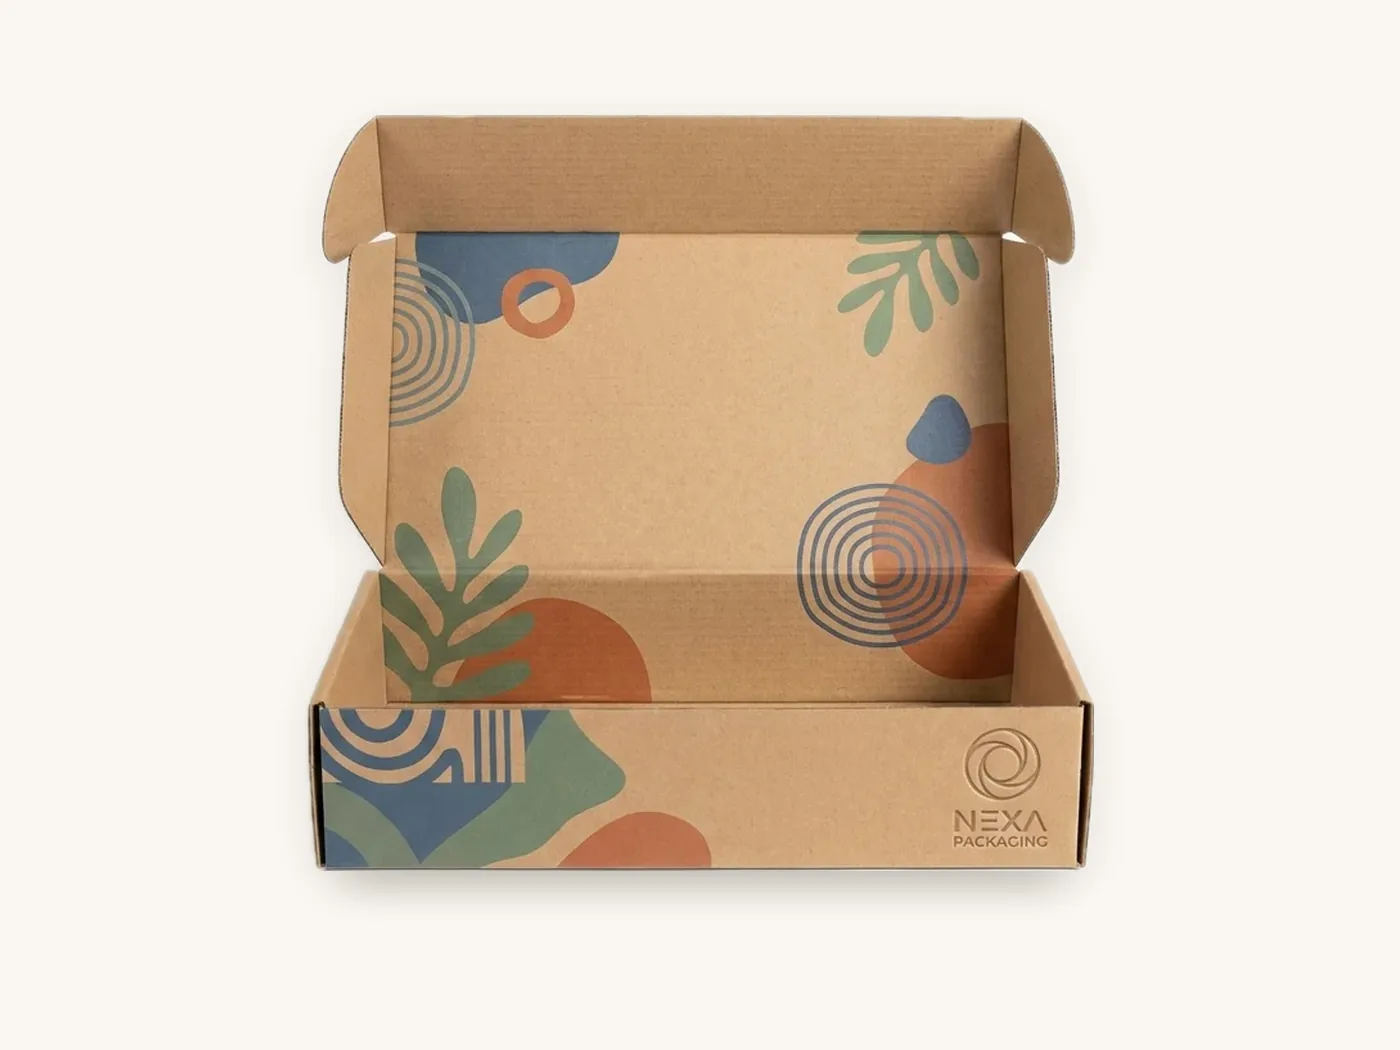
In device packaging the insert does most of the protecting. It stops components colliding, keeps the device away from the box walls where impacts land and makes the kit self-explanatory when opened. Our box inserts are made to the product, and the foam vs paperboard inserts guide goes deeper on material trade-offs.
| Insert material | Protection | Presentation | Sustainability | Best for |
|---|---|---|---|---|
| EVA foam, die-cut or layered | High, precise cavities | Clean, clinical look | Harder to recycle curbside | Reusable devices, electronics, instruments |
| PU foam | High cushioning for fragile parts | Soft, less crisp edges | Harder to recycle curbside | Glass components, sensitive optics |
| Molded pulp | Good for moderate weights | Natural, textured | Paper-based, widely recyclable | Home-use kits, brands reducing plastic |
| Paperboard, die-cut | Moderate, best for light items | Printable, crisp | Paper-based, widely recyclable | Test kits, accessories, disposables |
| Corrugated partitions | Good separation, low cushioning | Functional | Paper-based, widely recyclable | Bulk cartons of individually packed items |
Rules for insert layout
- Keep a buffer to the walls. Leave roughly 1/2 in of insert material between the device and any outer wall where possible, since walls take the impacts.
- Add finger pulls. A semicircular cut-out beside each cavity lets users lift parts without tipping the box.
- Order by sequence of use. Put the item used first at the top or front, and group accessories that are used together.
- Protect cables and tubing. Coil them into a dedicated recess so they do not press on the device or pouch seals.
- Allow for the instructions. Leave a flat pocket or lid slot for the instructions for use so they are not crushed or folded into cavities.
Tip: send us the device itself, or an accurate 3D model, rather than overall dimensions alone. Handles, buttons and cable exits change the cavity shape, and a cavity designed from a bounding box usually rattles.
A step-by-step process for a new medical kit box
Kits fail most often because the box is designed before the contents are final. This sequence keeps structure, insert and labeling aligned.
- Freeze the bill of materials. List every component that goes in the kit, with dimensions, weight and whether it is sterile-packed.
- Decide the user and setting. A nurse opening a kit on a procedure tray needs a different layout from a patient opening one on a kitchen table.
- Choose the outer format. Use the matrix above to pick carton, rigid box, mailer or shipper.
- Design the insert around the most fragile part. Position that component first, then place the rest around it.
- Reserve labeling areas. Mark the UDI label position, lot and expiry area and any symbol panel on the dieline.
- Request an unprinted structural sample. Pack it with real components and check fit, removal and closing force.
- Run a transit test. Put packed samples through the drop and vibration sequence your quality team specifies.
- Approve artwork on the final dieline. Only after the structure passes do you place brand graphics and printed labeling.
- Order a pilot quantity. Ten to a few hundred units lets you run the kit through real distribution before scaling.
Labeling space: UDI, symbols and instructions
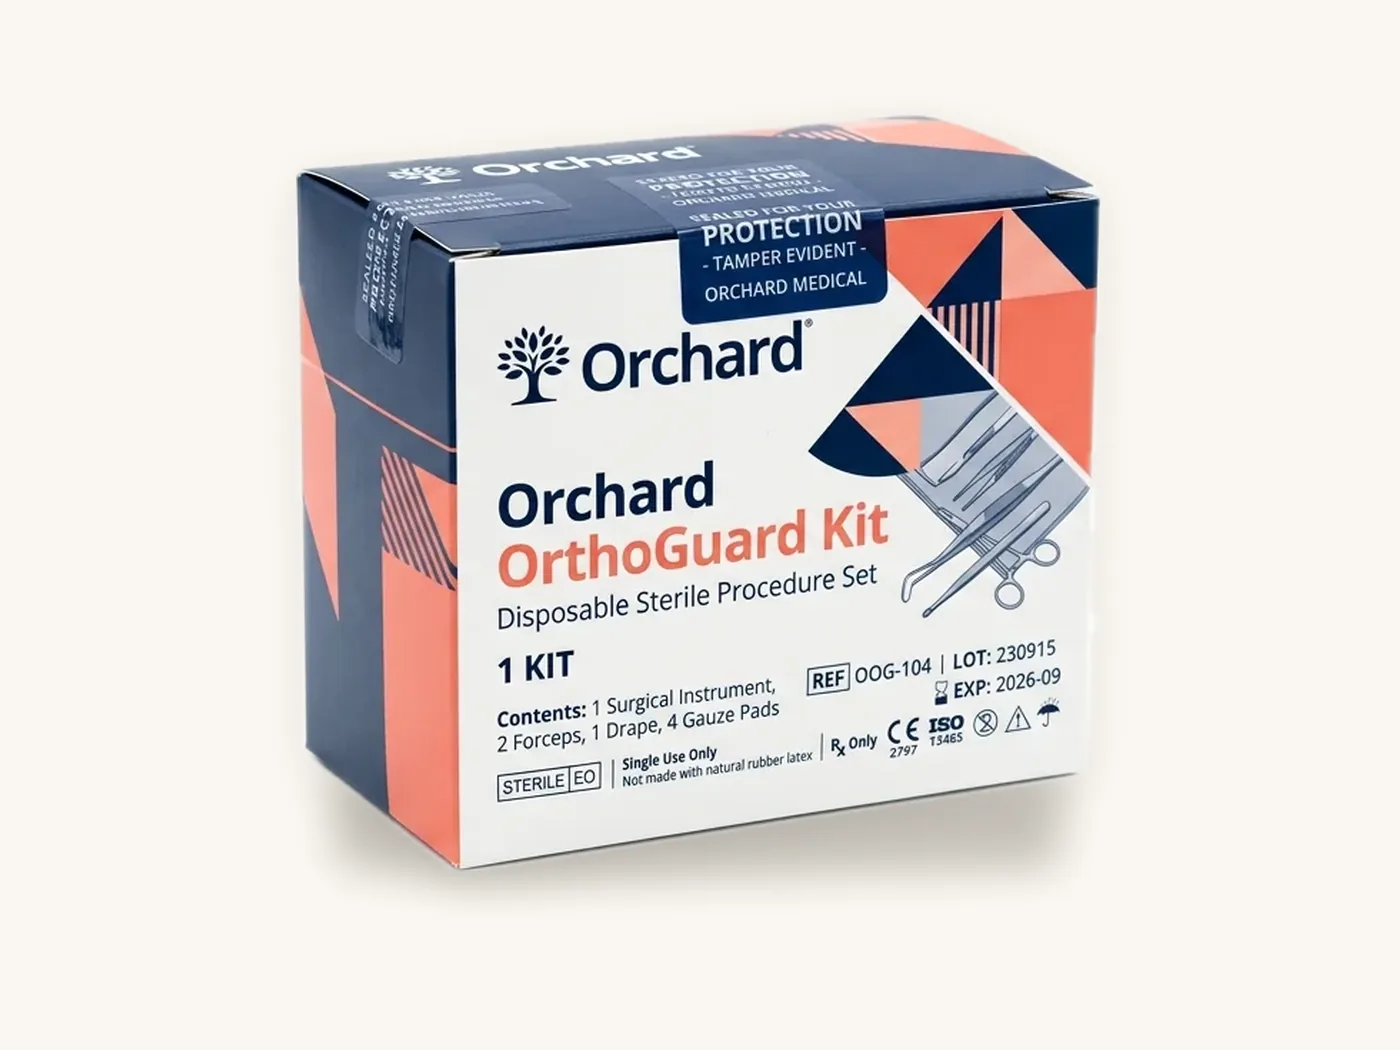
Device labeling requirements are set by regulators and your device's classification, not by the box maker. What the box maker can do is make sure there is a clean, flat place for every element.
Unique Device Identification
In the US, the FDA's Unique Device Identification system generally requires device labels and packages to carry a UDI in both plain text and a machine-readable form, such as a linear or 2D barcode, with device information submitted to the agency's database. Exceptions and compliance dates depend on device class. The FDA's UDI system overview is the right starting point, and the EU and UK have their own UDI frameworks.
UDIs often include production identifiers such as lot and expiry, so they are usually printed on a label at the packaging line rather than preprinted on the carton. Plan for that:
- Leave a flat, uncoated or aqueous-coated area large enough for your label plus a margin.
- Keep it clear of scores, glue flaps and embossing so the label lies flat and scans reliably.
- Put the label on a panel visible when cartons are stacked on a shelf or in a case, if your distributors need to scan without unpacking.
Symbols and the rest of the label
Many device brands use standardized symbols from ISO 15223-1 for items such as manufacturer, lot, expiry and "do not reuse." These are small, so they need sharp print on smooth board, which favors SBS or a wrapped rigid box over uncoated kraft. Your regulatory team decides which symbols and statements apply; we reproduce the approved artwork and flag anything that lands on a fold.
Watch out: soft-touch lamination looks premium on a rigid device case but can resist some label adhesives. If a label goes on a laminated surface, test adhesion with the actual label stock before approving the finish, or leave an uncoated label zone.
Testing a packed device box before scale-up
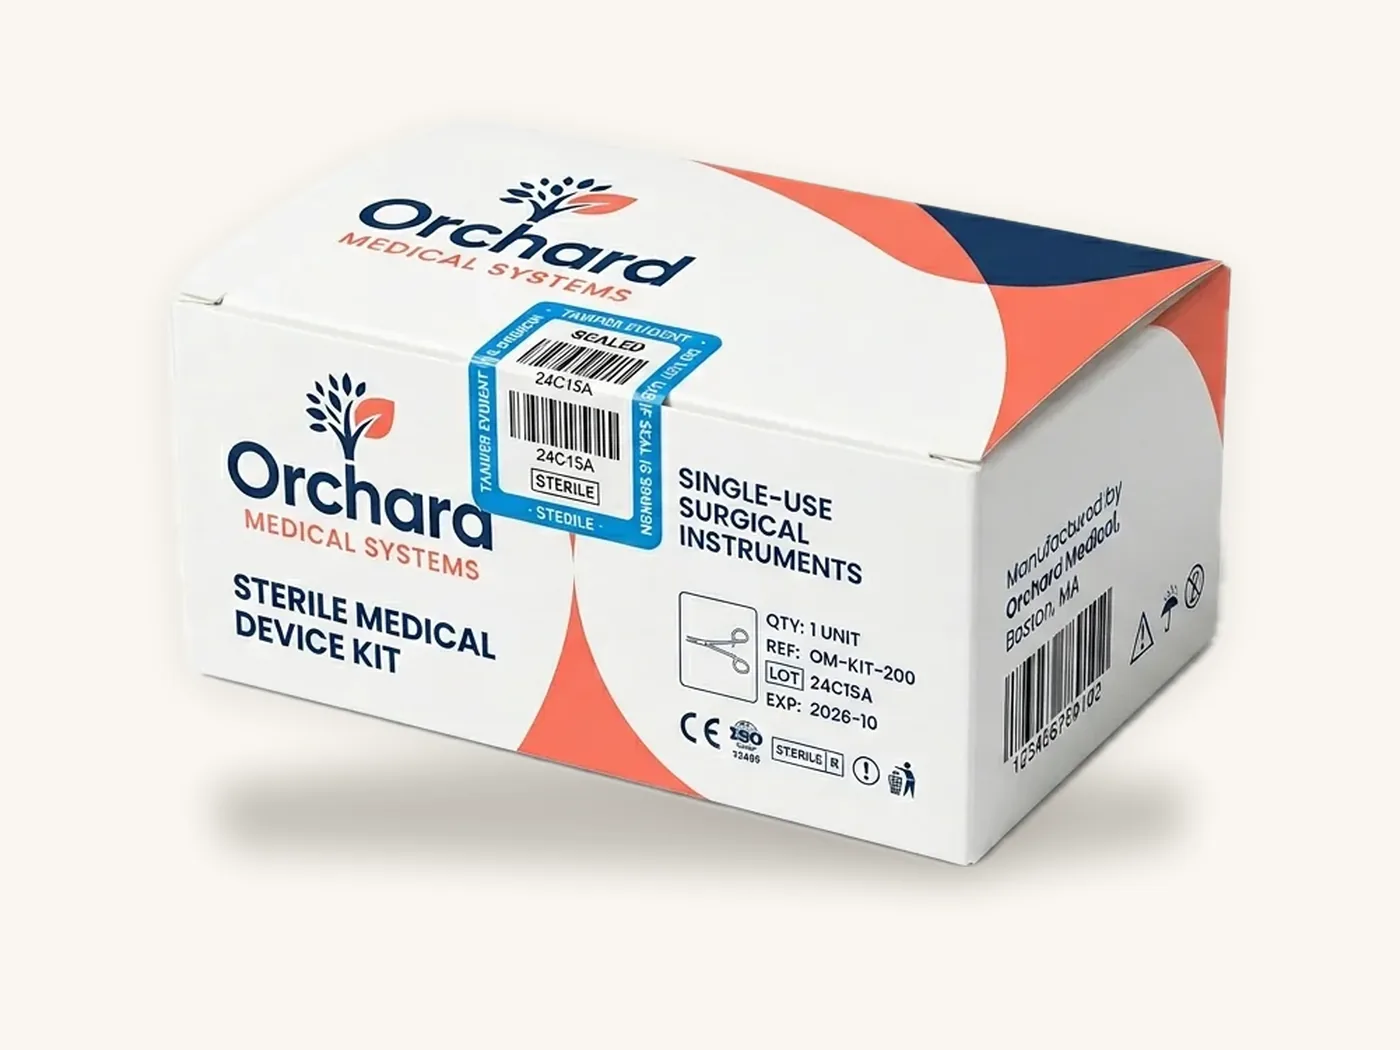
A sample that fits perfectly on a desk can still fail in a delivery van. Distribution testing simulates the drops, vibration and compression a parcel sees so problems appear before the full order ships.
Common test approaches
Device makers often base transit testing on ISTA procedures, such as the ISTA 3 series for parcel delivery, or on ASTM D4169 distribution cycles. The right standard and acceptance criteria are set by your quality team, particularly where packaging performance forms part of a regulatory file. Our ISTA drop testing guide explains what the tests involve in plain terms.
What to inspect after the test
| Check | Pass looks like | If it fails |
|---|---|---|
| Device condition | No damage, functions as intended | Deepen insert buffer or upgrade to foam |
| Inner pouches or cartons | No punctures, creases on seals or crushing | Remove insert pressure on seals, add clearance |
| Component position | Everything still in its cavity | Tighten cavities or add a retaining flap |
| Outer box corners | Scuffed but intact, lid still closes | Move from E-flute to B-flute or add an overbox |
| Labels | Readable and scannable | Relocate label away from impact edges |
| Closure | Box stayed closed | Add tuck locks, tear strip or a seal label |
Run the test on the actual print and finish you intend to use, because laminations and heavy ink coverage slightly change how board scuffs and cracks at folds.
What medical device boxes cost
Price depends on format, size, board, print coverage, finish, insert material and quantity. Rigid boxes cost several times more than cartons of similar size because wrapped greyboard takes more material and assembly work. These indicative per-unit prices come from our current rates, with US shipping included; use the price estimator to model your exact kit.
| Spec | 10 | 100 | 1,000 | 5,000 |
|---|---|---|---|---|
| Straight tuck carton, 18 pt SBS, 3x2x5 in, full color, aqueous | about $1.73 | about $1.15 | about $0.51 | about $0.36 |
| Mailer box, E-flute, 10x8x4 in, full color inside and outside | about $6.54 | about $4.33 | about $1.92 | about $1.36 |
| Rigid box, 2 mm greyboard, 8x6x3 in, full color, matte | about $13.76 | about $9.10 | about $4.05 | about $2.87 |
| Rigid magnetic box, 2 mm, 10x8x3 in, soft-touch, foil, insert | about $21.50 | about $14.23 | about $6.32 | about $4.49 |
| Shipping box RSC, B-flute, 12x10x6 in, 1-color | about $7.08 | about $4.69 | about $2.08 | about $1.48 |
One-time tooling applies only when you choose certain features: a custom insert die is about $45, and foil or embossing about $60 each. There are no die or plate charges on standard boxes.
How to spend where it counts
For a reusable device, the case is part of the product experience, so a rigid box with a foam insert is often worth it. For disposables, a well-sized carton inside a plain shipper usually protects just as well at a fraction of the cost. Many kit programs combine both: a printed carton for identification and a plain corrugated overbox for transit.
How to order medical device boxes from Box Sense
We make medical device boxes, kit boxes, inserts and shippers as secondary packaging. We do not make sterile barrier packaging and do not provide regulatory validation, so bring your quality team's packaging specification if you have one.
What to send
- Device and component list with dimensions, weights and photos, or the parts themselves
- Whether any component is sterile-packed, and the size of its pouch or tray
- Preferred format: carton, rigid box, magnetic box, mailer or shipper
- Insert preference: foam, molded pulp or paperboard, or a request for a recommendation
- Label positions for UDI, lot and expiry, and the label size
- Print and finish, noting any area that must stay uncoated
- Quantities to price, including a pilot run, and a target date
From quote to delivery
Quotes are confirmed within 24 hours. Our design services team supplies the dieline and insert layout, sets up artwork and sends a 3D digital proof with two revision rounds. Unprinted structural samples are free, which is the right way to run fit and transit checks, and a printed sample of approved artwork is free on orders of 100 or more; see samples.
Standard production is 8–12 business days after proof approval, with rush production in 5 business days on most paperboard and corrugated styles. Confirm timing for rigid boxes on your quote. The minimum order is 10 boxes, US shipping is free, and defective boxes reported within 14 days are reprinted free. Browse the wider range on our pharma and healthcare packaging page.
Frequently asked questions
Does Box Sense make sterile medical device packaging?
No. Box Sense makes secondary packaging such as cartons, rigid boxes, mailers, shippers and inserts. Sterile barrier systems, including pouches and sealed trays, are designed and validated by specialist suppliers under standards such as ISO 11607. Our boxes can protect a sterile-packed device during storage and shipping, but they do not create or maintain sterility.
What is the best box for a reusable medical device?
A rigid box with a fitted EVA foam insert is usually best, because it withstands repeated opening and becomes the device's storage case. A magnetic closure keeps the lid shut without tabs that wear out. For devices shipped directly to patients, place the rigid box inside a corrugated shipper so the case arrives unscuffed.
How do I choose between foam and molded pulp inserts for a medical kit?
Choose foam when components are fragile, oddly shaped or reused, since it forms precise cavities and cushions well. Choose molded pulp when the kit is single-use, moderately robust and you want paper-based packaging that is widely recyclable. Paperboard inserts suit light, flat items such as test strips. Test whichever you pick with a packed transit sample.
Where should the UDI label go on a device box?
Place it on a flat panel away from folds, glue flaps, embossing and impact-prone edges, on a surface with no film lamination that could resist the adhesive. Choose a panel that stays visible when boxes are stacked or cased, if distributors scan without unpacking. Your regulatory team confirms the UDI content and format; the box should simply provide a clean, reserved space.
Do medical device boxes need to pass drop testing?
Transit testing is strongly recommended and may be expected as part of your quality system or regulatory documentation, depending on the device. Many companies base tests on ISTA procedures or ASTM D4169 distribution cycles. Your quality team defines which standard and acceptance criteria apply. Box Sense provides free structural samples so you can test packed kits before production.
What is the minimum order for medical kit boxes?
The minimum order at Box Sense is 10 boxes, which suits prototypes, clinical evaluations, sales demo kits and pilot distribution. Short runs are printed digitally with no plates. Rigid boxes and custom inserts cost more at low volume, so compare quantity tiers in the estimator, where prices typically fall by more than half between 100 and 1,000 units.
Can device boxes be printed with regulatory symbols?
Yes. Fixed symbols and text from your approved labeling can be printed as part of the artwork, and smooth SBS board or wrapped rigid boxes reproduce small symbols sharply. Variable information such as lot, expiry and UDI production identifiers is usually added by label or coder at packaging. Your regulatory team approves the symbol set and wording.
Next steps
List every kit component, decide how the device will be used after opening and mark where labels must go. Then estimate your box and insert in the instant pricing tool, and request a medical device packaging quote to get a dieline, insert layout and free structural sample for fit and transit testing.
Boxes in this guide
Order the packaging we covered
Written by the Box Sense Packaging Team
Our structural designers, prepress technicians and production staff print and convert custom boxes every day for brands in the United States, United Kingdom and UAE. Questions about this guide? Talk to us.