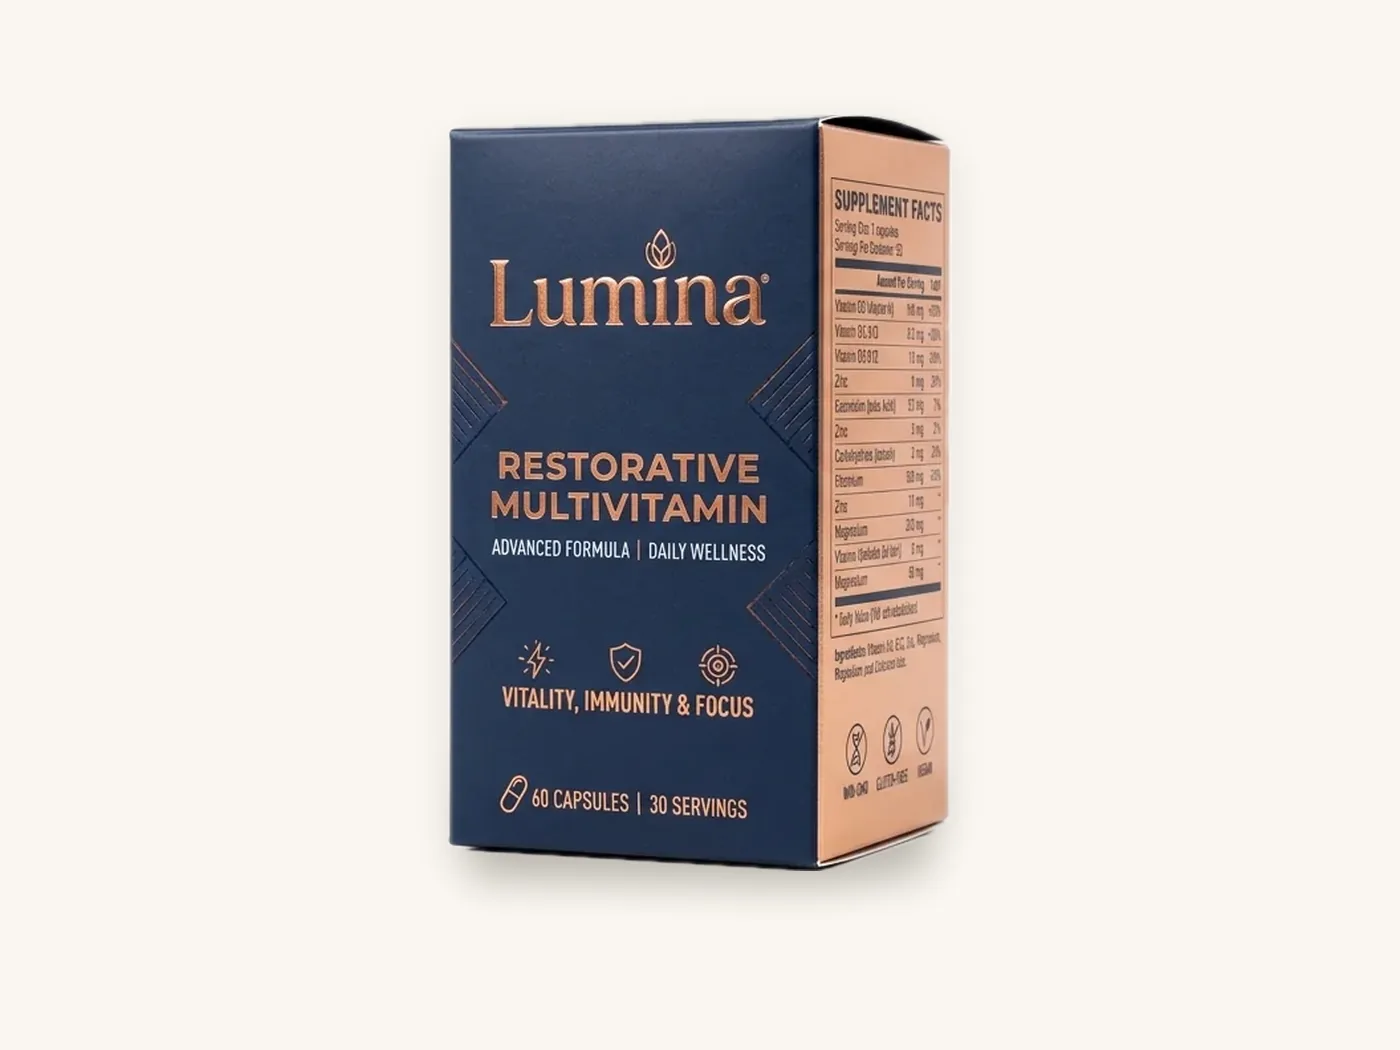
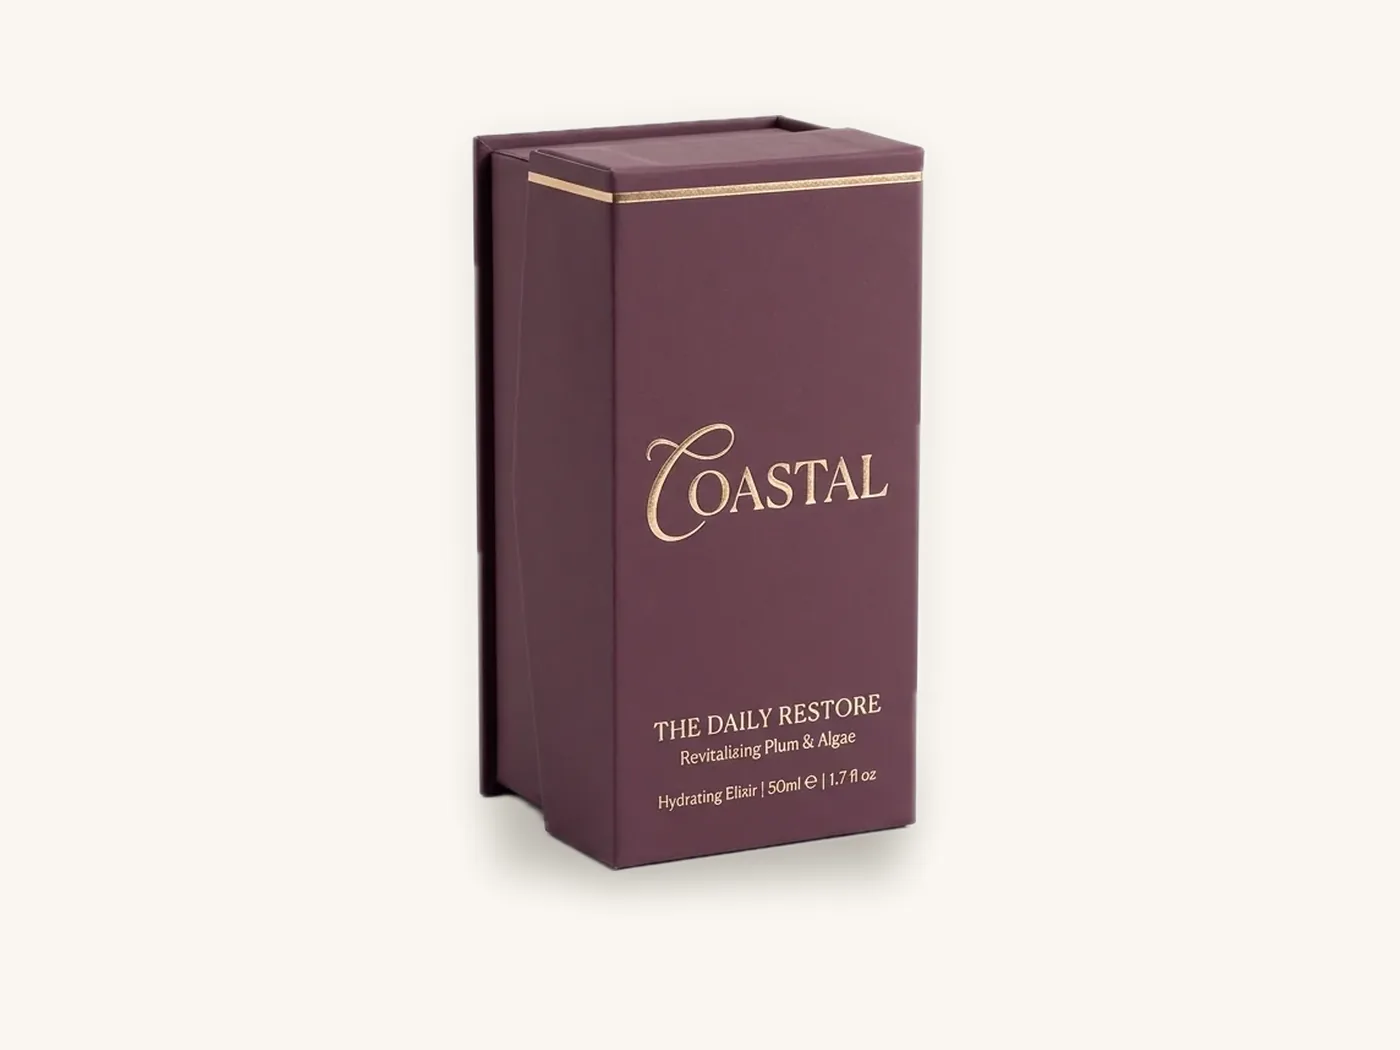
What is a dieline? A dieline is the flat, unfolded outline of a box drawn to exact size, showing where the board will be cut, where it will fold and where it will be glued. It is the blueprint that both the designer and the factory work from: the designer places artwork on it, and the manufacturer uses the same geometry to make the cutting die.
Every custom box starts as a dieline, from a simple tuck end carton to a mailer with a built-in insert. If you can read one, you can predict how artwork will wrap around the box, spot problems before a proof, and talk to your manufacturer in the same language.
This guide explains the parts of a packaging dieline, what each line type means, how panels are named and measured, how to tell which way artwork faces, and how to test a box template with a paper mock-up before you design on it.
Key takeaways
- A dieline is a to-scale flat template of a box. It is structural geometry, not artwork, and it is drawn for one specific size and board thickness.
- Line types carry meaning: solid lines usually mean cut, dashed lines mean crease or fold, and other marks show perforations, glue areas, bleed and safe zones. Always check the legend.
- Box sizes are given as length x width x depth, and on most dielines they are internal dimensions.
- Panels on a flat dieline face different directions once folded, so mark orientation before placing type.
- A dieline for one board caliper will not fit another. Changing from 18 pt paperboard to E-flute corrugated means a new dieline.
- Print the dieline at 100%, cut and fold it by hand before you design. It is the cheapest proof you will ever make.
What a dieline is, and what it is not
The name comes from the steel-rule die used to cut boxes. A die is a flat board with sharp steel blades bent into the shape of the box outline and blunt creasing rules set wherever the board should fold. The press pushes that die into a printed sheet, and a flat box shape pops out, already scored for folding.
The dieline is the digital drawing of that die. Because it controls a physical cutting tool, it has to be exact. A panel drawn a millimeter too small becomes a box that does not close.
Dieline vs artwork vs mockup
People sometimes use these words interchangeably, but they are three different things.
| Term | What it is | Who creates it | What it is used for |
|---|---|---|---|
| Dieline | Flat structural outline with cut, crease and glue marks | Manufacturer's structural team | Making the die, placing artwork |
| Artwork file | Your design placed on top of the dieline | You or your designer | Printing |
| 3D mockup or proof | A rendered or physical folded version of the design | Designer or manufacturer | Checking how the finished box looks |
| Structural sample | An unprinted box cut from the real board | Manufacturer | Checking fit and function |
Our 3D mockups and proofs guide explains how those later stages confirm what the dieline promises.
The line types on a packaging dieline
Most confusion about dielines comes from the lines themselves. There is no single universal standard for colors and line styles, which is why every good dieline includes a legend. The conventions below are the most common ones.
| Line or mark | Common appearance | What happens on the machine | What it means for your design |
|---|---|---|---|
| Cut line | Solid line, often red, black or magenta | Board is cut through completely | Edge of the box; artwork needs bleed beyond it |
| Crease or fold line | Dashed line, often green or blue | Board is scored so it folds cleanly | Content near it can wrap around the edge |
| Perforation | Dotted or dash-dot line | Board is cut in short alternating slits | Tear-away features, tear strips, dispensers |
| Partial cut or kiss cut | A distinct dashed style, labeled | Top layer only is cut | Easy-fold or peel features |
| Bleed line | Thin line outside the cut line | Nothing; guide only | Extend backgrounds to here |
| Safe zone line | Thin line inside the cut line | Nothing; guide only | Keep text and logos inside |
| Glue area | Hatched or shaded panel | Adhesive is applied here | Keep coatings and heavy ink off |
| Window cutout | Cut line inside a panel, often labeled | Opening is cut and film is attached | No artwork inside the opening |
Cut lines
Cut lines define the outer shape and any internal holes, such as a window or hang tab. They are always the outermost geometry. Artwork should extend past them into bleed so no raw board shows if the cut shifts slightly.
Crease lines
Creases are compressed, not cut. The blunt rule pushes a channel into the board so it bends along a controlled line. On corrugated board, creases are wider than on paperboard because the board is thicker, which pulls artwork around the corner more.
Reverse creases
Some structures fold the board in the opposite direction at certain points, for example on a tuck flap that curls back inside. Good dielines mark these separately, often with a different dash pattern, because they affect which side of the board shows once folded.
Guides that never print
Bleed lines, safe zones, dimension callouts and labels are all non-printing guides. On the dieline layer they are there to help, and in the final artwork file the entire dieline is set to overprint as a spot color so it shows on proofs but not on the box. The practical file setup is covered in our packaging artwork preparation guide.
Watch out: never assume a dashed line means fold because it did on the last dieline you saw. Different manufacturers use different conventions. Read the legend every time.
Reading panels on a tuck end carton
The easiest way to learn a box template is to walk through a common one. Say you are packaging a small bottle in a straight tuck end box with internal dimensions of 3 x 2 x 5 in.
The main body panels
Laid flat, the carton is a narrow glue flap plus a row of four tall panels, all joined by vertical creases:
- Glue flap: a narrow strip at one end that is glued to the far panel to form the tube
- Back panel: 3 in wide by 5 in tall
- Side panel: 2 in wide by 5 in tall
- Front panel: 3 in wide by 5 in tall, the main display face
- Side panel: 2 in wide by 5 in tall
Panel widths alternate between length and width. On a 3 x 2 x 5 in box they run 3, 2, 3, 2, with the glue flap on the end. Depth, 5 in, is the height of every body panel.
Top and bottom closures
Above and below the body panels sit the closures:
- Tuck flaps: the closure panels that fold over the opening and tuck inside. On a straight tuck end box, both tucks attach to the same panel, usually the back. On a reverse tuck end box, the top tuck attaches to the back and the bottom tuck to the front.
- Tuck tongues: the curved lip on the end of each tuck flap that slides inside the box
- Dust flaps: the small side flaps that fold in first to keep the tucks from pushing into the box and to keep dust out
What this means for artwork
The front panel is the hero face. The back carries ingredients, directions and barcodes. The side panels are narrow but visible on shelf, so a brand name or product name running vertically on one side helps when cartons are stored side by side. Tuck flaps are seen at opening, which makes them a good place for a small message.
Dimensions, board thickness and why templates are not interchangeable
Dimensions look simple, yet they cause more dieline problems than anything else.
Length x width x depth
Box sizes are written as L x W x D. On a carton, length is the longer side of the opening, width is the shorter side of the opening, and depth is the distance between openings. On a mailer, the opening is the top, so depth is the height from floor to lid.
Internal vs external dimensions
Most custom packaging is specified by internal dimensions, because that is the space the product needs. The external size is larger by the board thickness on each side, plus a little at the folds. Always confirm which one a dieline shows. A 3 x 2 x 5 in internal carton in 18 pt board is only slightly larger outside; the same internal size in B-flute corrugated grows much more.
Caliper allowances
When board folds, the outer surface travels farther than the inner. Structural designers add small allowances to each panel so the finished box is square and closes properly. That is why a dieline built for 14 pt paperboard will bind or gap if cut from 24 pt board. Our paperboard thickness guide lists common calipers and where each is used.
| Change you want to make | Can you reuse the dieline? | Why |
|---|---|---|
| Same box, new artwork | Yes | Geometry is unchanged |
| Same box, different finish or coating | Yes | Coatings do not change panel sizes |
| Same size, thicker or thinner board | No | Fold allowances change |
| Paperboard to corrugated | No | Board thickness and crease widths change completely |
| Slightly larger product | No | Every panel size changes |
| Add an insert | Usually no | Internal space and sometimes box depth change |
| Add a window | Yes, with a new cutout added | The body stays the same, but the die gains a window cut |
Grain direction
Paperboard has a grain, the direction most fibers run. Boards fold more cleanly along the grain and are stiffer across it. Manufacturers orient dielines on the sheet so the main panels have the right stiffness. You rarely need to manage this yourself, but it explains why a factory might resist rotating a layout to fit more boxes per sheet.
Common dieline families and what makes each one different
Every box style has its own template logic. Knowing the family helps you read an unfamiliar dieline faster.
| Box style | Dieline shape | Distinctive features | Typical use |
|---|---|---|---|
| Straight tuck end | Four panels in a row, tucks on one side | Both tucks on the same panel | Retail cartons, cosmetics |
| Reverse tuck end | Four panels in a row, tucks on opposite sides | Efficient sheet layout, economical | Supplements, lightweight goods |
| Auto lock bottom | Four panels, interlocking bottom flaps | Bottom pops into place, glued at the factory | Heavier retail products |
| Roll-end tuck-front mailer | Cross-shaped with double-thickness walls | Rolled side walls, locking ears, lid hinge | E-commerce mailers |
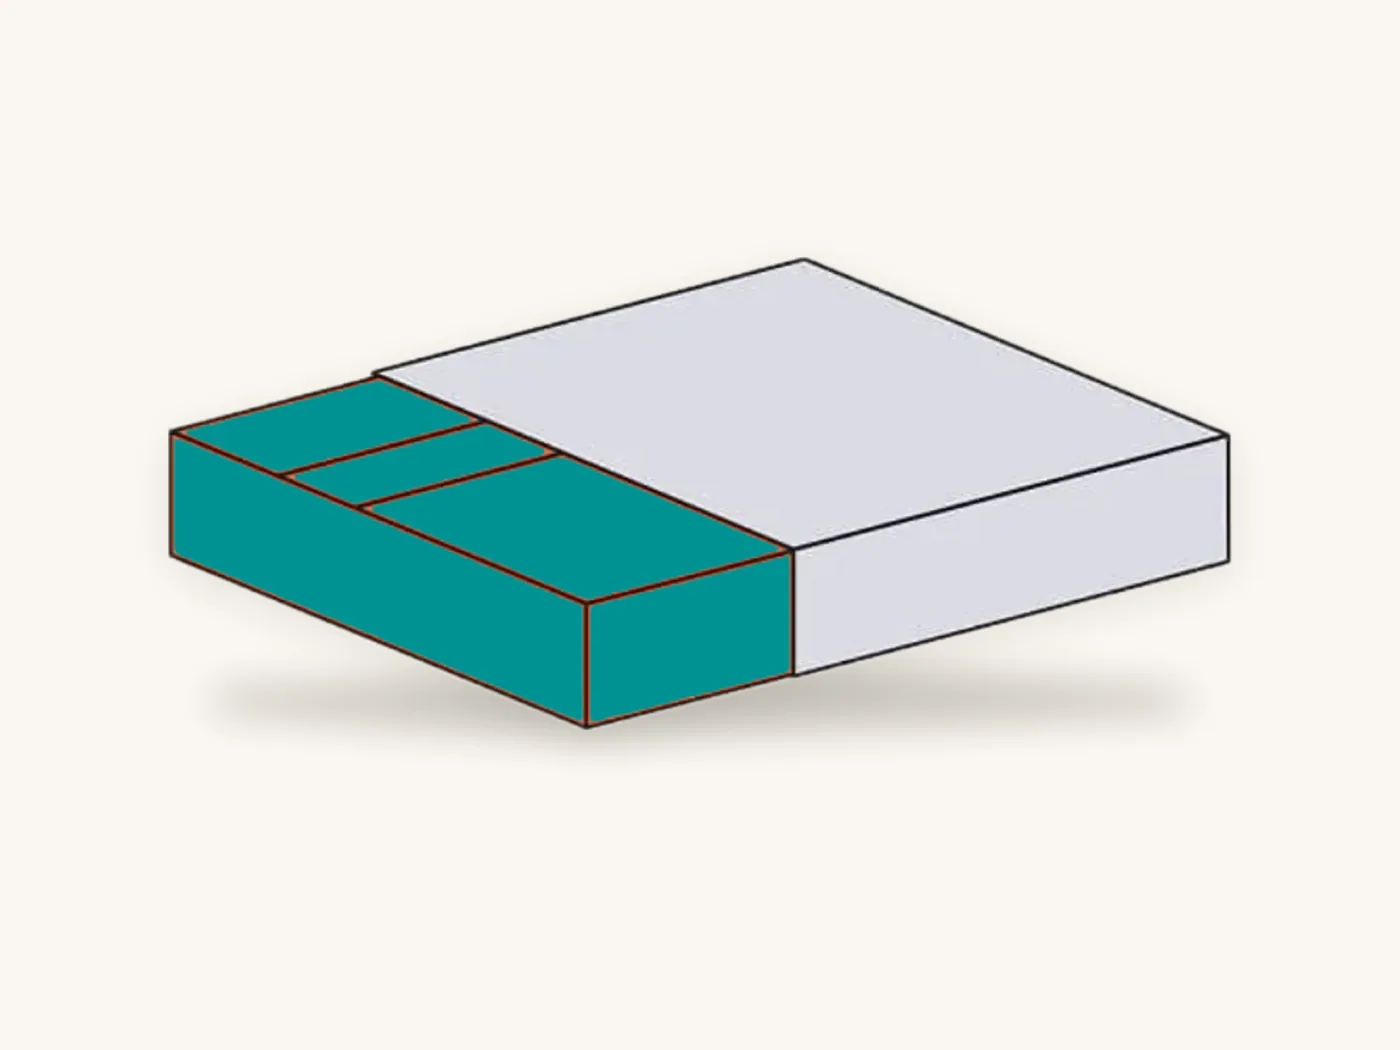
| Sleeve and tray | Two separate dielines | Tray with walls plus an open-ended tube | Premium gifts, chocolates |
| Rigid box wrap | Flat wrap sheet sized around a greyboard shell | Turn-in allowance folded over the edges | Luxury and keepsake boxes |
| Custom die cut | Unique outline | Handles, windows, display fronts, special shapes | Displays, gift and promo boxes |
An auto lock bottom box dieline looks alarming the first time because the bottom flaps have angled hooks and glue points. Once folded, those parts are hidden inside, so only the four body panels and top closure need finished artwork. Browse the tuck end boxes and die cut boxes ranges to see how different structures look assembled.
Figuring out which way artwork faces
A flat dieline flips and rotates panels once folded. This catches experienced designers too.
Tucks and top panels
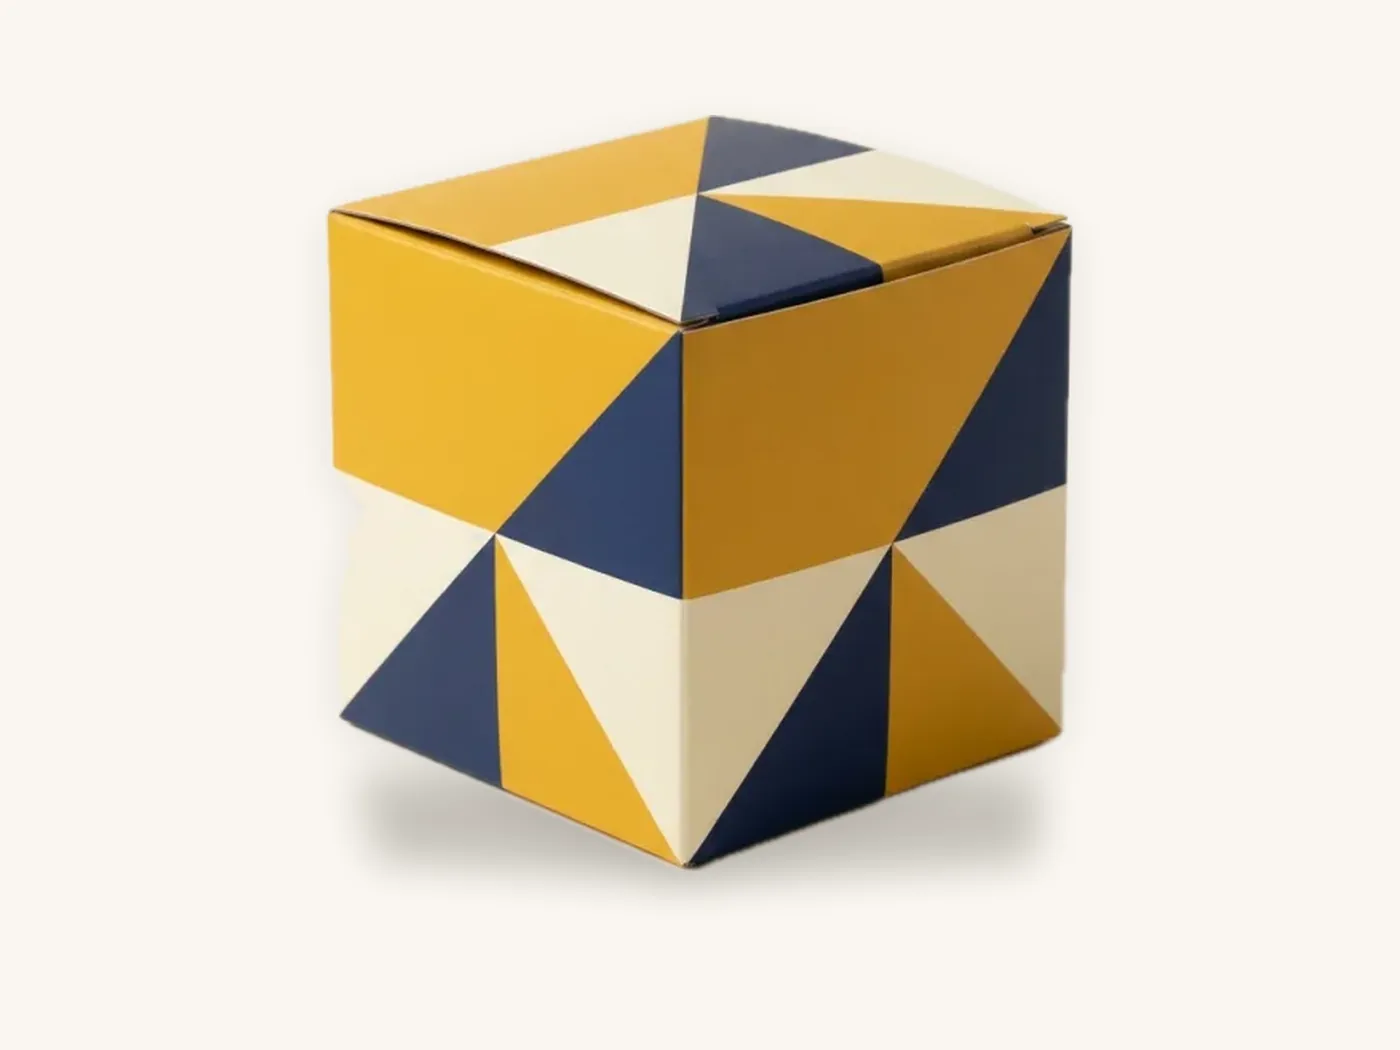
On most tuck end cartons, the top tuck flap is drawn above the back panel. When it folds over and down, its outer face ends up on top of the box, and the edge nearest the front of the box is the one farthest from the back panel on the flat. Type placed "right way up" on the flat can end up upside down on the finished box.

Mailer lids and interiors
A mailer's outer lid and inner lid are the same piece of board seen from opposite sides. Inside artwork is printed on the reverse of the sheet, mirrored in position. When you open the lid toward you, the inside lid reads correctly only if its artwork was placed rotated relative to the outside.
Rigid box wraps
On a rigid box, the wrap paper is folded over the top edges and turned in. Anything placed near the edge of the wrap ends up on the inside rim. Keep critical content well away from turn-in areas.
How to test a box template with a paper mock-up
You can catch most orientation and fit problems in fifteen minutes with a printer, a ruler and scissors.
- Print the dieline at 100% scale. Turn off "fit to page". If the box is larger than your paper, tile it across sheets and tape them together.
- Measure one panel with a ruler to confirm the print is true to size.
- Cut along the cut lines with scissors or a craft knife.
- Score the crease lines by running the back of a butter knife or an empty ballpoint pen along a ruler.
- Fold and tape the box together, following the glue area.
- Write labels on every face: FRONT, BACK, TOP, BOTTOM, SIDE, INSIDE LID, with an arrow pointing up.
- Unfold the mock-up flat. You now have a map showing which way each panel reads on the real dieline.
- Test with the real product if the paper is stiff enough, to check the product slides in and the closures meet.
- Sketch the design roughly on the mock-up in pencil to judge proportions and where eyes land first.
Tip: do this once more after placing artwork. Print your layout at 100%, fold it, and hand it to someone who has not seen the design. If they turn the box looking for the product name, your hierarchy or orientation needs work.
Paper is much thinner than production board, so the mock-up will not close exactly like the real carton. For fit and function, ask for a structural sample cut from the real material.
Mistakes people make with dielines
Most dieline problems come from a few repeat errors. Avoid them and you will save at least one proof round.
- Designing on a downloaded template for a similar box instead of the one made for your size and board
- Editing or redrawing dieline lines, even slightly, to "tidy" them
- Placing text across a crease, where it wraps around the corner or cracks
- Ignoring glue areas and covering them with lamination or heavy ink
- Forgetting dust flaps and tucks exist, leaving them as raw board
- Mixing up internal and external dimensions when requesting the template
- Scaling the dieline to fit a design, which changes the physical box
- Assuming line colors mean the same thing across suppliers
- Using one dieline for different boards, such as switching from SBS to kraft corrugated without asking
Our packaging typography guide covers how to place type on narrow side panels and near folds so it stays readable.
Getting a dieline from Box Sense
You do not have to create a dieline yourself. Our structural team draws one for your exact product, size and board as part of free design support.
What to send
- Product dimensions and weight, measured at the widest points, or the internal box size if you already know it
- Box style, for example a custom product box, a tuck end carton or a custom die-cut box, or a note asking for a recommendation
- Board preference, such as 18 pt SBS paperboard, kraft or E-flute corrugated
- Any features: windows, inserts, hang tabs, tear strips
- Quantities to price and your target in-hand date
What happens next
We confirm your quote within 24 hours and send the dieline as a vector file with a legend. Our design services team can set up artwork on it, and every order gets a 3D digital proof with two revision rounds.
Unprinted structural samples are free, so you can check fit before approving. A printed sample of approved artwork is free on orders of 100 or more. Standard production takes 8–12 business days after proof approval, with rush in 5 business days on most paperboard and corrugated styles.
There are no die or plate charges; one-time tooling applies only to foil, embossing, spot UV and custom inserts. The minimum order is 10 boxes. As a reference, an 18 pt SBS straight tuck end carton at 3x2x5 in, printed full color with aqueous coating, is about $1.73 each at 10 units and about $0.82 at 250. See the full journey in the packaging design process.
Frequently asked questions
What is a dieline in packaging?
A dieline is a flat, to-scale template of a box that shows where the board is cut, folded, perforated and glued. Designers place artwork on it, and manufacturers use the same geometry to build the cutting die. It is drawn for one specific box style, size and board thickness, so it cannot be reused for a different size or material.
What do the different lines on a dieline mean?
Solid lines usually show cuts, dashed lines show creases or folds, and dotted or dash-dot lines show perforations. Additional lines mark bleed, safe zones, glue areas and window cutouts. There is no universal color standard, so always read the legend that comes with the dieline instead of assuming conventions from another supplier.
Can I use a free box template from the internet?
It is fine for sketching concepts, but do not print from it. A downloaded box template is drawn for an unknown size and board thickness, and small differences in fold allowances make boxes that bind, gap or fail to close. Ask your manufacturer for a dieline made for your exact dimensions and material before finalizing artwork.
Are dieline dimensions internal or external?
Most custom packaging dielines are built from internal dimensions, because that is the space your product needs. The outside of the box is larger by the board thickness and fold allowances. Always confirm which dimensions a dieline shows, especially with corrugated board, where the difference between inside and outside sizes is much larger than with paperboard.
Who makes the dieline, the designer or the printer?
Usually the manufacturer. Structural designers at the packaging company draw the dieline because it must match their board, dies and folding equipment. Your designer then places artwork on it. At Box Sense, dieline creation is part of free design support, along with artwork setup, a 3D digital proof and two revision rounds.
How do I know which way my artwork faces on a dieline?
Print the dieline at 100% scale, cut it out, fold it into a box and label each face with its name and an arrow pointing up. Then unfold it. The labels show exactly which way each panel reads, which matters most for tuck flaps, lids and inside printing, where panels are rotated or flipped once folded.
Does changing board thickness change the dieline?
Yes. Thicker board needs larger fold allowances, so a dieline built for thin paperboard will not fit thick paperboard or corrugated. Switching from 18 pt SBS to E-flute, for example, requires a new dieline even at the same internal size. Coatings, laminations and new artwork do not change the dieline.
Next steps
Measure your product, pick a box style and ask for a dieline made for your exact size and board. Fold a paper version before you design, then check costs in the instant price estimator and request a quote with your dieline and artwork needs. We send the template, set up artwork if you want help, and prepare a 3D proof before production.
Boxes in this guide
Order the packaging we covered
Written by the Box Sense Packaging Team
Our structural designers, prepress technicians and production staff print and convert custom boxes every day for brands in the United States, United Kingdom and UAE. Questions about this guide? Talk to us.