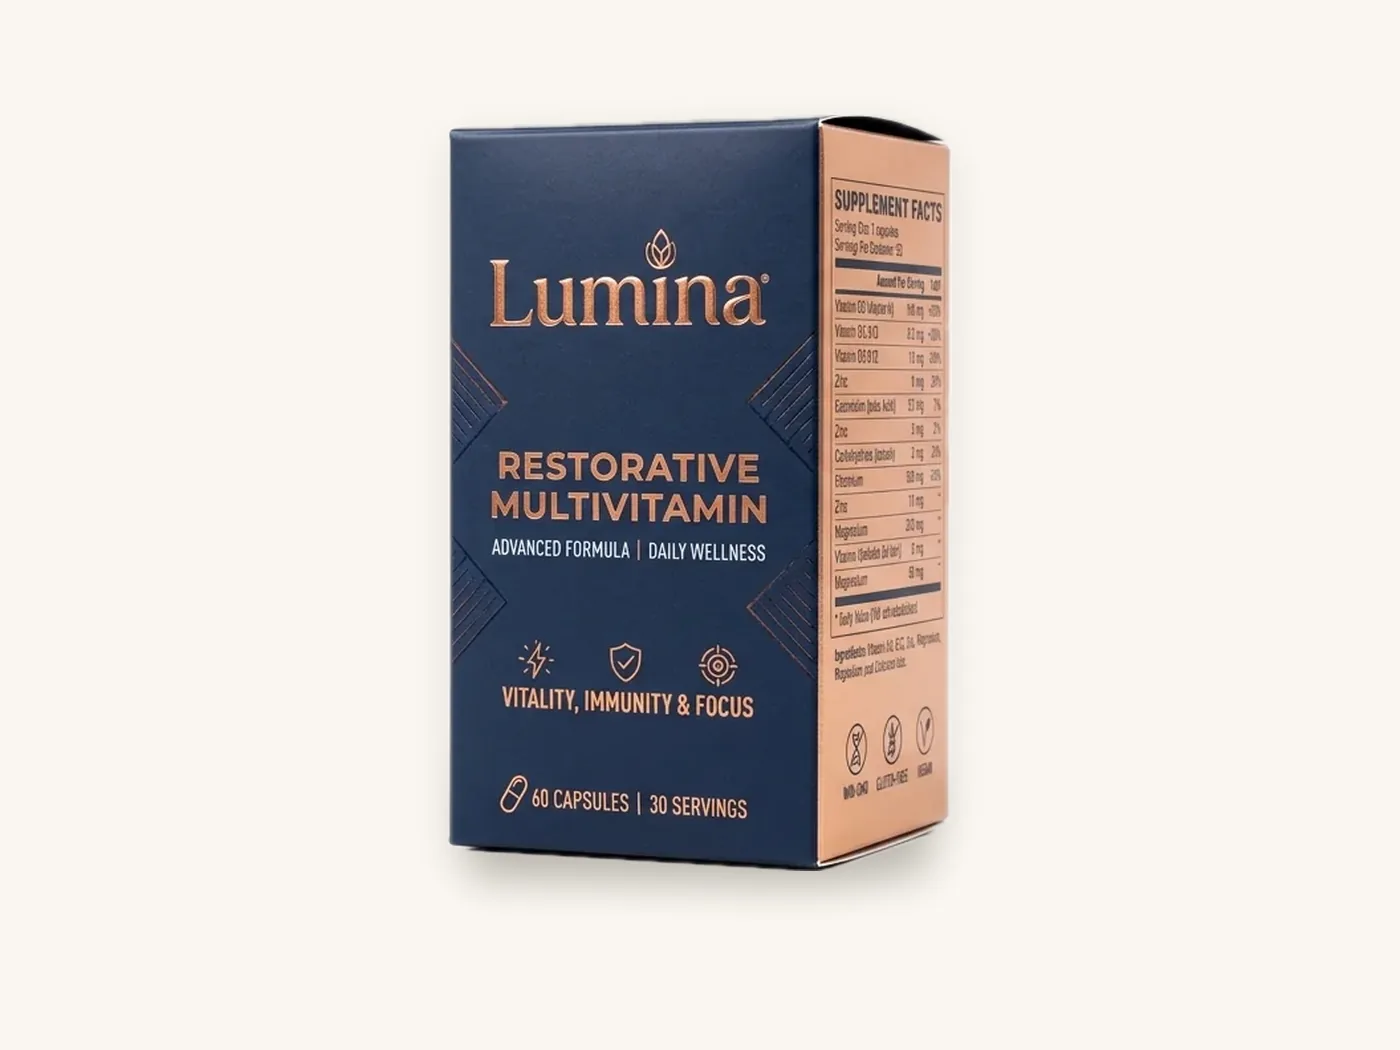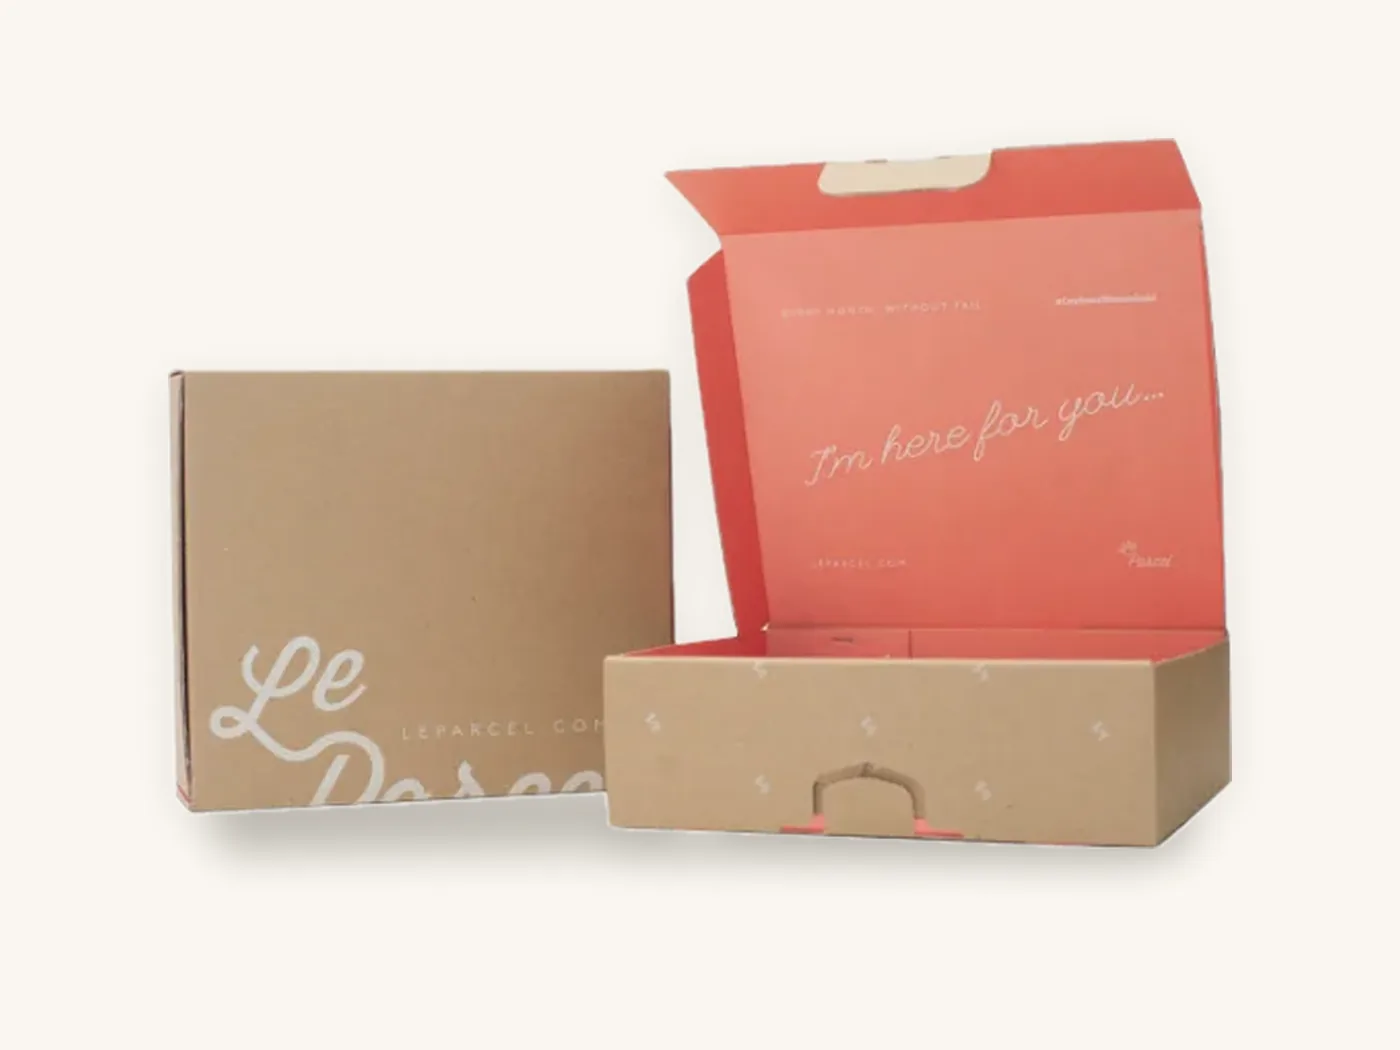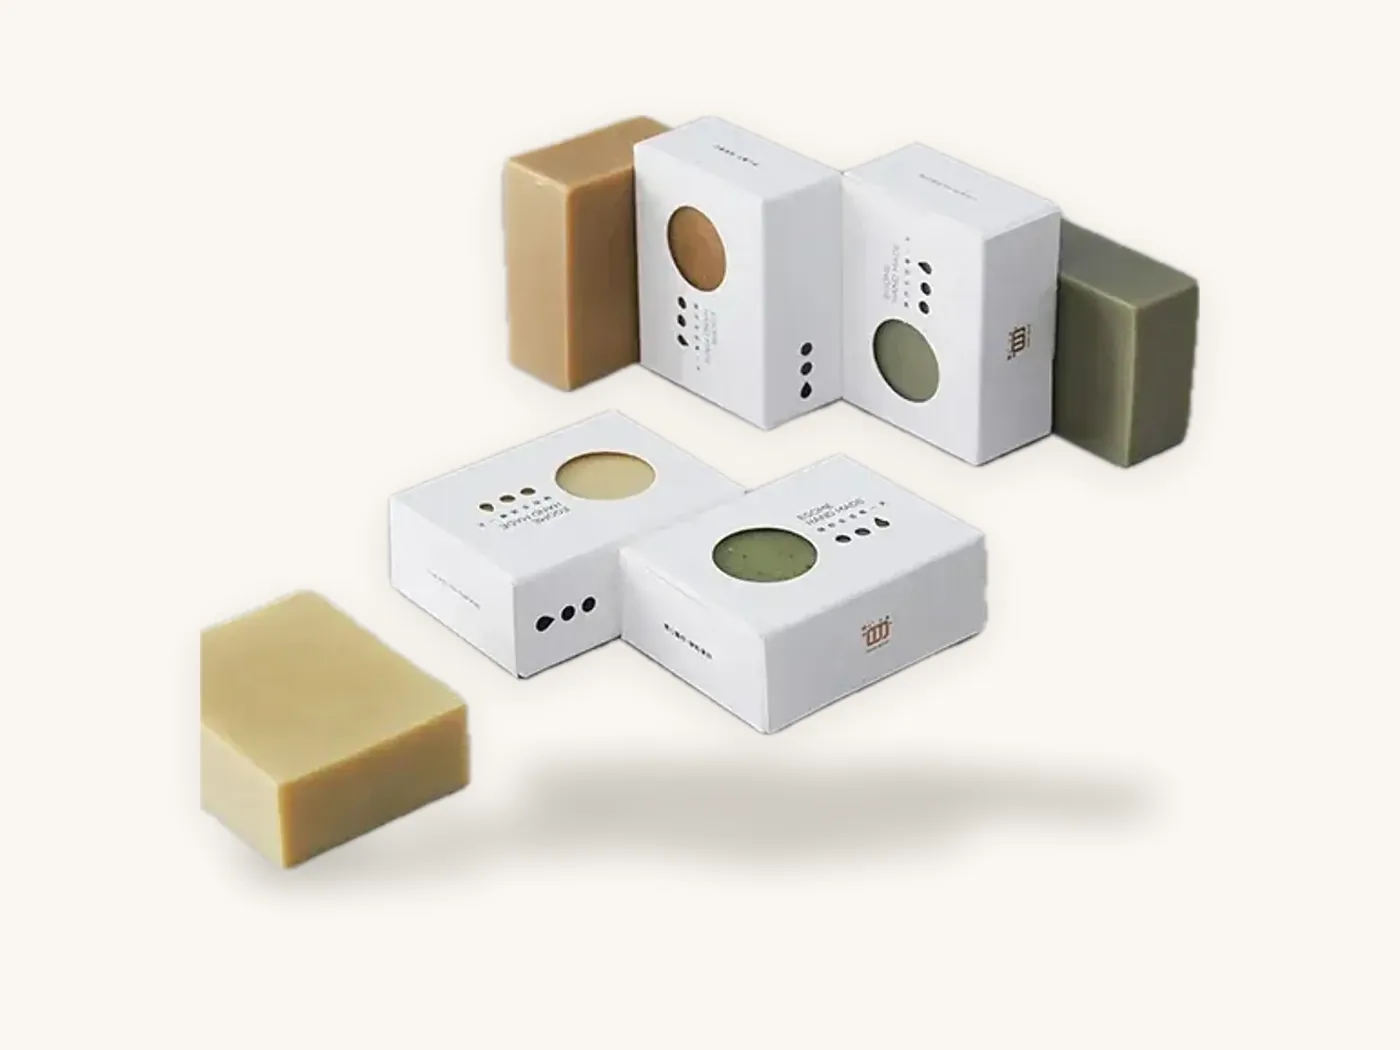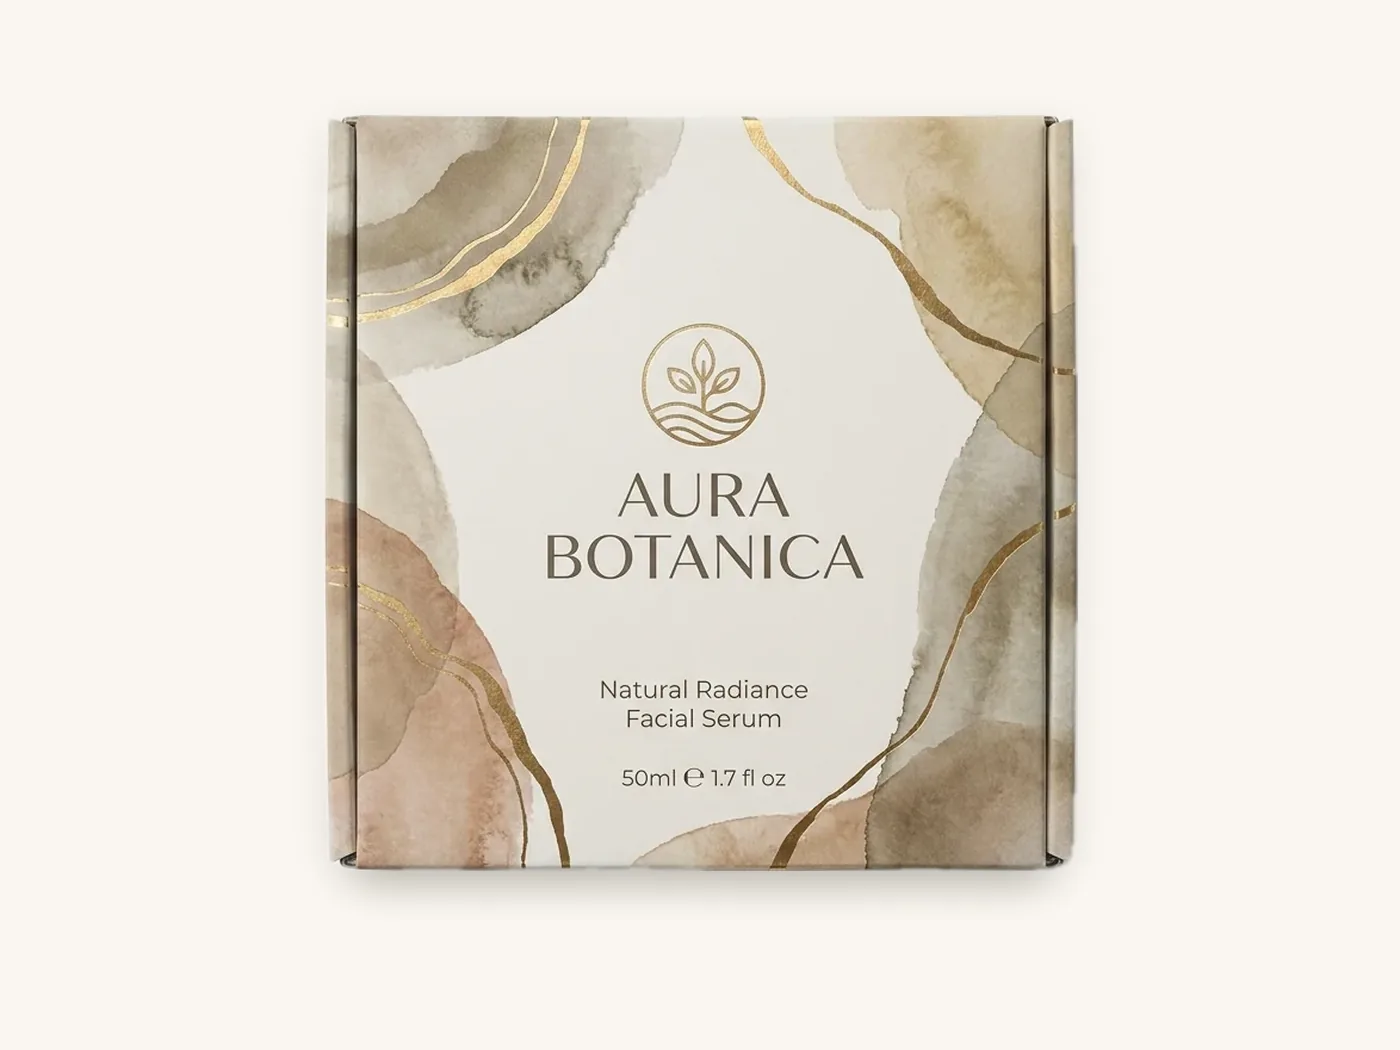
The packaging design process runs in a fixed order: write a brief, choose the structure, develop visual concepts, finalize copy and compliance, build print-ready artwork, approve proofs and samples, then produce. Skipping ahead, especially designing graphics before the box structure is settled, is the most common reason projects stall or get reprinted.
For a straightforward carton or mailer, a well-run project takes roughly four to eight weeks from brief to boxes in hand, and most of that time is decisions and approvals rather than design or printing. Production itself is the shortest phase.
This guide lays out each stage of the process: what happens, who should be involved, what gets handed over at the end, and how long it typically takes. It follows one hypothetical project throughout so you can see how the stages connect. For the hands-on design steps inside the concept stage, see our guide to designing custom boxes.
Key takeaways
- Structure comes before graphics. Pick the box style, size and board first, because the dieline defines every surface the design can use.
- A one-page brief with product specs, channel, budget and a firm in-hand date saves more time than any other step.
- Assign one final approver. Most delays come from feedback arriving late from people who were not in the brief.
- Copy, claims and regulatory panels need review before final artwork, not after the proof.
- Approve in layers: 3D digital proof for layout, structural sample for fit, printed sample for color and finish.
- At Box Sense, standard production takes 8–12 business days after proof approval, so plan the earlier stages backward from your launch date.
The seven stages at a glance
Every packaging project, from a single carton to a full product line, moves through the same stages. The scale changes, not the order.
| Stage | What happens | Main owner | Deliverable | Typical duration |
|---|---|---|---|---|
| 1. Brief | Define product, channel, audience, budget, dates | Founder or brand manager | One-page brief | 2–5 days |
| 2. Structure | Choose style, size, board, inserts; test fit | Packaging supplier with product owner | Dieline and structural sample | 3–10 days |
| 3. Concepts | Explore two or three design directions | Designer | Concept boards on the dieline | 1–2 weeks |
| 4. Copy and compliance | Write and check all text, claims and required panels | Brand, regulatory or counsel | Approved copy deck | 3–10 days, in parallel with concepts |
| 5. Final artwork | Build print-ready files with finishes | Designer, supplier pre-press | Press-ready PDF | 3–7 days |
| 6. Proofing | 3D proof, revisions, optional printed sample | Final approver | Signed-off proof | 2–10 days |
| 7. Production and delivery | Print, die-cut, finish, glue, ship | Manufacturer | Boxes in hand | 8–12 business days plus transit |
These ranges assume a small team and a single structure. Multiple SKUs, retailer approval or custom inserts push each stage toward the longer end.
Stage 1: Write a packaging brief that answers the hard questions
A brief is not a mood board. It is a short document that forces the decisions designers and manufacturers need before they can do useful work.
What goes in the brief
- Product facts: exact dimensions, weight, fragility, and what the product ships in (bottle, pouch, jar)
- Channel: retail shelf, e-commerce shipping, subscription, wholesale or a mix
- Audience and positioning: who buys it, what they compare it against, and the price point
- Must-haves: logo, brand colors, required copy, barcodes, certifications you are allowed to display
- Quantities: launch run and expected reorders
- Budget: a target unit cost, even a rough one
- Dates: the in-hand date, with the reason it matters (launch, trade show, retailer deadline)
- Approver: the one person who signs off
A hypothetical project to follow
Say a small skincare brand is launching three products: a serum in a dropper bottle, a moisturizer in a jar and a cleanser in a tube. They sell mostly online, with a boutique retailer taking a first order. They need a retail carton for each product and one branded mailer that ships any combination. Launch is ten weeks away.
Their brief fits on one page. It names the founder as final approver, sets a launch run of 500 cartons per product and 1,000 mailers, and states that the cartons must look premium on a boutique shelf while the mailer must survive parcel shipping.
Tip: write the in-hand date as the day boxes must be at your door, then work backward through every stage in this guide. If the math does not fit, cut scope now, not during proofing.
Stage 2: Decide the structure before anyone designs graphics
Structure means box style, internal dimensions, board and any inserts or windows. It controls what the box costs, how it protects the product and how much surface there is to design.
Choosing styles
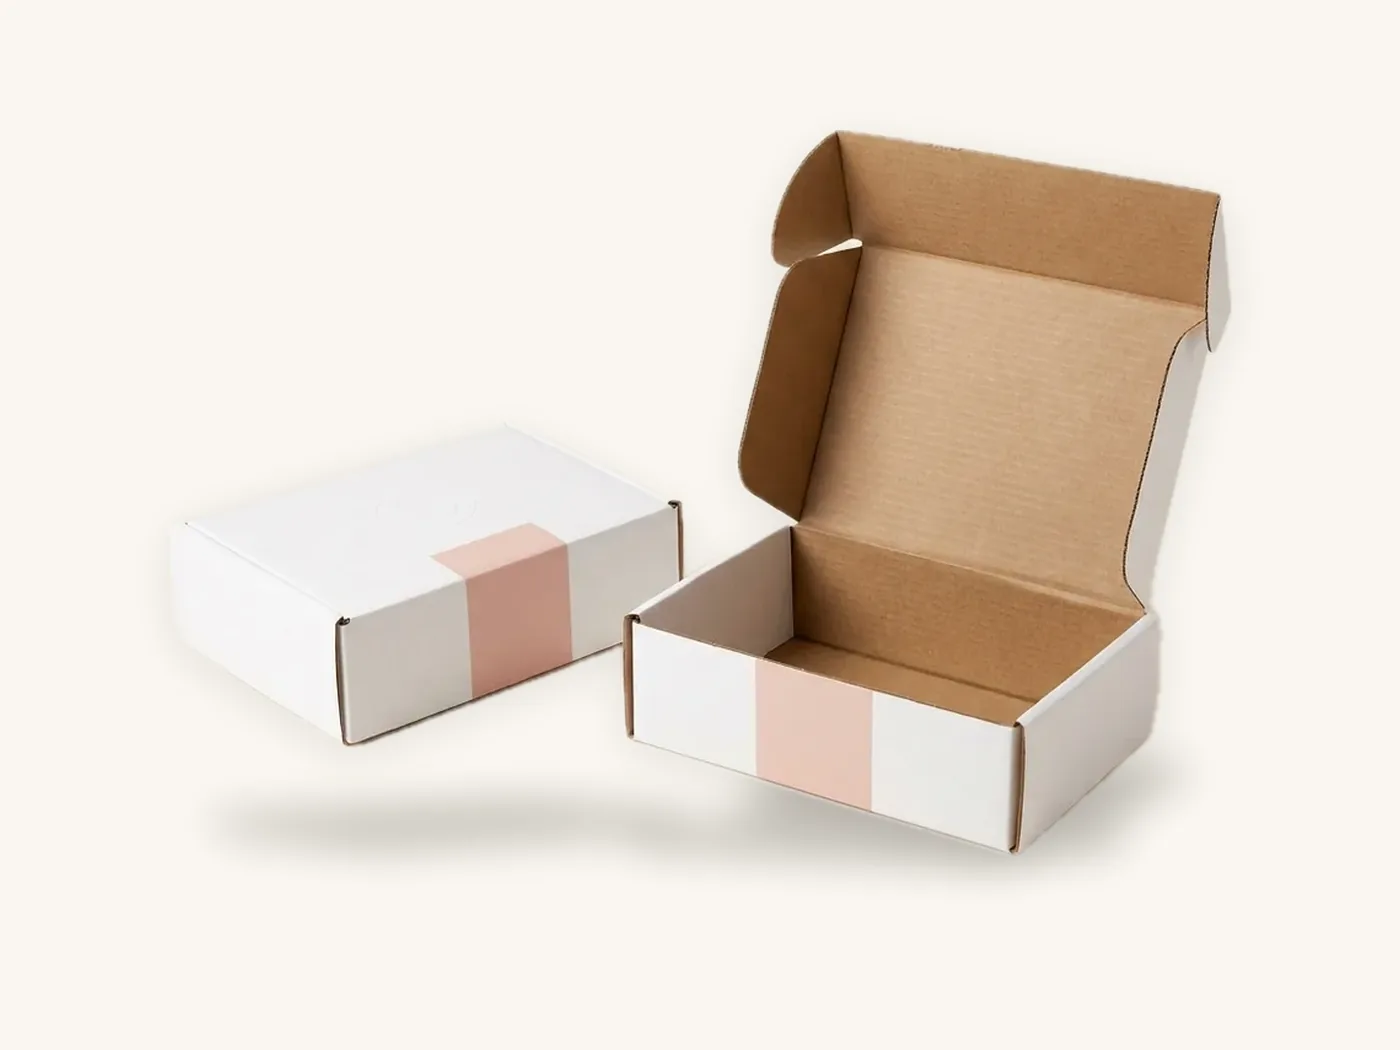
For retail cartons, the usual options are tuck end cartons, auto lock bottom cartons for heavier items, and rigid boxes for premium gift sets. For shipping, a corrugated mailer is standard. Our box styles glossary compares them.
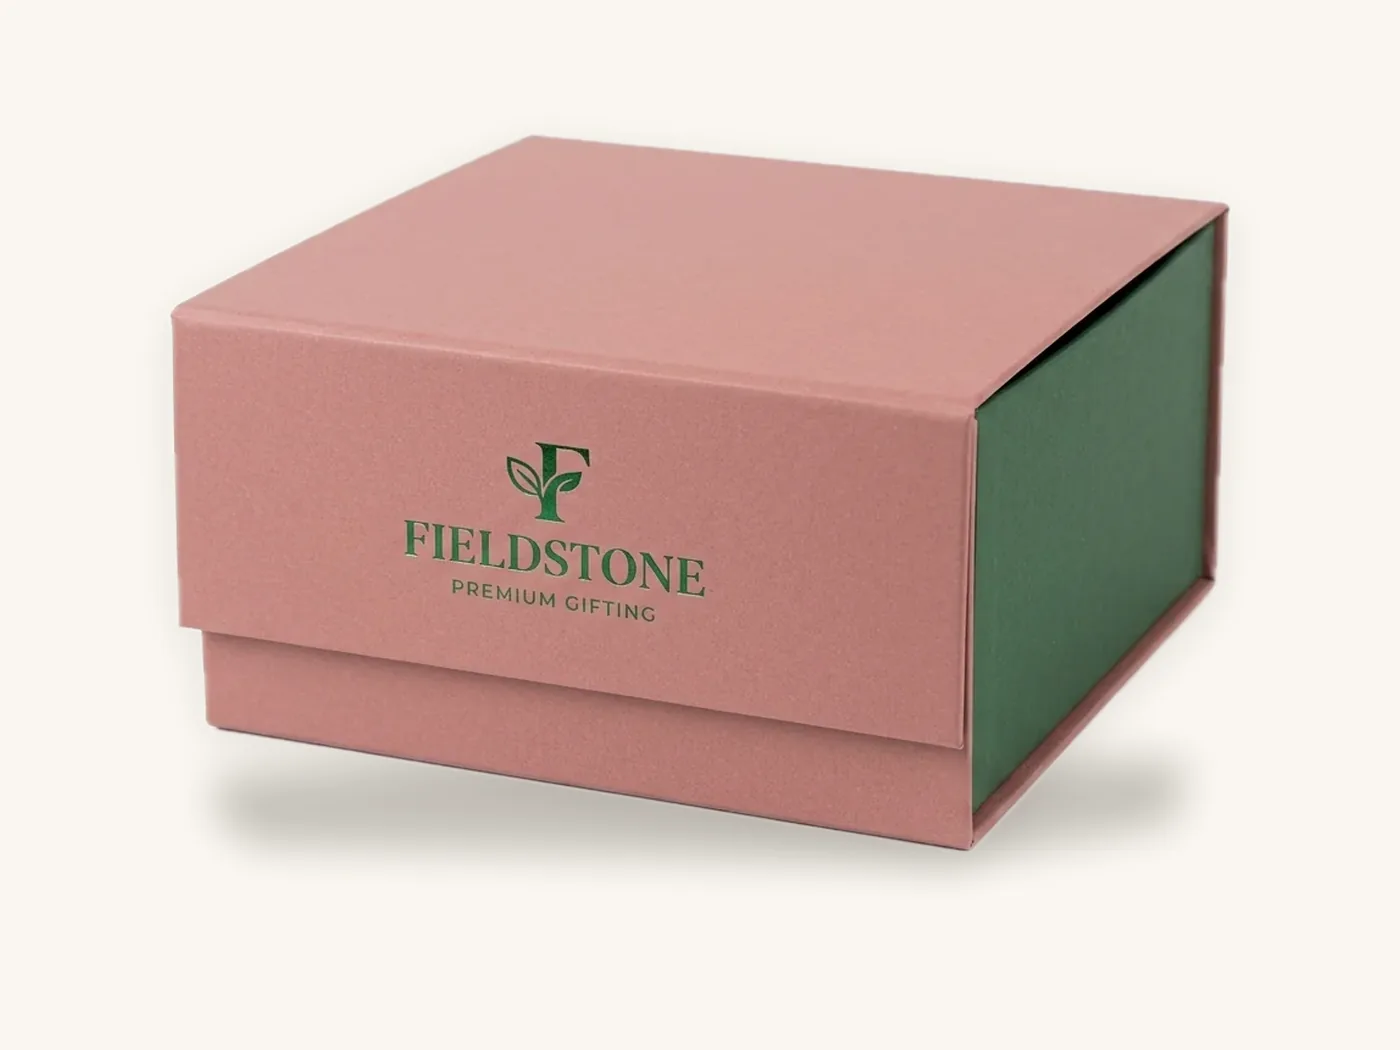
In the skincare example, the team chooses cosmetic boxes in 18 pt SBS paperboard for all three products, sized to each container, and an E-flute custom mailer box with a paperboard insert that holds any of the three cartons.
Getting the dieline and testing fit
Once style and size are agreed, the supplier draws a dieline for each box. This is the template every later stage works on, so it is worth understanding; our guide on what a dieline is explains how to read one.
Order an unprinted structural sample and test it with the actual product. Check that the container slides in without force, the closures meet, and the mailer insert holds cartons snugly. Changing a dimension now costs nothing. Changing it after artwork is built means redoing every panel.
Stage 3: Develop design concepts on the real dieline
With structure settled, the designer explores visual directions. Good concepts are drawn on the actual dieline from day one so they reflect real panel proportions.
How many concepts
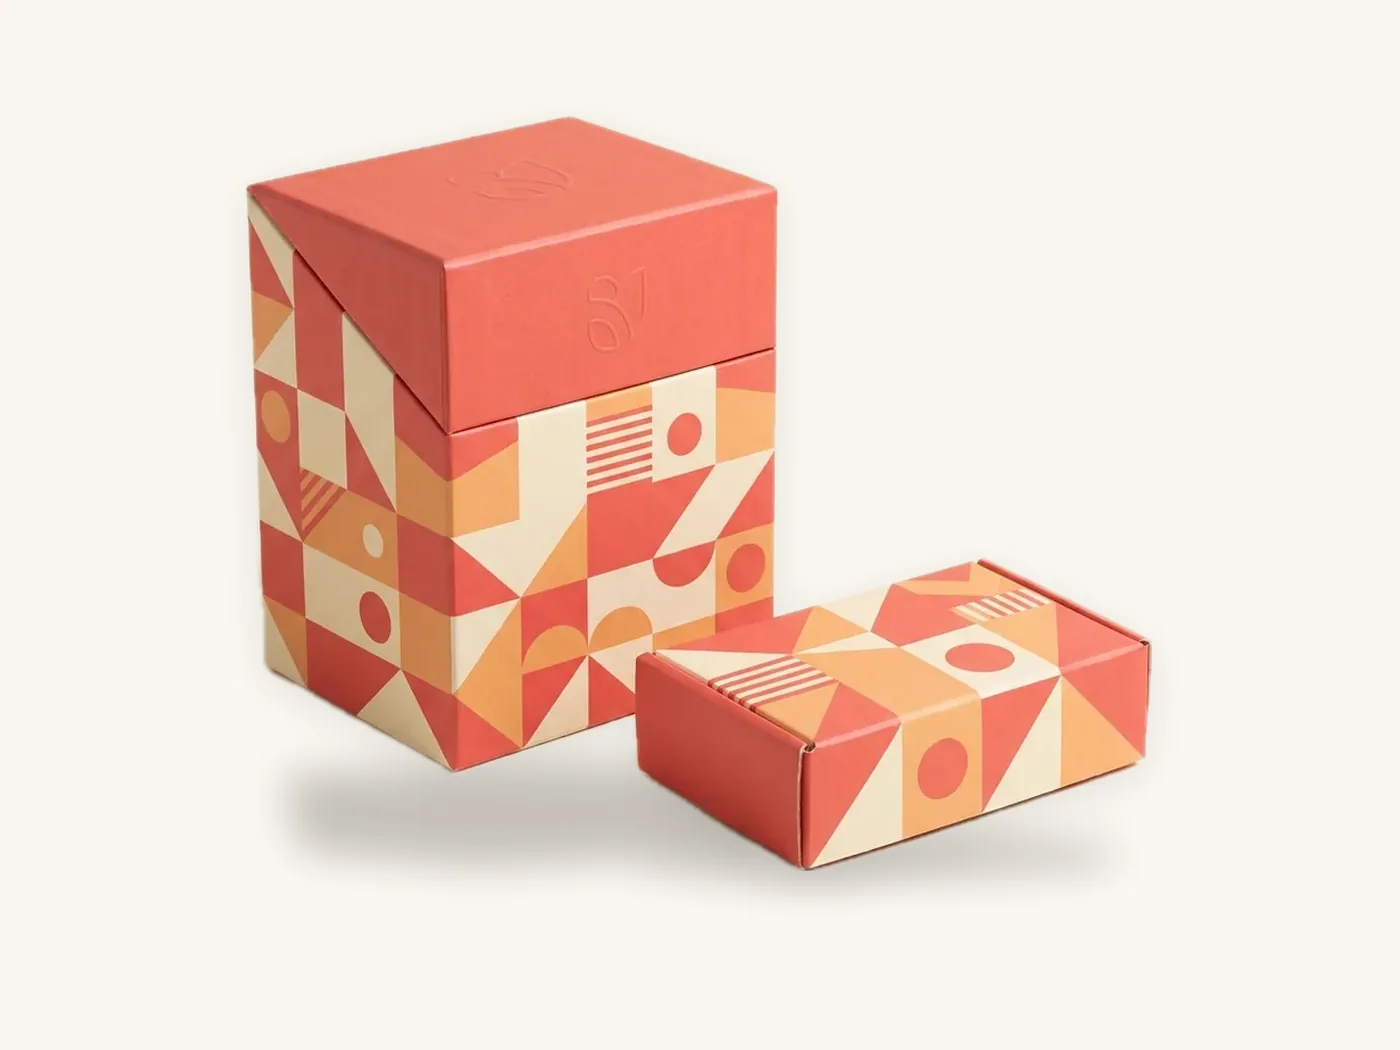
Two or three distinct directions is enough. More options usually lead to a blended compromise that is weaker than any single idea. Each concept should show the front panel, one side, the back and, for a mailer, the inside lid.
What to judge concepts on
Judge against the brief, not personal taste. Ask:
- Can a shopper identify the brand and product type from arm's length?
- Does the hierarchy work: brand, product name, key benefit, then details?
- Will the design work across all three SKUs with only color or name changes?
- Does it rely on finishes, like foil, that fit the budget?
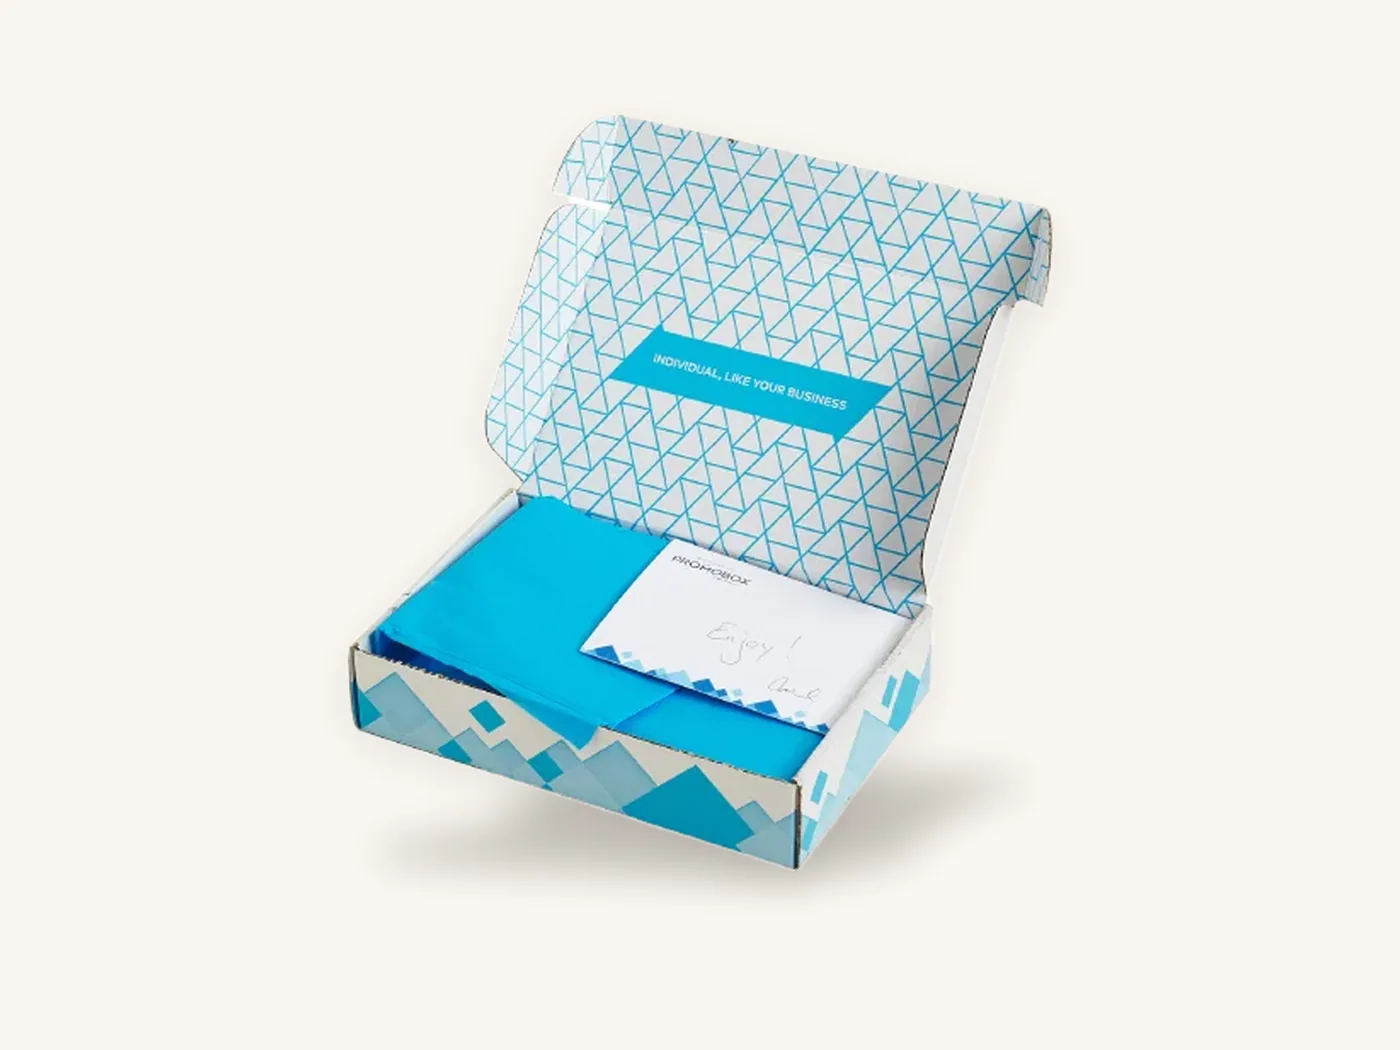
- Does the mailer's inside lid create a moment worth opening for? Our unboxing experience ideas cover what makes that moment land.
Type choices deserve their own review at this stage. Small panels and long ingredient lists punish decorative fonts; the packaging typography guide covers readable pairings.
Narrowing to one direction
Choose one concept, then refine it through one or two rounds. At the end of this stage, the design should be complete on one SKU and roughed out on the rest.
Stage 4: Finalize copy, claims and compliance
Copy is usually the last thing people think about and the first thing that forces a reprint. Run this stage in parallel with concepts so text is locked before final artwork.
Build a copy deck
A copy deck is a simple document listing every word on every panel: product name, descriptor, benefit lines, directions, warnings, ingredients, net contents, company name and address, country of origin, website and social handles. Designers place text from the deck instead of typing it, which prevents transcription errors.
Check regulatory requirements
Requirements depend on product category and market. Cosmetics, food, dietary supplements, children's products and cannabis products each have labeling rules set by agencies such as the FDA and CPSC or by state programs. Confirm current requirements with the regulator or counsel before approving copy. Our cosmetic labeling requirements guide is a useful starting point for beauty brands.
Substantiate marketing claims
Words like "recyclable", "clean", "natural" or "clinically proven" need evidence. Environmental claims in the US are addressed by the FTC's Green Guides, so qualify them carefully.
| Copy element | Who should review it | Common problem |
|---|---|---|
| Product name and descriptor | Brand owner | Inconsistent naming across SKUs |
| Ingredient or component list | Formulator or supplier | Outdated formula version |
| Warnings and directions | Regulatory advisor or counsel | Missing required statements |
| Net contents | Operations | Units or format do not match the product |
| Environmental claims | Counsel or sustainability lead | Unqualified "recyclable" or "compostable" |
| Barcode | Operations | Wrong number assigned to the SKU |
| Company address and website | Brand owner | Typos, old addresses |
Stage 5: Build final, print-ready artwork
Final artwork turns the approved concept into files a factory can print without interpretation. The designer applies copy from the deck, places barcodes, sets colors, and puts finishes like foil or spot UV on separate layers.
This stage is technical: bleed, safe zones, CMYK and spot colors, image resolution, outlined fonts and PDF export all need to be correct. Our artwork preparation guide covers every setting in detail, so this guide will not repeat it.
Who is involved
The designer builds files. The supplier's pre-press team checks them and flags problems. The brand owner reviews only for content, not for file settings, which keeps feedback focused.
Working across SKUs
For a product line, build one master file and derive the others from it. In the skincare example, the serum carton is finished first, then duplicated and adjusted for the moisturizer and cleanser. Anything shared, like logo placement and back-panel layout, stays identical.
Stage 6: Proofs, samples and sign-off
Proofing is where you catch problems while they are still free to fix. Approve in layers, because each proof type checks something different.
The three proof layers
| Proof type | What it confirms | What it cannot confirm | When to use it |
|---|---|---|---|
| 3D digital proof | Layout, orientation, copy placement, overall look | Exact color, finish feel, physical fit | Every project |
| Structural sample | Fit, closure, insert function, shipping durability | Printed appearance | New sizes, inserts, fragile products |
| Printed sample | Color on the real board, finish effects, final impression | Nothing major; it is the closest to production | Color-critical brands, retail launches, large runs |
A deeper comparison is in our guide to packaging mockups and 3D proofs, and the samples page explains what Box Sense provides.
How to review a proof
- Check against the copy deck, line by line, for every panel.
- Fold a printout of the flat proof to confirm every panel reads the right way up.
- Check barcodes with a scanning app on a printed copy.
- Look at the finish layers alone to make sure foil or spot UV lands only where intended.
- Compare colors against a physical reference, not a different screen.
- Collect all feedback into one list from the final approver, then send it once.
- Sign off in writing only when every item is resolved.
Watch out: feedback that arrives after sign-off, especially from someone outside the brief, is the single biggest cause of missed launch dates. Share the proof with every stakeholder at the same time and set a firm response deadline.
Stage 7: Production, delivery and the post-launch review
After proof approval, production is the most predictable stage. Boxes are printed, die-cut, finished, glued where required, packed flat and shipped.
What happens on the factory floor
Short runs are typically printed digitally; larger runs go to offset. Finishes such as foil or soft-touch lamination are applied, then sheets are die-cut into flat box shapes and folded or glued as the style requires. Quality checks happen along the way.
Receiving and checking the order
When boxes arrive, open several cartons from different parts of the shipment. Assemble a handful, pack real product, and ship one mailer to yourself. Report any defect promptly with photos.
The post-launch review
A month after launch, gather what you learned: packing speed, damage reports, customer comments, retailer feedback and actual cost per unit. Note what should change on the reorder. This turns a one-off project into a repeatable packaging program.
Building a realistic timeline
Here is how the ten-week skincare launch could lay out, working backward from the in-hand date. It is hypothetical, but the proportions are typical.
| Week | Activity | Decision gate |
|---|---|---|
| 1 | Brief written and shared; supplier quote requested | Brief approved by founder |
| 2 | Structure chosen; dielines received; structural samples ordered | Sizes locked |
| 3–4 | Concepts developed; copy deck drafted in parallel | One concept chosen |
| 5 | Design refined; copy reviewed by advisor | Copy locked |
| 6 | Final artwork built for all SKUs | Files pass pre-press check |
| 7 | 3D proofs reviewed, one revision round | Proof signed off |
| 8–9 | Production, 8–12 business days | None; factory stage |
| 10 | Delivery, inspection, packing trial | Launch |
The buffer is thin. If the brand wanted a printed sample before production, they would need to start one week earlier or approve rush production.
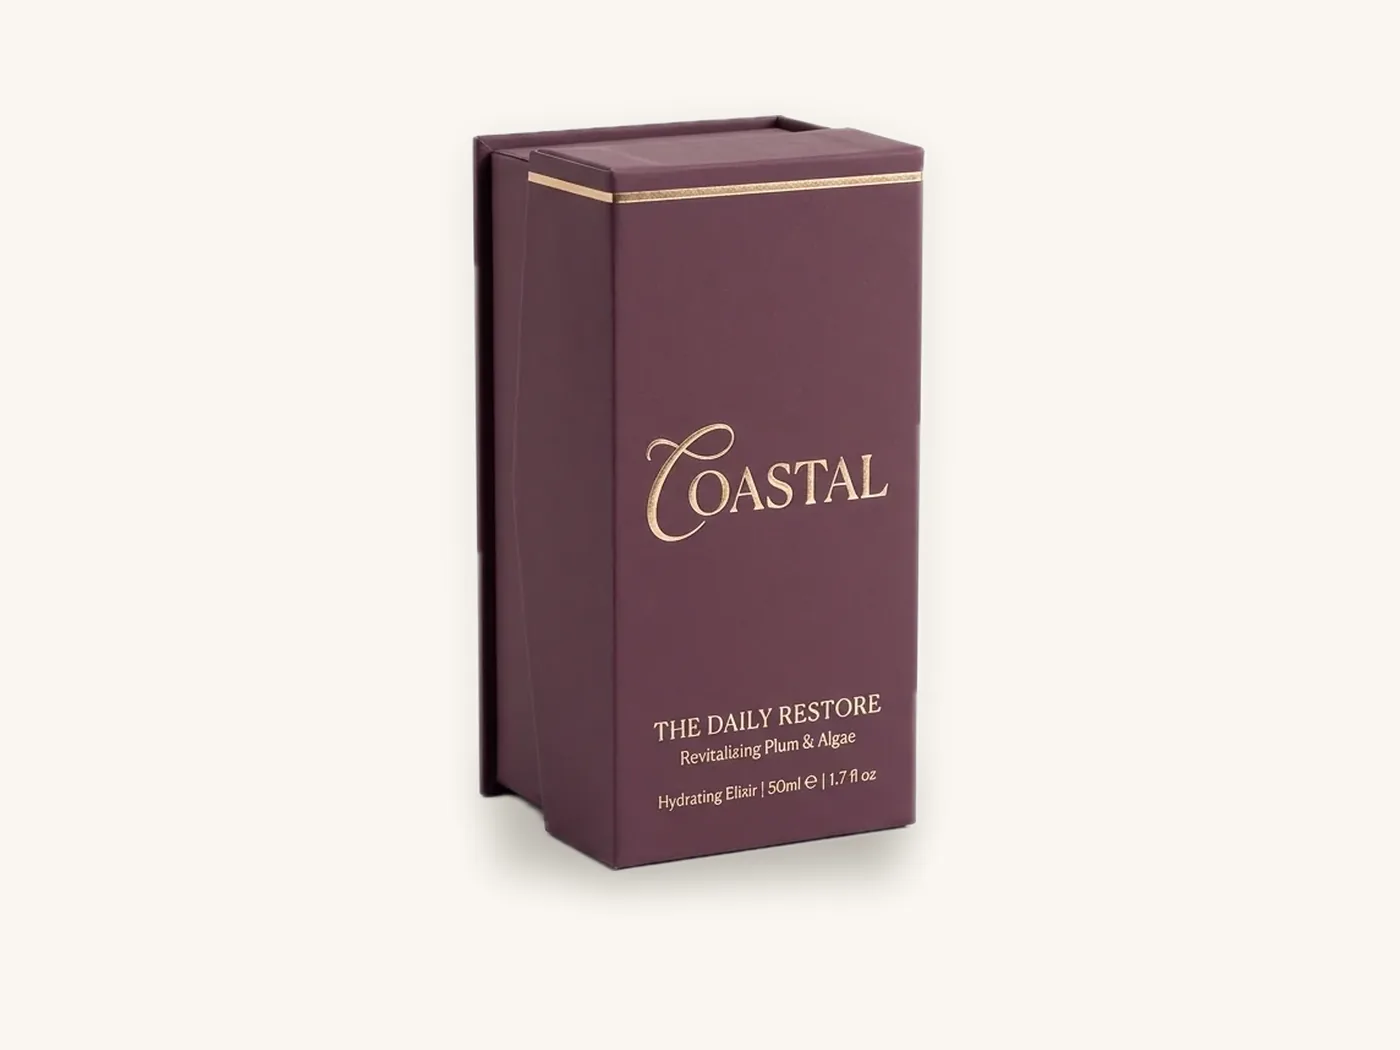
Budgeting alongside the timeline
Cost decisions should happen at the structure and concept stages, when they are cheap to change. As a reference, a cosmetic carton in 18 pt SBS at 2.5x2.5x6 in, full color with soft-touch lamination and foil, is about $1.93 each at 100 units, about $1.03 at 500 and about $0.86 at 1,000, including US shipping. Foil carries a one-time tooling charge of about $60. Check your own spec in the price estimator.
Running the process with Box Sense
Box Sense is a manufacturer with in-house printing, die-cutting, gluing and finishing, so the structure, proofing and production stages happen with one team. The how it works page summarizes the flow.
What we handle
- Quote within 24 hours once you send product specs, style and quantities
- Free design support: dieline, artwork setup, a 3D digital proof and two revision rounds, through our design services team
- Samples: unprinted structural samples free; a printed sample of approved artwork free on orders of 100 or more
- Production: 8–12 business days after proof approval as standard, or rush in 5 business days on most paperboard and corrugated styles
- Delivery: free shipping on every US order; international shipping quoted at cost
What to bring
Your brief, product dimensions, a copy deck if you have one, logo files and brand colors, quantities and an in-hand date. The minimum order is 10 boxes, so you can run a small pilot of a new custom product box before committing to a full launch quantity. There are no die or plate charges; one-time tooling applies only to foil, embossing, spot UV and custom inserts. Brands in beauty can also browse the cosmetics and beauty packaging range.
Frequently asked questions
What are the steps in the packaging design process?
The main steps are: write a brief, choose the box structure and get a dieline, develop design concepts, finalize copy and compliance, build print-ready artwork, approve proofs and samples, then produce and deliver. Structure should always come before graphics, because the box style and size determine every surface the design can use.
How long does the packaging design process take?
For a single carton or mailer, roughly four to eight weeks from brief to boxes in hand is realistic. Briefing and structure take one to two weeks, concepts and copy two to three, artwork and proofing one to two, and production 8–12 business days after proof approval at Box Sense. Multiple SKUs or retailer approvals add time.
What should a packaging design brief include?
Include product dimensions and weight, sales channel, target audience and price point, required elements such as logo, colors and mandatory copy, launch and reorder quantities, a target unit cost, the date boxes must be in hand, and the name of the single person who approves the final design. Keep it to one page so everyone actually reads it.
Should I design the packaging graphics or the box structure first?
Structure first. The box style, internal dimensions and board decide panel sizes, fold positions and where artwork can go. If graphics are designed before structure is locked, a size change forces the designer to rebuild every panel. Get the dieline and test a structural sample with your real product before concept work starts.
Who needs to approve packaging design?
Name one final approver, usually the founder or brand manager. Other stakeholders, such as operations, a formulator, a regulatory advisor or a retail buyer, should review specific parts at set stages and send feedback to that approver. Sharing proofs with everyone at once and setting a deadline prevents late changes that delay production.
What is the difference between a digital proof and a printed sample?
A 3D digital proof shows layout, orientation and copy placement on a rendered box, and it is fast to revise. A printed sample is made on the real board with real finishes, so it confirms color and feel. Use a digital proof on every project and add a printed sample when exact color or a retail launch is at stake.
Can I make changes after approving the proof?
Changes after proof approval usually mean re-proofing and restarting the production schedule, and changes after printing mean a reprint. That is why every stakeholder should review before sign-off. Catch copy issues at the copy deck stage and structural issues at the sample stage, when changes are free and quick.
Next steps
Write your one-page brief, set your in-hand date and work backward through the seven stages. When your specs are ready, check costs in the instant price estimator and request a quote to start the structure stage. We confirm pricing within 24 hours and send dielines so concept work can begin on the right box.
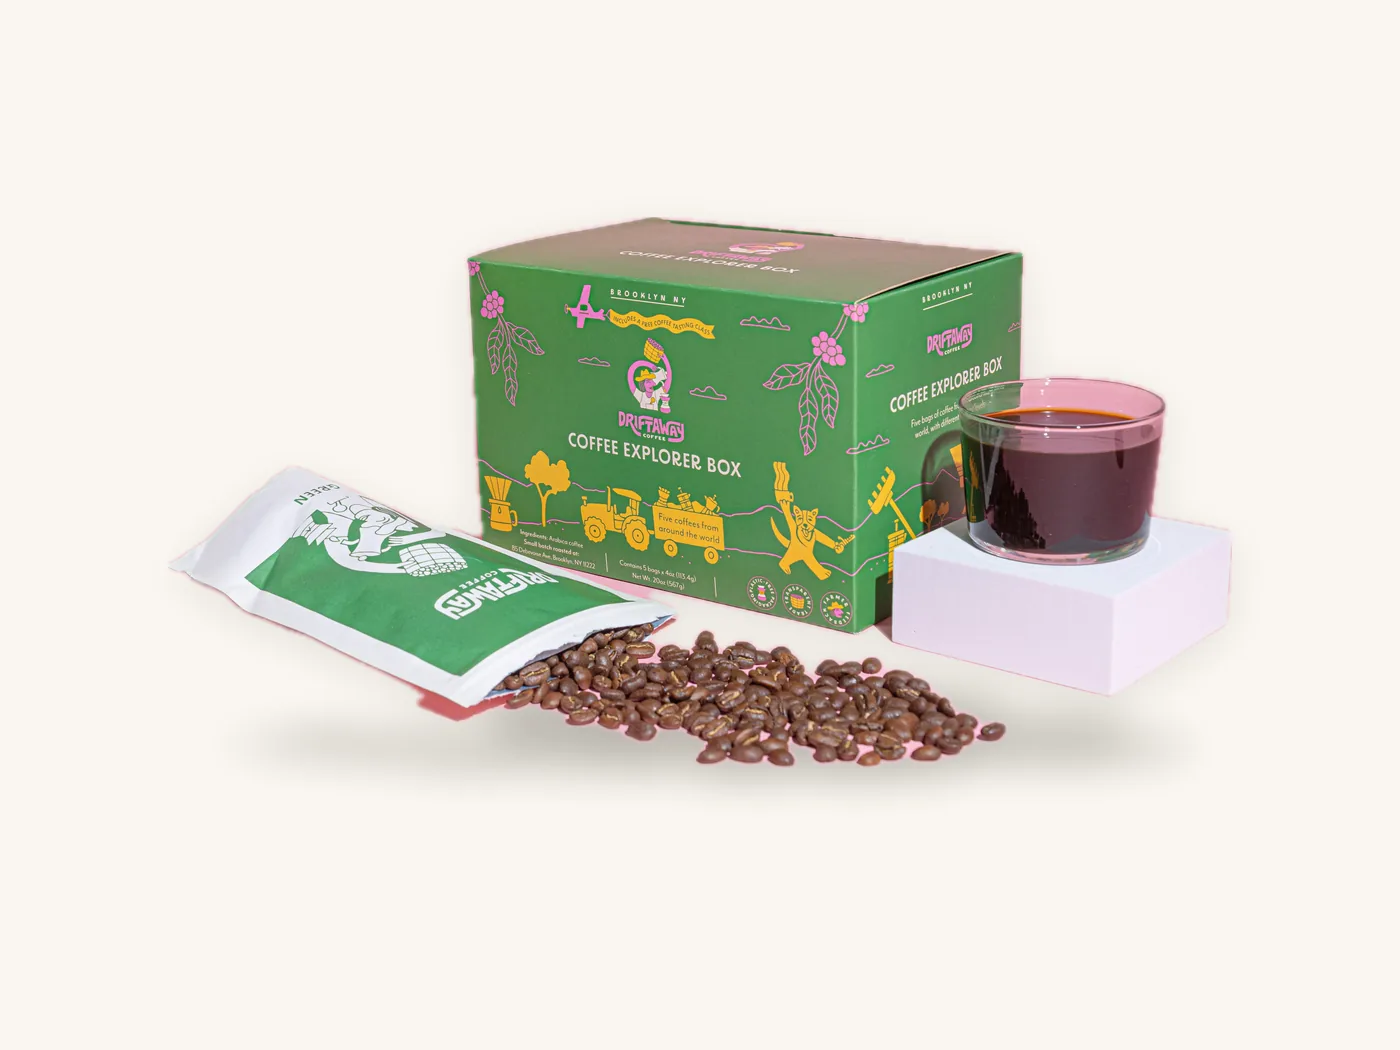
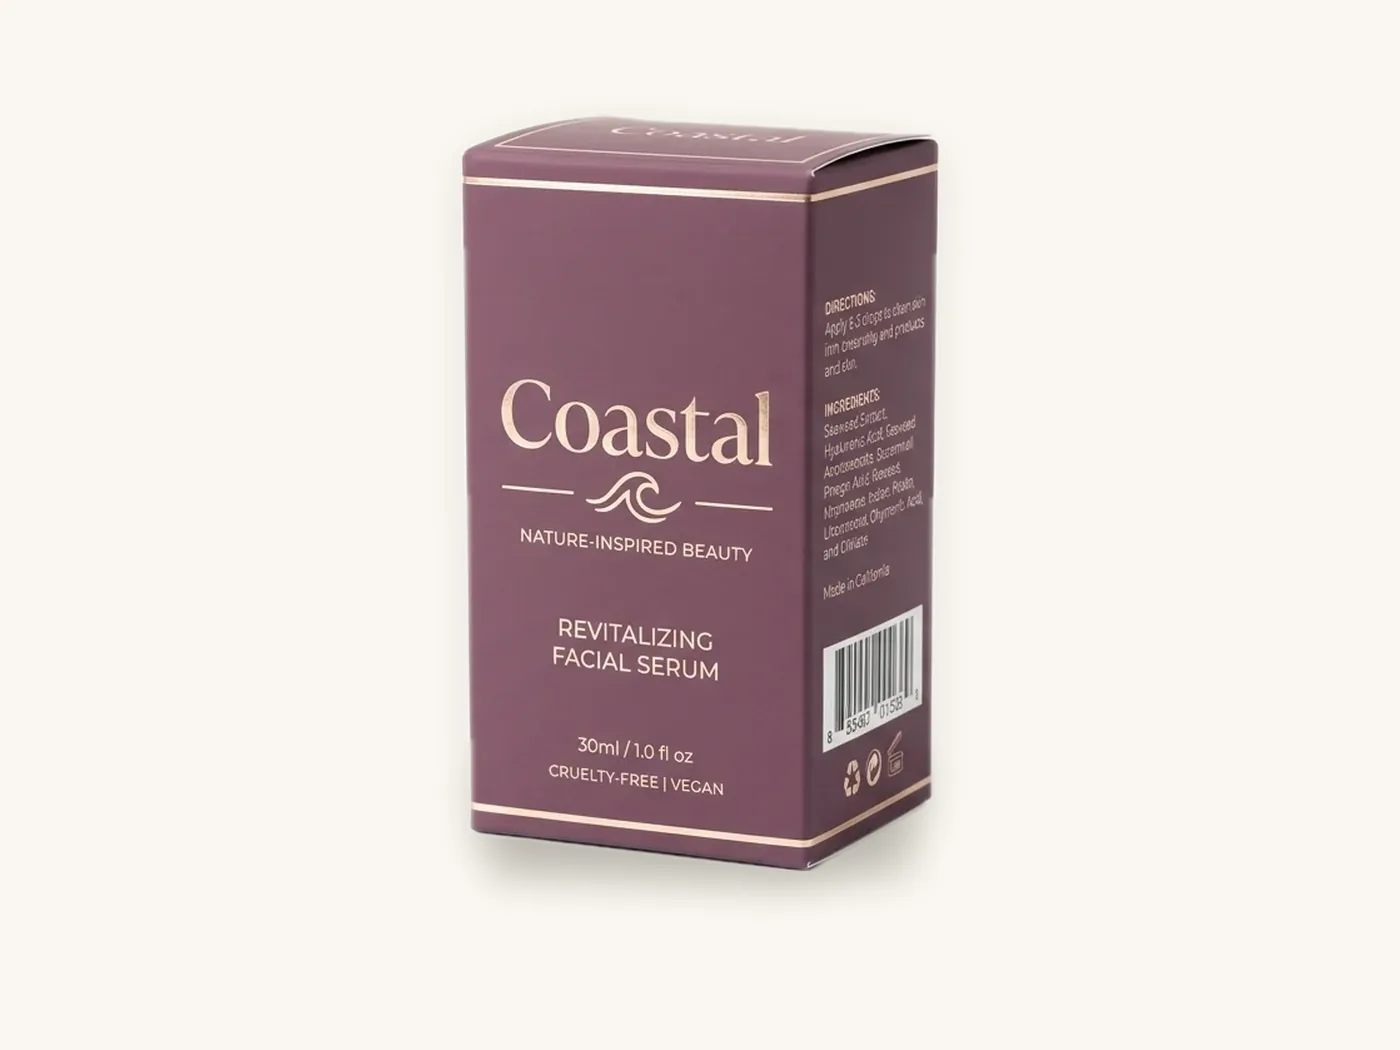
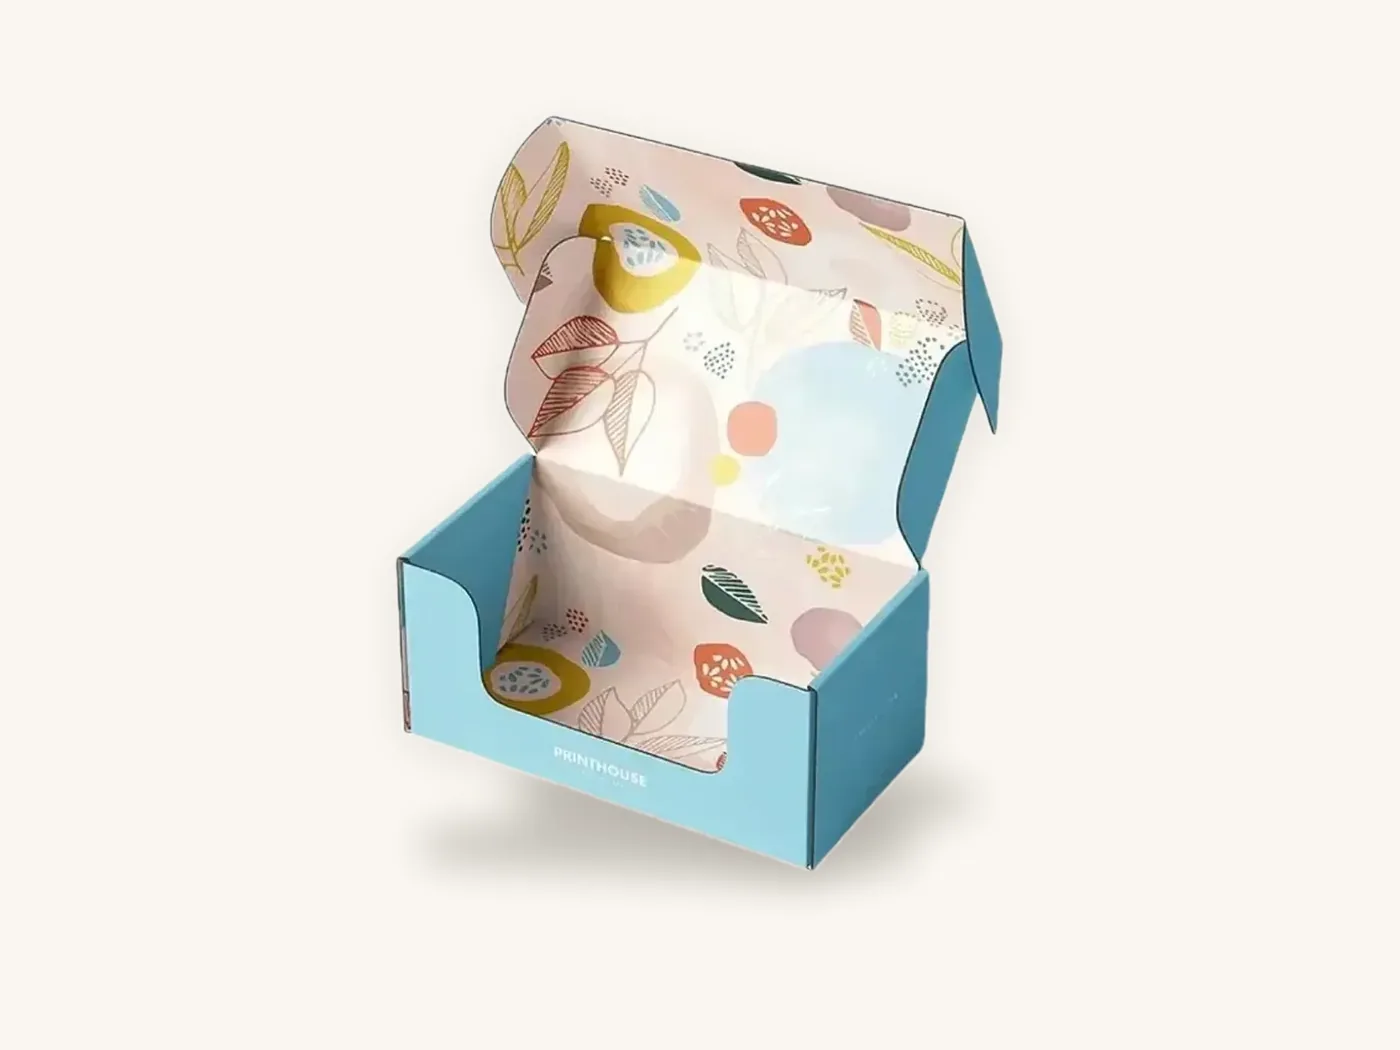
Boxes in this guide
Order the packaging we covered
Written by the Box Sense Packaging Team
Our structural designers, prepress technicians and production staff print and convert custom boxes every day for brands in the United States, United Kingdom and UAE. Questions about this guide? Talk to us.