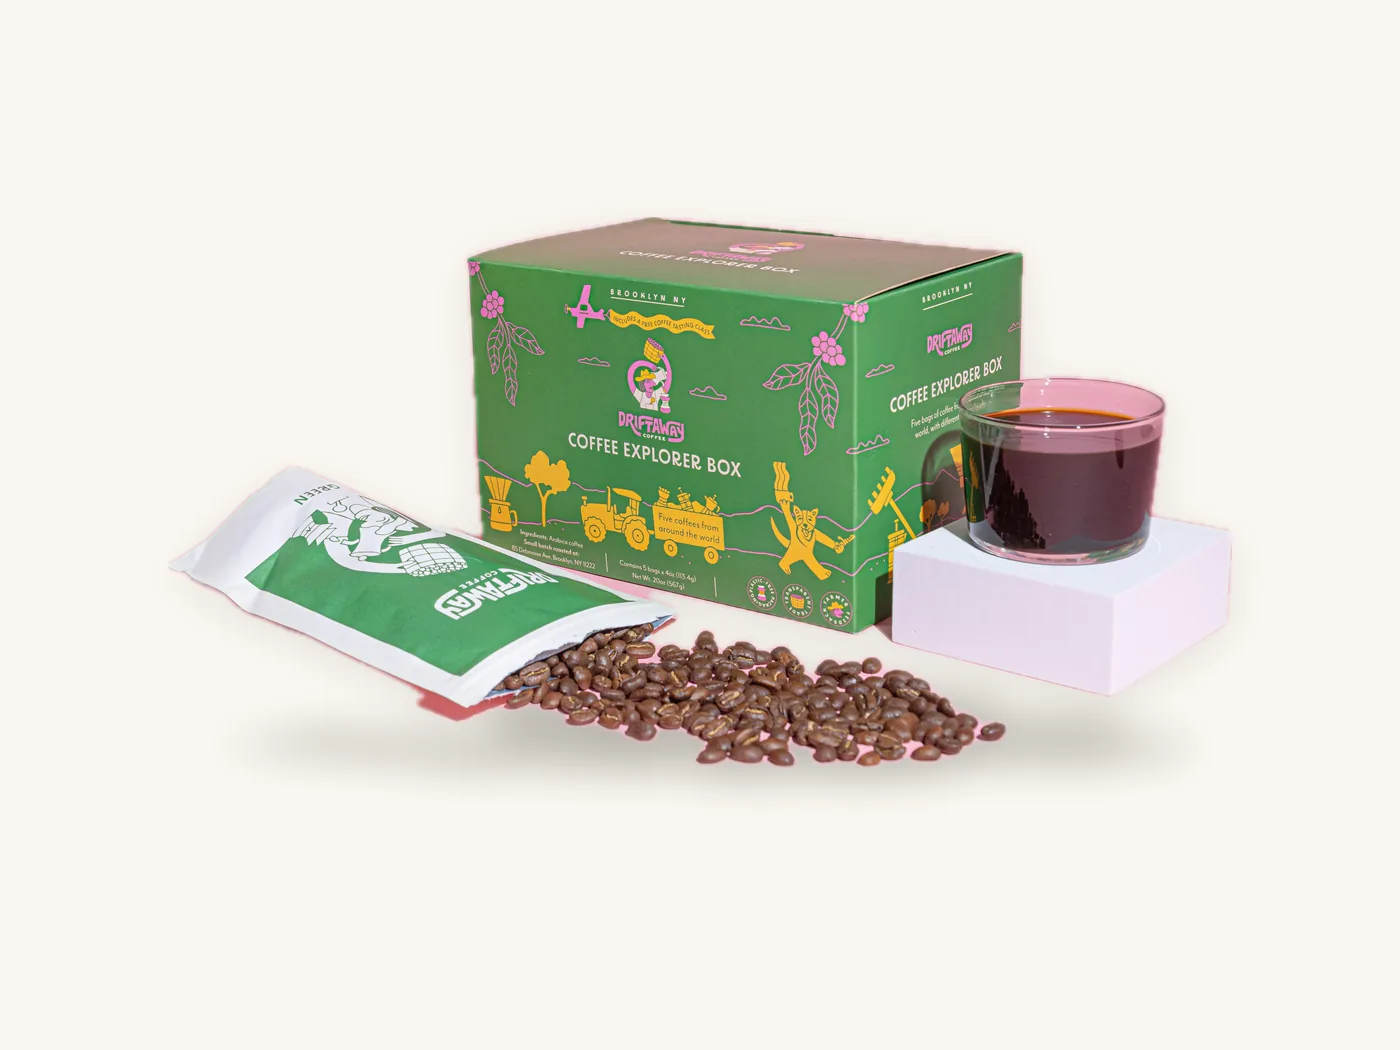
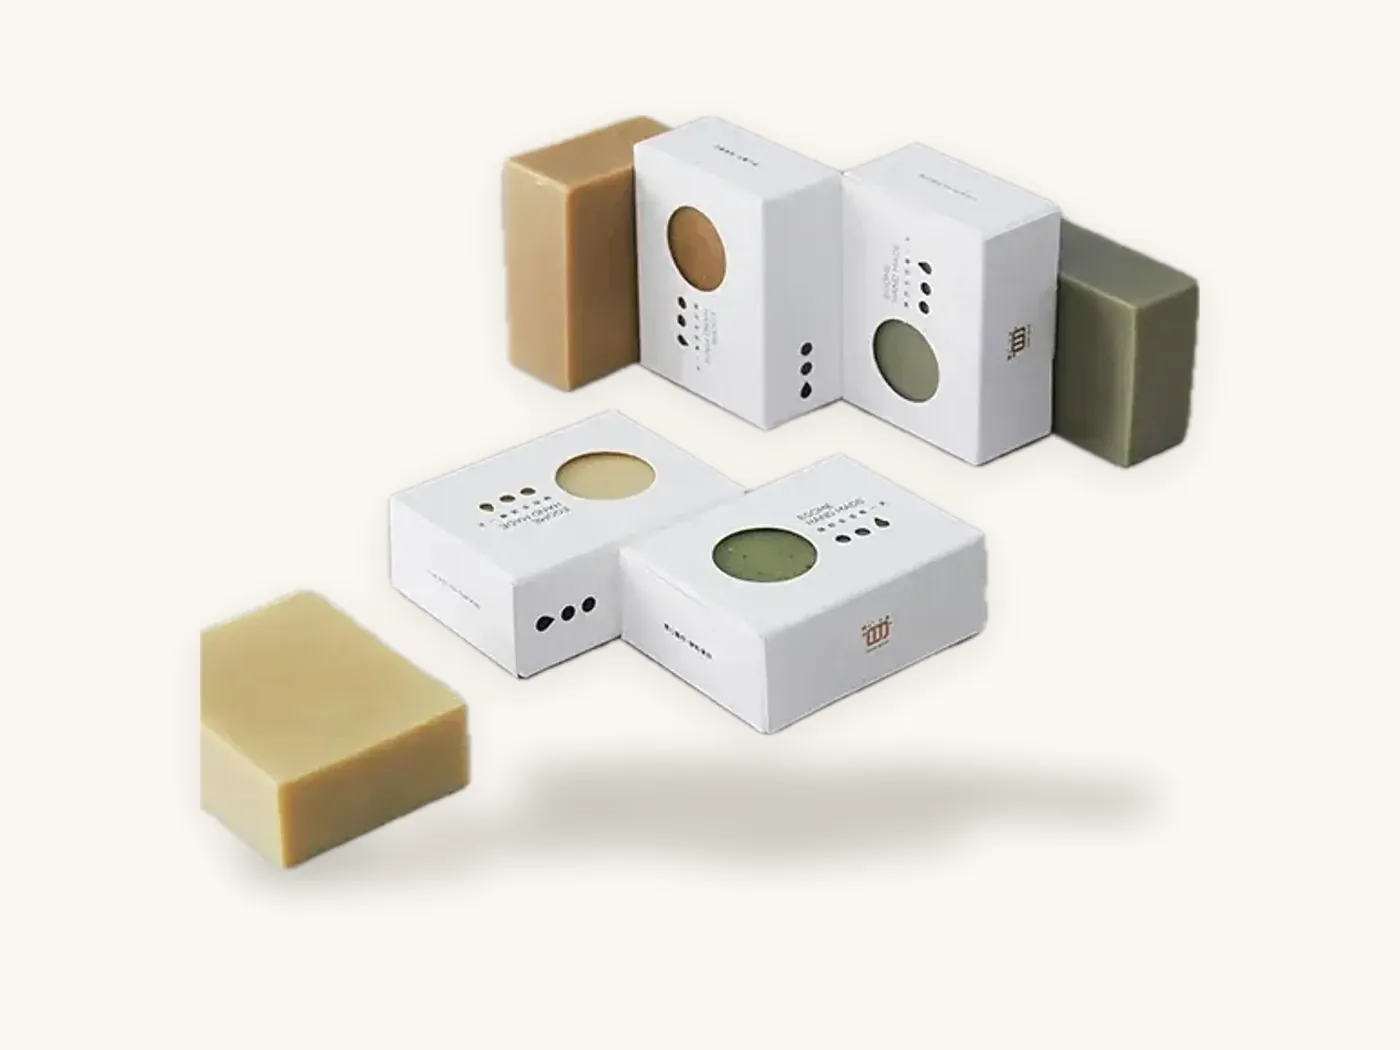
A memorable unboxing experience comes from a planned sequence, not from piling extras into a box. The customer should meet one deliberate moment at each stage: a clean exterior that arrives intact, an easy and satisfying opening, a first reveal inside the lid, a product presented exactly where the eye lands, and something that gives them a reason to keep, share or reorder.
The 12 ideas below are organized in that order, from the doorstep to the recycling bin. Each one explains what it does, what it changes in the box specification and roughly what it adds to cost, so you can pick the few that matter for your brand instead of adding all of them. They apply to subscription boxes, direct-to-consumer mailers, PR kits and gift orders alike.
Key takeaways
- Plan the opening as a sequence of five stages: arrival, opening, first reveal, product presentation and after the box is open. Give each stage one clear moment.
- The inside lid is the most valuable print surface on a mailer, because it is seen at the exact moment the customer is paying attention.
- A snug fit and a die-cut insert do more for perceived quality than extra fill, stickers or cards.
- Several of the most effective unboxing ideas cost little: a single inside-lid message, a tissue wrap with one sticker seal, a printed card.
- For subscription brands, rotating artwork on a fixed box structure keeps each month fresh without new sizing or tooling.
- Test the full unboxing with a short run and film it on a phone before ordering hundreds of boxes.
Map the unboxing sequence before choosing ideas
Most disappointing unboxings are not caused by a cheap box. They come from moments that work against each other: a beautiful interior hidden under loose fill, a tight tuck flap that tears the lid, or a product that slides into a corner in transit. Mapping the sequence first prevents that.
| Stage | What the customer experiences | Packaging elements involved | Typical cost level |
|---|---|---|---|
| 1. Arrival | Box on the doorstep or in the mailroom, possibly handled roughly | Board grade, exterior print, tape or tear strip, shipping label area | Low to moderate |
| 2. Opening | Breaking the seal and lifting the lid | Tear strip, tuck flap design, custom tape, sticker seal | Low |
| 3. First reveal | The first thing seen inside | Inside-lid print, tissue wrap, top card | Low to moderate |
| 4. Product presentation | How products sit and in what order they are discovered | Inserts, dividers, layering, fill | Moderate |
| 5. After opening | What happens to the box, the card and the customer's attention | Keepable structure, recycling guidance, QR code, referral card | Low |
Decide which stage matters most for your product. A skincare subscription might invest in the first reveal and presentation. A coffee roaster shipping refills might focus on arrival and a quick, tidy opening. The e-commerce and subscription packaging page shows common combinations.
Ideas 1–3: Make the outside arrive right
The exterior sets expectations before the box is opened. It also has to survive the parcel network, so function comes first.
1. Choose the right mailer structure and board for the trip
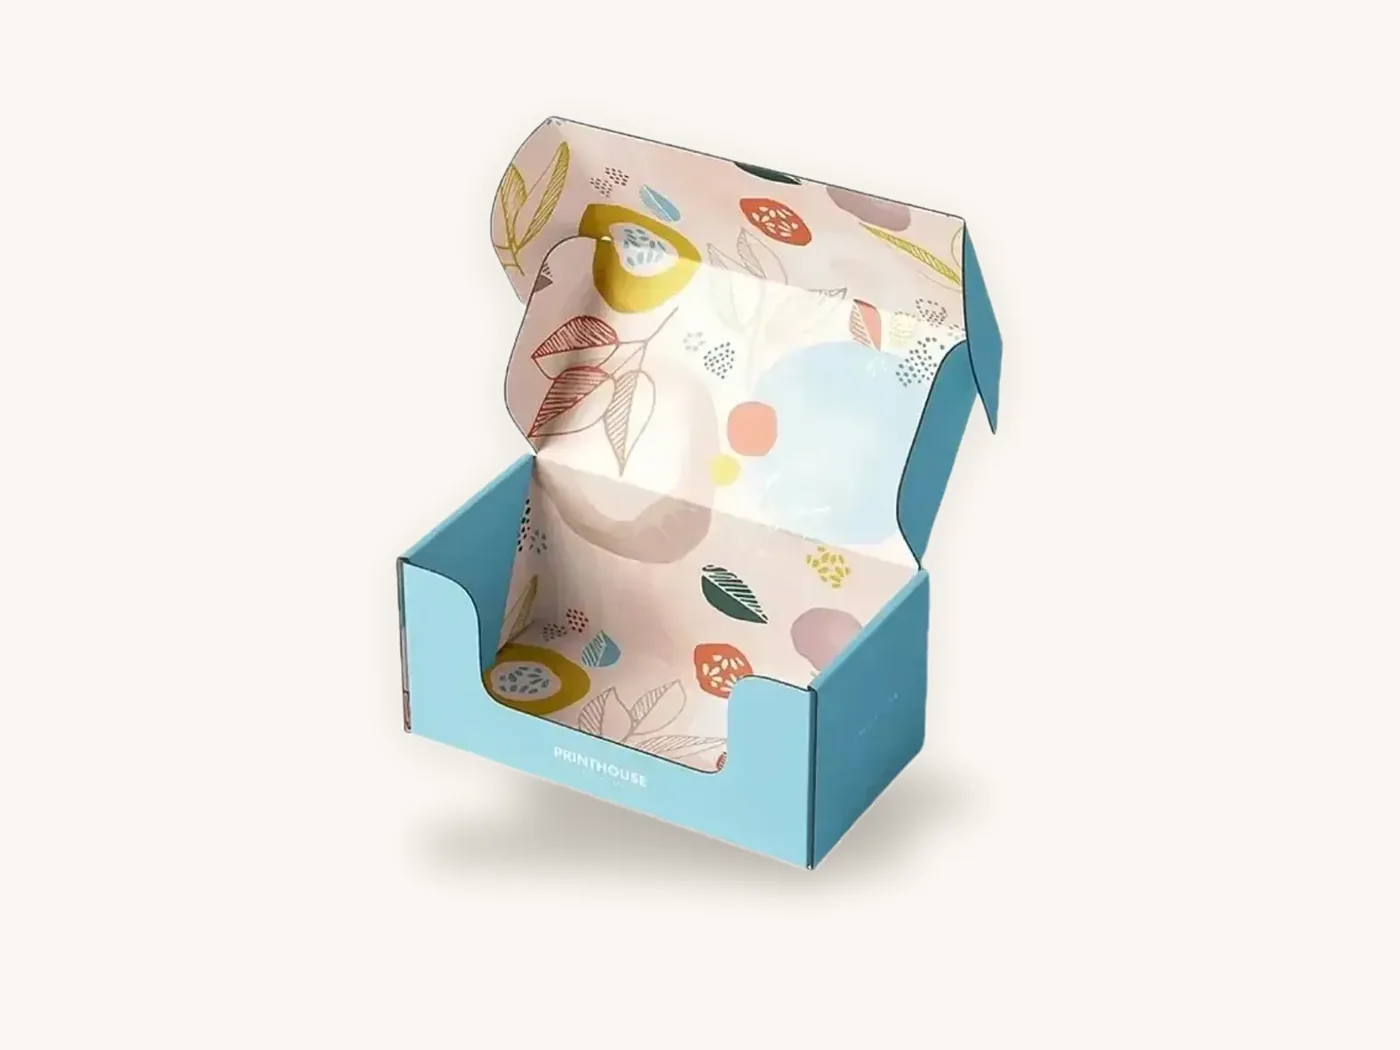
A roll-end tuck-front mailer in E-flute corrugated is the default for good reason: it ships flat, locks without tape, prints well inside and out, and opens like a chest. For heavier or fragile kits, B-flute or reinforced side panels keep corners crisp. A crushed corner undoes every other idea on this list. Our custom mailer boxes page lists the standard styles, and the mailer boxes style page compares them.
What it changes: board grade and style selection. Cost: a heavier board adds to unit cost; right-sizing the box usually offsets some of it.
2. Decide how much to brand the exterior
A fully printed exterior looks great on arrival and in photos. Some brands deliberately keep the outside simple, with a small logo or a plain kraft finish, so the box looks less conspicuous on a porch and the inside feels like a surprise. Both approaches work; pick one on purpose.
What it changes: print coverage. Cost: printing outside only is less expensive than printing inside and outside. For example, an 8x6x3 in E-flute mailer printed full color outside costs noticeably less than a larger 10x8x4 in mailer printed inside and outside. Size contributes to that gap as well as print coverage, so ask for outside-only and two-sided options as separate lines in your quote.
3. Use a tear strip or branded tape as the opening cue
A tear strip gives a clean, satisfying first action and shows whether the box has been tampered with. Branded tape does a similar job and doubles as a visual signature on plain shippers. Either one replaces the frustration of hunting for a knife.
What it changes: a tear strip is built into the die; custom packaging tape is added at packing. Cost: low per unit.
Watch out: leave a clear, flat area for the shipping label that does not cover your logo or a tear strip. Labels applied over a tear strip make the box awkward to open and damage the exterior print.
Ideas 4–6: Design the first reveal
The first reveal is the moment people film. It is also where small, inexpensive touches have the most effect.
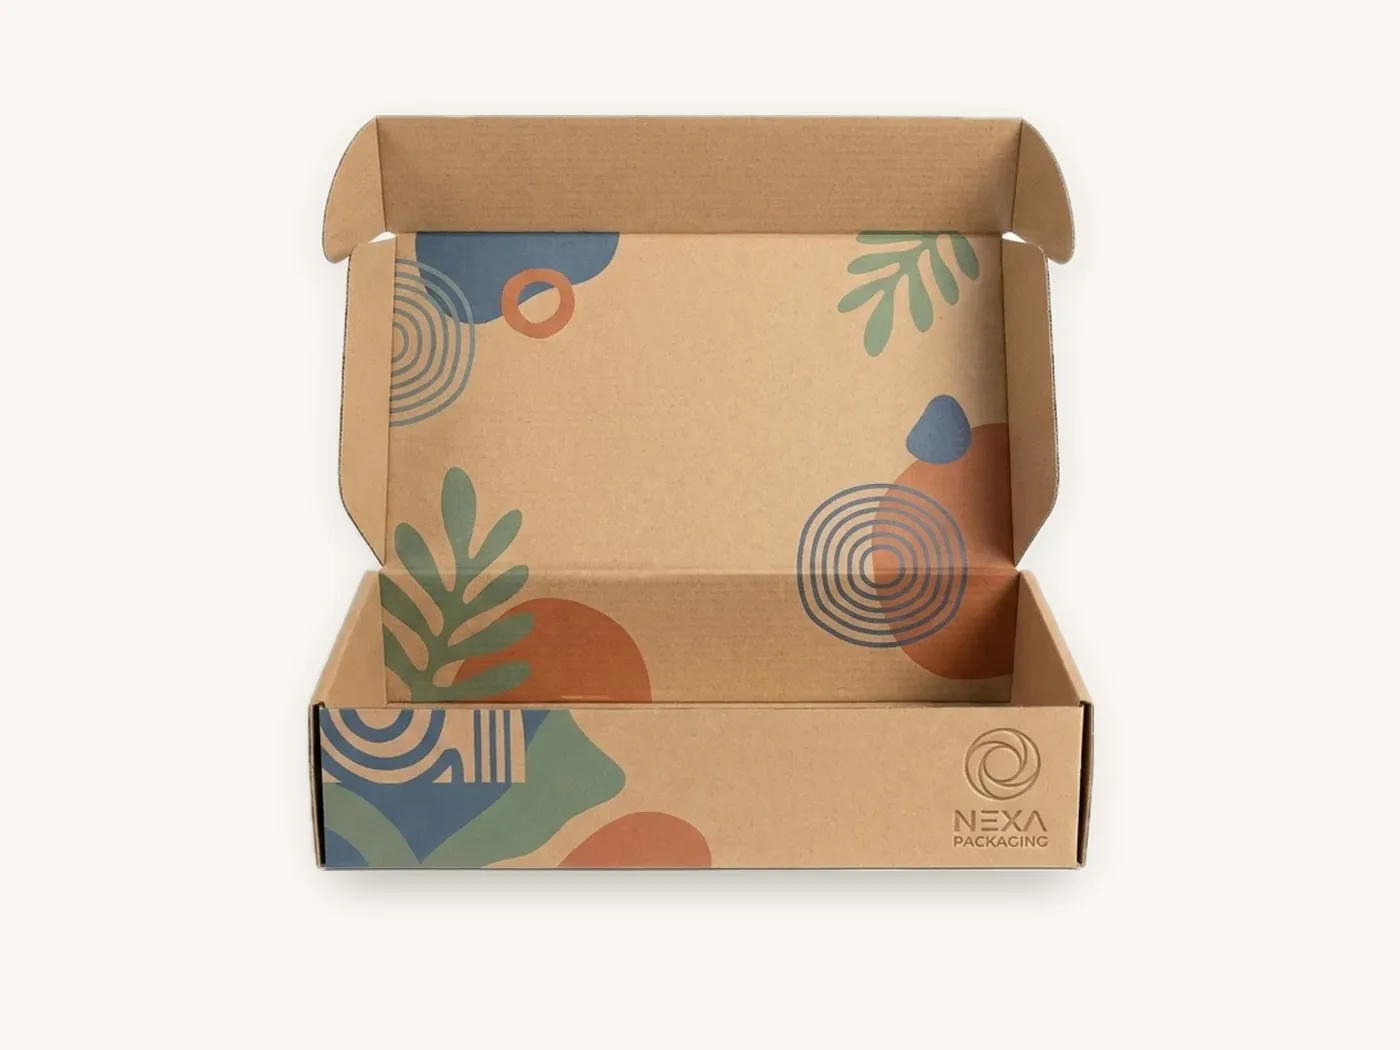
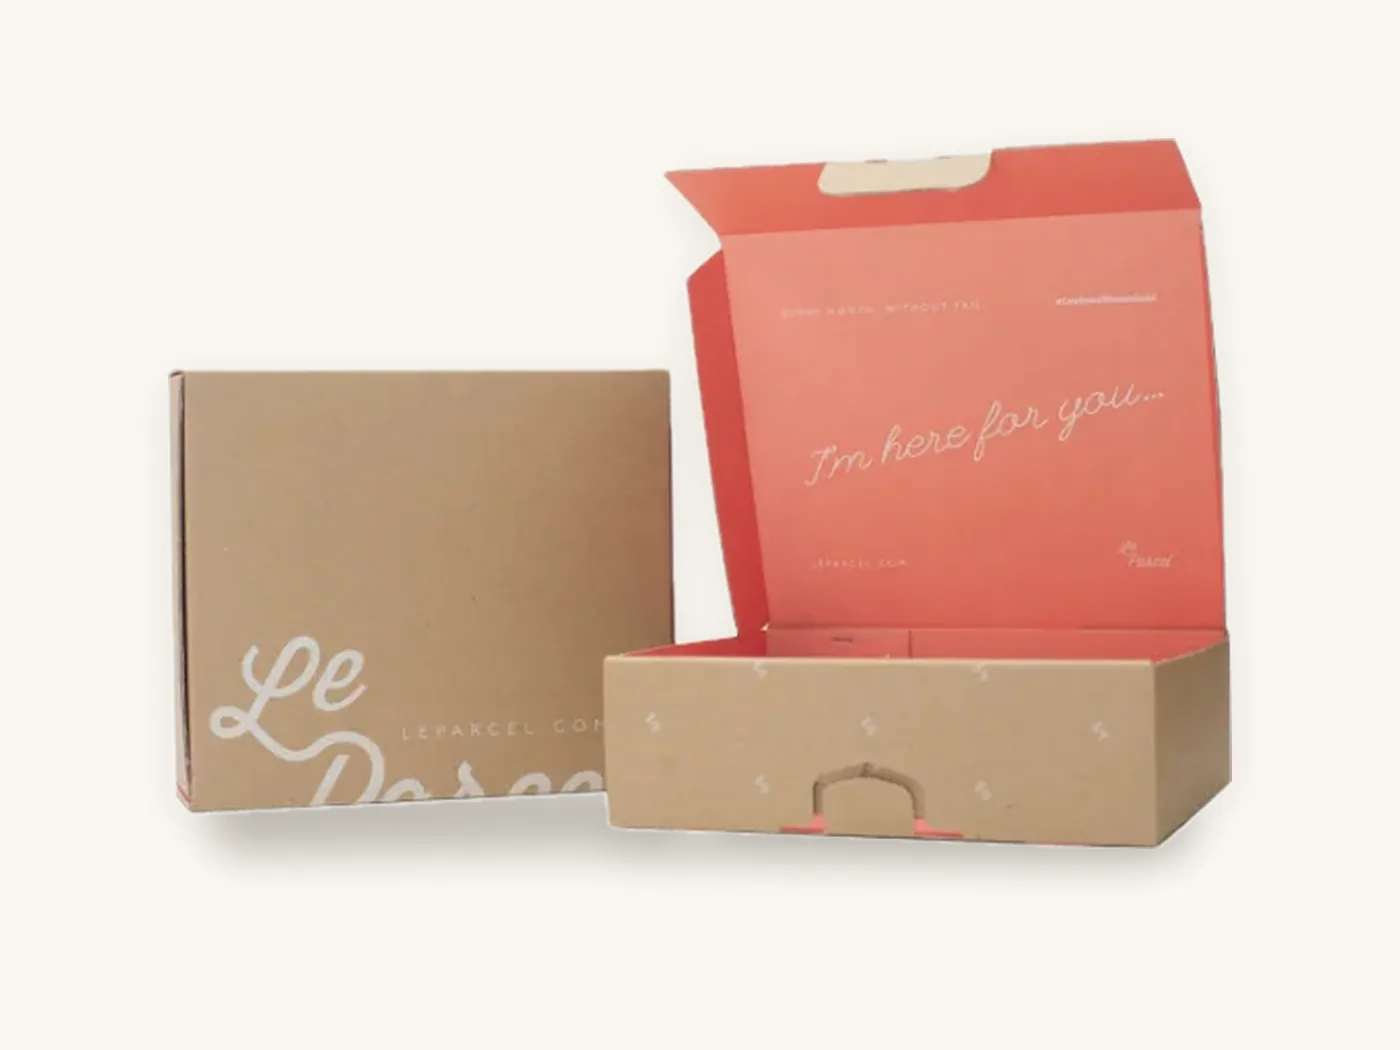
4. Print a message on the inside lid
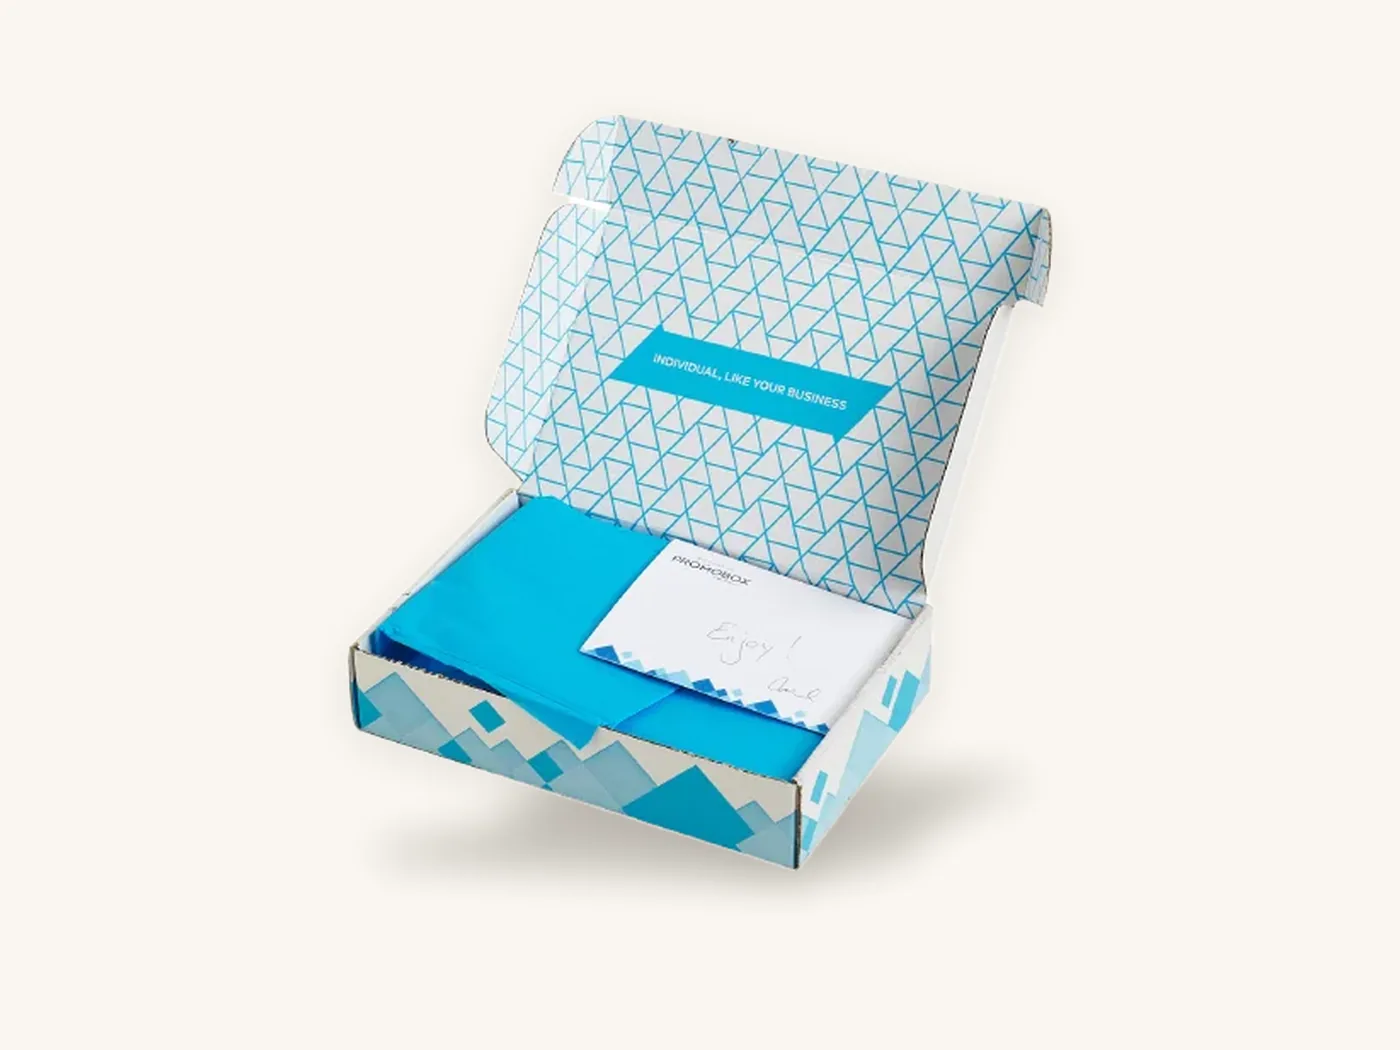
When the lid lifts, the inside is the first surface seen. A short welcome, a pattern, a line about what is in this month's box, or a simple instruction ("Start with the pouch on the left") turns an empty brown surface into a planned moment. You do not need to print every inside panel; the inside lid alone does most of the work. Our inside printing guide covers the options and artwork setup.
What it changes: adds inside print coverage. Cost: moderate; one-color inside print or lid-only printing keeps it down.
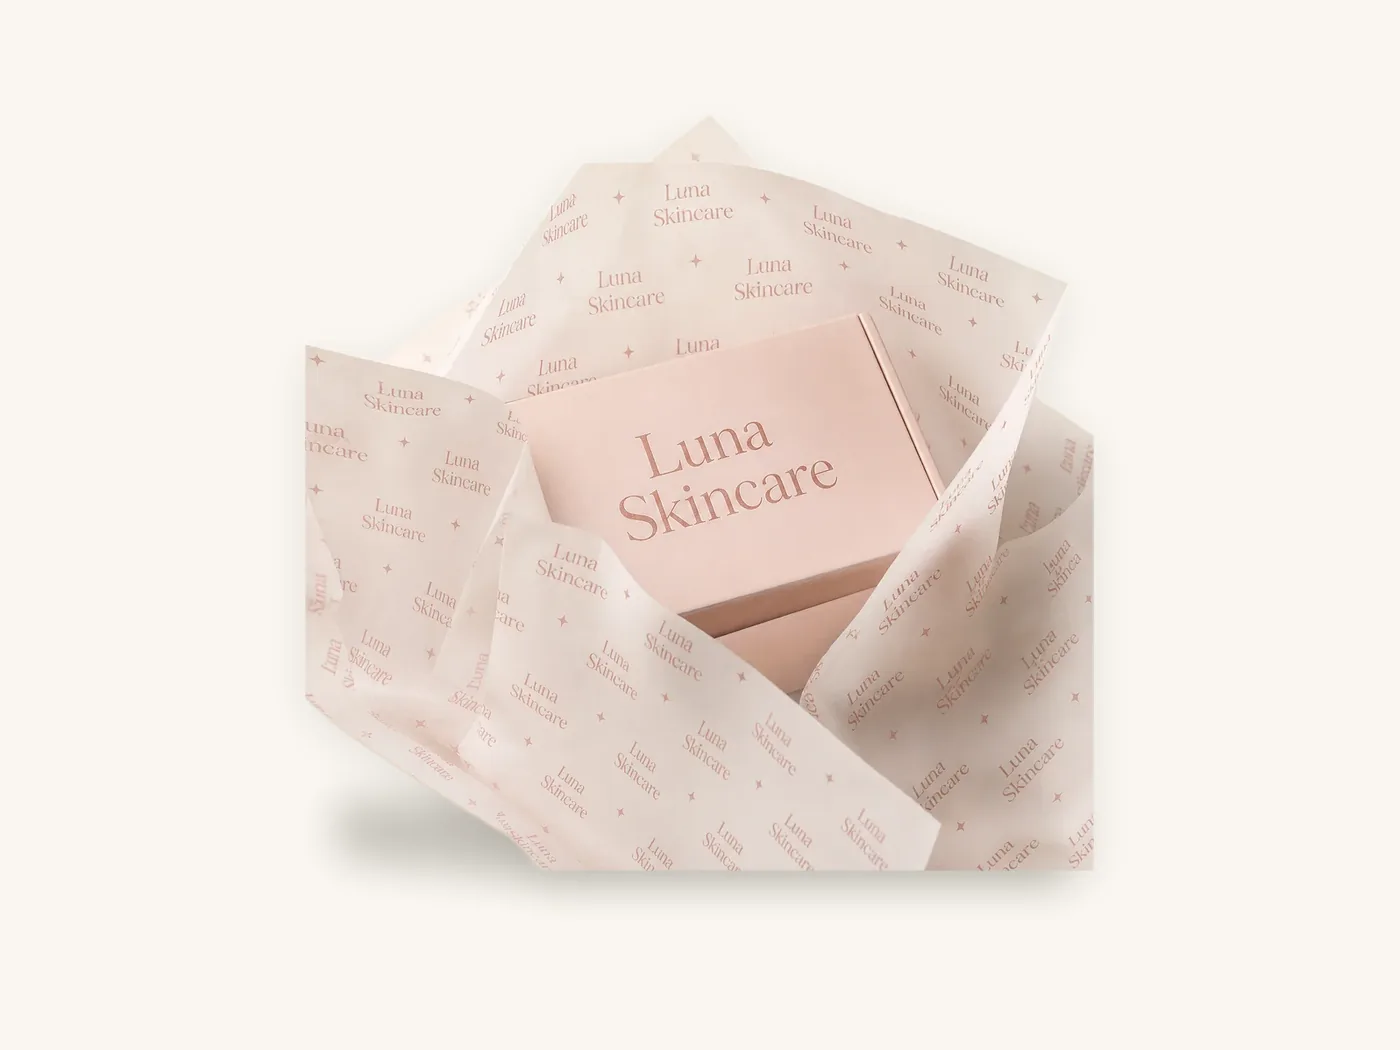
5. Wrap the contents in printed tissue with a single seal
Printed tissue paper hides the product for a second longer, adds a soft texture and fills small gaps without loose fill. Seal it with one sticker from our custom labels and stickers range. The seal gives the customer a second small action after opening the box.
What it changes: packing step and materials. Cost: low per box, with some added packing time.
6. Place a card on top, not at the bottom
A card that sits on top of the tissue gets read. A card at the bottom often gets recycled with the box. Keep it short: a thank-you, what is inside, and one next step. For subscription boxes, a card listing this month's items and how to use them reduces customer service questions.
What it changes: print item and packing instruction. Cost: low.
Ideas 7–9: Present the products with intent
This is where the box proves the brand's care. A product that arrives exactly in place feels more valuable than the same product rattling in a larger box.
7. Hold every item in a die-cut insert
A paperboard or corrugated insert holds each product in a planned position, prevents items from colliding and makes the box look organized on opening. Inserts must be designed together with the box, because the insert's board thickness changes the internal dimensions. The box inserts and dividers page shows common layouts, and our box inserts guide covers materials.
What it changes: structure and dieline. Cost: moderate; a custom insert die carries a one-time tooling charge, which weighs less on each box as the run grows. A 12x9x4 in E-flute subscription mailer printed full color on both sides with an insert and tear strip sits toward the top of the mailer cost range, and its unit cost falls sharply between a short run and a run of 1,000.
8. Choreograph the order of discovery
Decide what the customer should see first, second and last. Put the hero product in the center or on a raised platform, secondary items around it, and instructions or samples in a side compartment. For multi-item subscription boxes, a consistent layout teaches subscribers where to look each month.
What it changes: insert layout and packing instructions. Cost: none beyond the insert itself, but it requires a clear packing guide for your fulfillment team. Our subscription box fulfillment guide covers packing standards.
9. Right-size the box and minimize fill
A box that is much larger than its contents feels wasteful and shifts products around in transit. Right-sizing reduces board use, often lowers shipping charges and makes the interior feel intentional. If you need fill, choose paper-based crinkle or tissue in a color that suits the design.
What it changes: internal dimensions. Cost: often lower.
Ideas 10–12: Give the box a life after opening
The unboxing does not end when the product is out. What customers do next with the box and the card affects whether they share, reorder or recommend.
10. Make the box worth keeping or reusing
A sturdy mailer with a clean interior gets reused for storage, gifting or returns. Some brands design the inside with a pattern that suits storage or add a line suggesting a reuse. A box that stays in the home keeps the brand visible for months.
What it changes: board quality and interior design. Cost: depends on board and print.
11. Tell customers how to dispose of each part
If your box, insert and tissue are all paper-based, say so clearly and specifically, for example "box and insert: recycle with cardboard." Keep claims accurate and qualified; the FTC's Green Guides describe how environmental claims should be made, and our green claims guide explains common wording pitfalls.
What it changes: print copy. Cost: none.
12. Add one clear action: share, refer or reorder
A QR code on the card or inside lid can link to a reorder page, a how-to video or a referral program. Ask for one action, not five. If you invite customers to share, a simple prompt near the reveal moment is more natural than a hashtag on the exterior. The QR codes on packaging guide covers sizing and scan testing.
What it changes: artwork and your landing page. Cost: none on the box itself.
Unboxing ideas compared by cost and effort
Use this table to pick a combination that fits your budget. "Per-box cost" is relative, because the actual amount depends on your box size, quantity and spec.
| Idea | Per-box cost | One-time cost | Packing effort | Best for |
|---|---|---|---|---|
| Right mailer structure and board | Varies with board | None | None | Every DTC brand |
| Minimal or full exterior branding | Lower or higher | None | None | Discreet vs social-first brands |
| Tear strip or branded tape | Low | None | Low | Subscriptions, high-value kits |
| Inside-lid message | Moderate | None | None | All mailers |
| Printed tissue with sticker seal | Low | None | Moderate | Apparel, beauty, gifts |
| Card on top | Low | None | Low | Subscriptions, first orders |
| Die-cut insert | Moderate | Insert die tooling | Low once designed | Multi-item kits, fragile products |
| Choreographed layout | None extra | Design time | Moderate | Subscriptions, PR kits |
| Right-sized box, minimal fill | Often lower | None | Lower | Every brand |
| Keepable box | Varies | None | None | Premium kits, gifts |
| Disposal guidance | None | None | None | Eco-conscious brands |
| QR action | None | None | None | Reorder and referral programs |
For influencer and press shipments, where the unboxing will be filmed on purpose, our PR box and influencer kit guide goes further into presentation and inserts.
Making the unboxing easy to film and photograph
If you hope customers will share their unboxing, remove the small obstacles that make filming awkward.
Details that help on camera
- Choose matte over high-gloss inside. Gloss lamination reflects phone lights and overhead lamps, which hides artwork in videos.
- Make the opening a single motion. A tear strip followed by an easy lift looks better on camera than a tight flap that needs two hands and a struggle.
- Keep the reveal visible from above. Most phone videos are shot overhead. Make sure the inside lid message reads correctly when the box faces the viewer with the lid open.
- Avoid clutter in the first frame. One layer of tissue and a card look clean. Loose fill scattered across a table does not.
- Keep readable text large. Small inside-lid text disappears in video. A short line in a large size works better.
Subscription boxes and rotating artwork
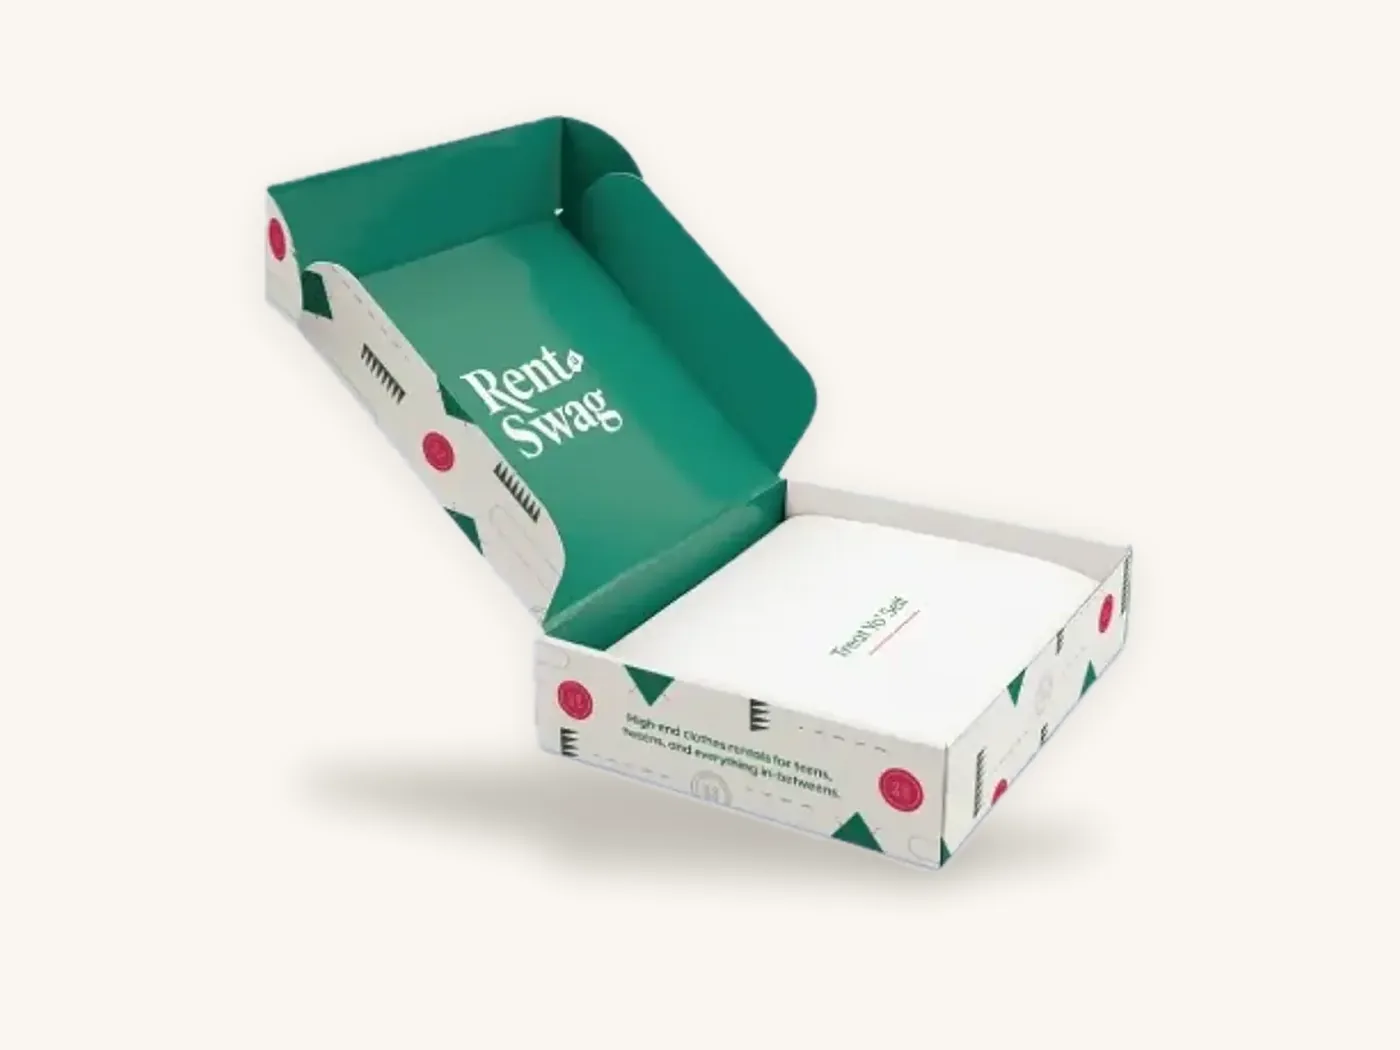
For subscription brands, a fixed box structure with rotating inside-lid artwork, tissue or card designs gives subscribers something new to share every month. Because digital printing handles short runs of roughly 10 to 500 without plates, you can change artwork monthly without new tooling, provided the dieline stays the same. Our artwork preparation guide explains how to set up a template, and the dieline explainer covers why the structure should stay fixed.
Tip: before committing to a design, film yourself opening a test box on your phone in normal room lighting. Watch it back at full speed. Any moment where you pause, fumble or cannot read something is a moment your customers will experience too.
Common unboxing mistakes to avoid
These problems come up repeatedly when brands review their first run. Check your design against each one.
- Too many layers. Tissue, crinkle, cards, stickers, a pouch and a bag in one box feels like work to open and generates waste.
- Artwork hidden by the insert. Inside-base printing that sits under a full insert is never seen. Print the insert or the lid instead.
- Upside-down inside messages. Artwork on the inside lid must read correctly when the lid is open. Check the 3D proof for orientation.
- A tight tuck flap that tears. If the front flap tears the lid when opened, adjust the dieline or add a thumb notch.
- Loose products. A product that rattles when you shake the closed box will arrive out of place, and sometimes damaged.
- Unclear required information. For subscription boxes containing supplements, cosmetics or food, the individual product packaging still needs its required labeling.
- A new box every month. Changing structure frequently adds sizing risk, new samples and packing confusion. Change artwork instead.
How to order unboxing-ready packaging from Box Sense
You can start with your product list and a rough idea of the experience you want. Our team helps turn it into a buildable spec.
What to send
- Your contents. List every item with dimensions and weight, including any pouches or cards.
- Your priority stage. Tell us whether arrival, first reveal or product presentation matters most.
- Structure and board. For example, a subscription box in E-flute with a tear strip, or a note asking for a recommendation.
- Print coverage. Outside only, inside lid only, or inside and outside, with full color, one color or PMS.
- Extras. Inserts, tissue, stickers, tape and cards you want to include or price.
- Quantities. For example, 50 for a test, 500 for a launch and 1,000 for a regular subscription run.
- Artwork. Your files, or a brief for our design services team.
What happens next
We confirm a quote within 24 hours. Free design support includes the dieline, artwork setup, a 3D digital proof and two revision rounds. Unprinted structural samples are available for a small fee, so you can test the fit and opening sequence with your real products. A printed sample of approved artwork is available for a small fee; see samples.
The minimum order is 10 boxes, which makes a real unboxing test practical before a full launch. There are no die or plate charges; one-time tooling applies only for foil, embossing, spot UV and custom inserts. Standard production takes 8–12 business days after proof approval, with rush production in 5 business days on most corrugated styles. Shipping is free on every order, and defective boxes reported within 14 days are reprinted free.
If you are timing boxes for a launch, our packaging for product launch guide helps you work backward from your ship date.
Frequently asked questions
What makes a good unboxing experience?
A good unboxing experience is a planned sequence: a box that arrives intact, opens easily, reveals a clear first moment such as an inside-lid message or tissue wrap, presents products neatly in place, and gives the customer one next step. Fit and order matter more than extras, so a snug box with a simple insert often beats a loose box full of fill.
How much does a custom unboxing experience cost?
It depends on box size, print coverage, inserts and quantity. A 12x9x4 in E-flute subscription mailer printed full color both sides with an insert and tear strip costs more than a smaller mailer printed outside only, and the unit cost of either falls sharply as quantity rises. Request a quote with your spec for a figure with US shipping included. Low-cost additions like cards and tissue add relatively little per box.
What should I put inside a subscription box besides the products?
Keep extras purposeful. A card listing this month's items and how to use them, a layer of printed tissue with a sticker seal, and a QR code linking to reorders or tutorials are common choices. Avoid adding several promotional inserts, loose fill and multiple stickers at once, which can make opening feel cluttered and increase waste.
Is inside printing worth it on mailer boxes?
For most direct-to-consumer brands, yes, at least on the inside lid. That surface is seen at the moment of opening, when attention is highest, while the exterior is often scuffed or covered by a shipping label. Printing only the inside lid, or using one color inside, keeps most of the benefit at a lower cost than full interior printing.
How do I make my packaging more shareable on social media?
Make the opening easy to film: a tear strip or simple lid, a matte interior that does not reflect light, a clear first reveal visible from above, and large, readable text on the inside lid. Keep the first frame uncluttered. A gentle prompt on the card inviting customers to share works better than a busy hashtag on the exterior.
Are unboxing extras bad for sustainability?
They can be if they add plastic or unnecessary layers. Choose paper-based tissue, fill and inserts, right-size the box to reduce material and shipping space, and skip extras that do not have a clear purpose. Tell customers specifically how to dispose of each part, and keep any environmental claims accurate and qualified according to FTC guidance.
Can I test an unboxing experience before a big order?
Yes. Start with unprinted structural samples to check fit and the opening sequence with your real products, review the 3D digital proof for artwork placement, then order a short printed run from 10 boxes. Film yourself opening one and ask a few customers for feedback before committing to a larger quantity.
Next steps
Map your five unboxing stages and pick the three or four ideas that matter most for your product. When you are ready, request a quote and we will confirm pricing within 24 hours, send a dieline and prepare a 3D proof so you can see the full opening sequence before production.
Boxes in this guide
Order the packaging we covered
 Popular
Subscription Boxes
 Popular
Custom Mailer Boxes
Printed Tissue Paper
Written by the Box Sense Packaging Team
Our structural designers, prepress technicians and production staff print and convert custom boxes every day for brands across the United States. Questions about this guide? Talk to us.