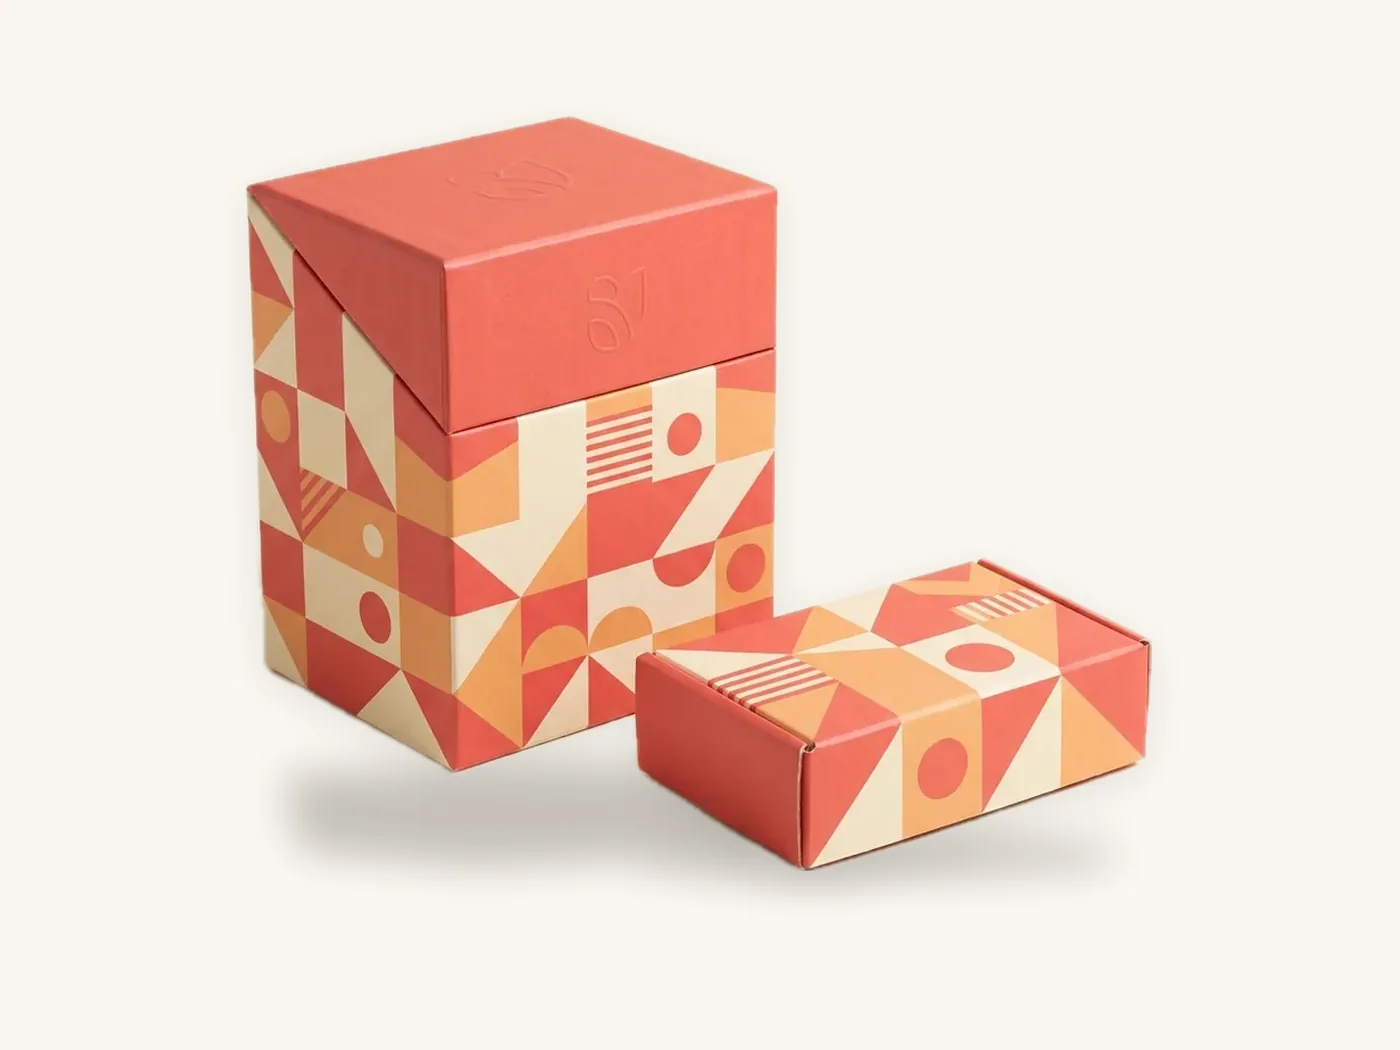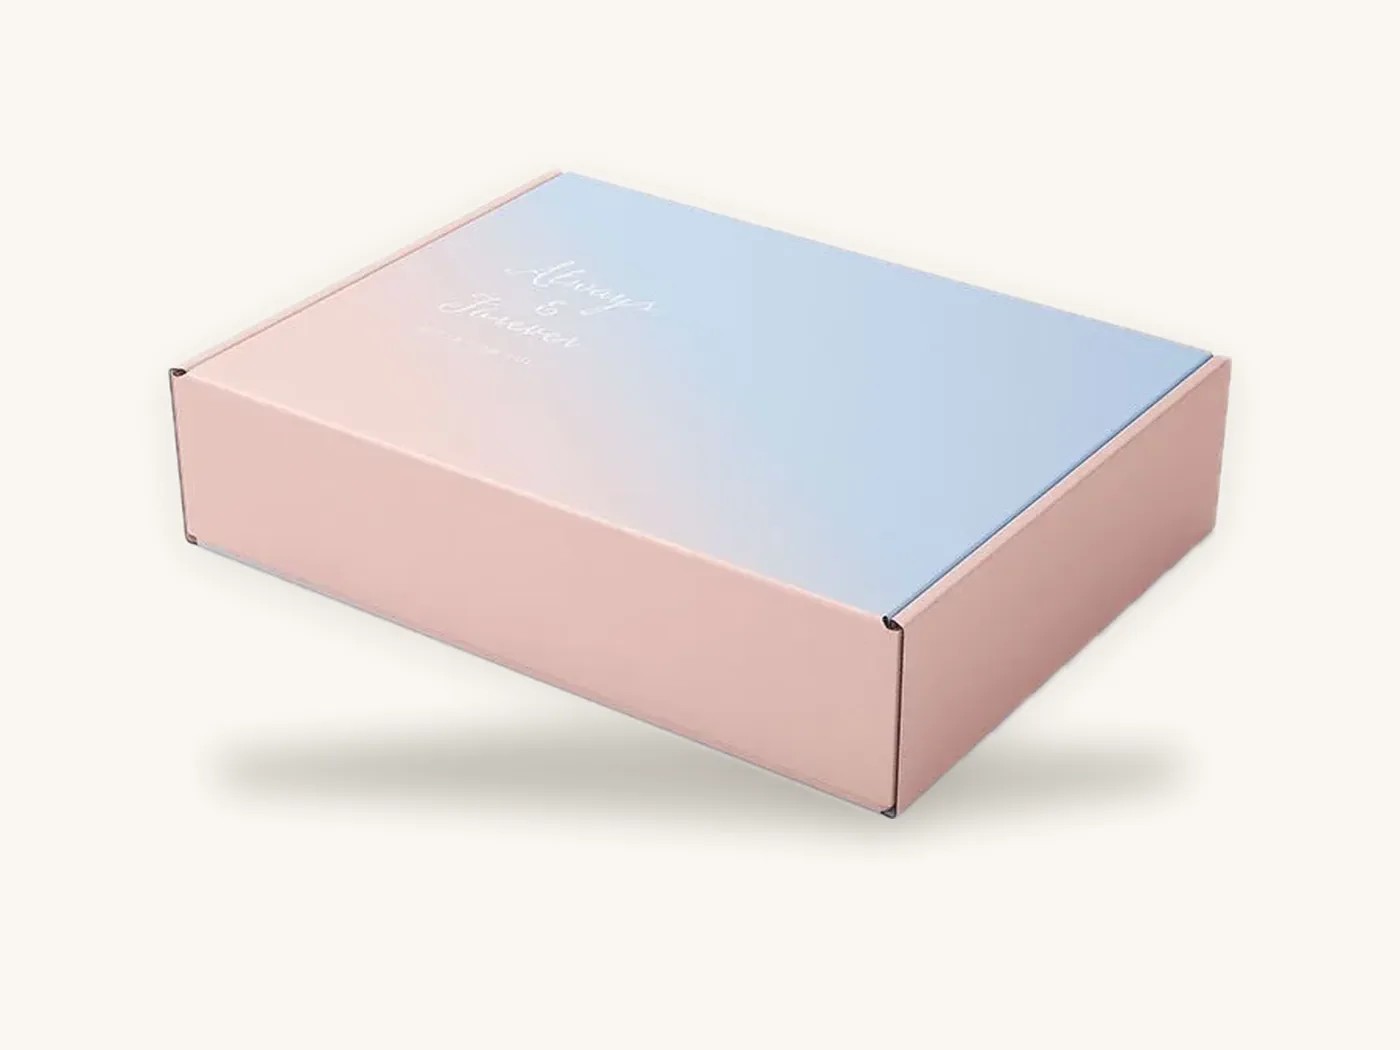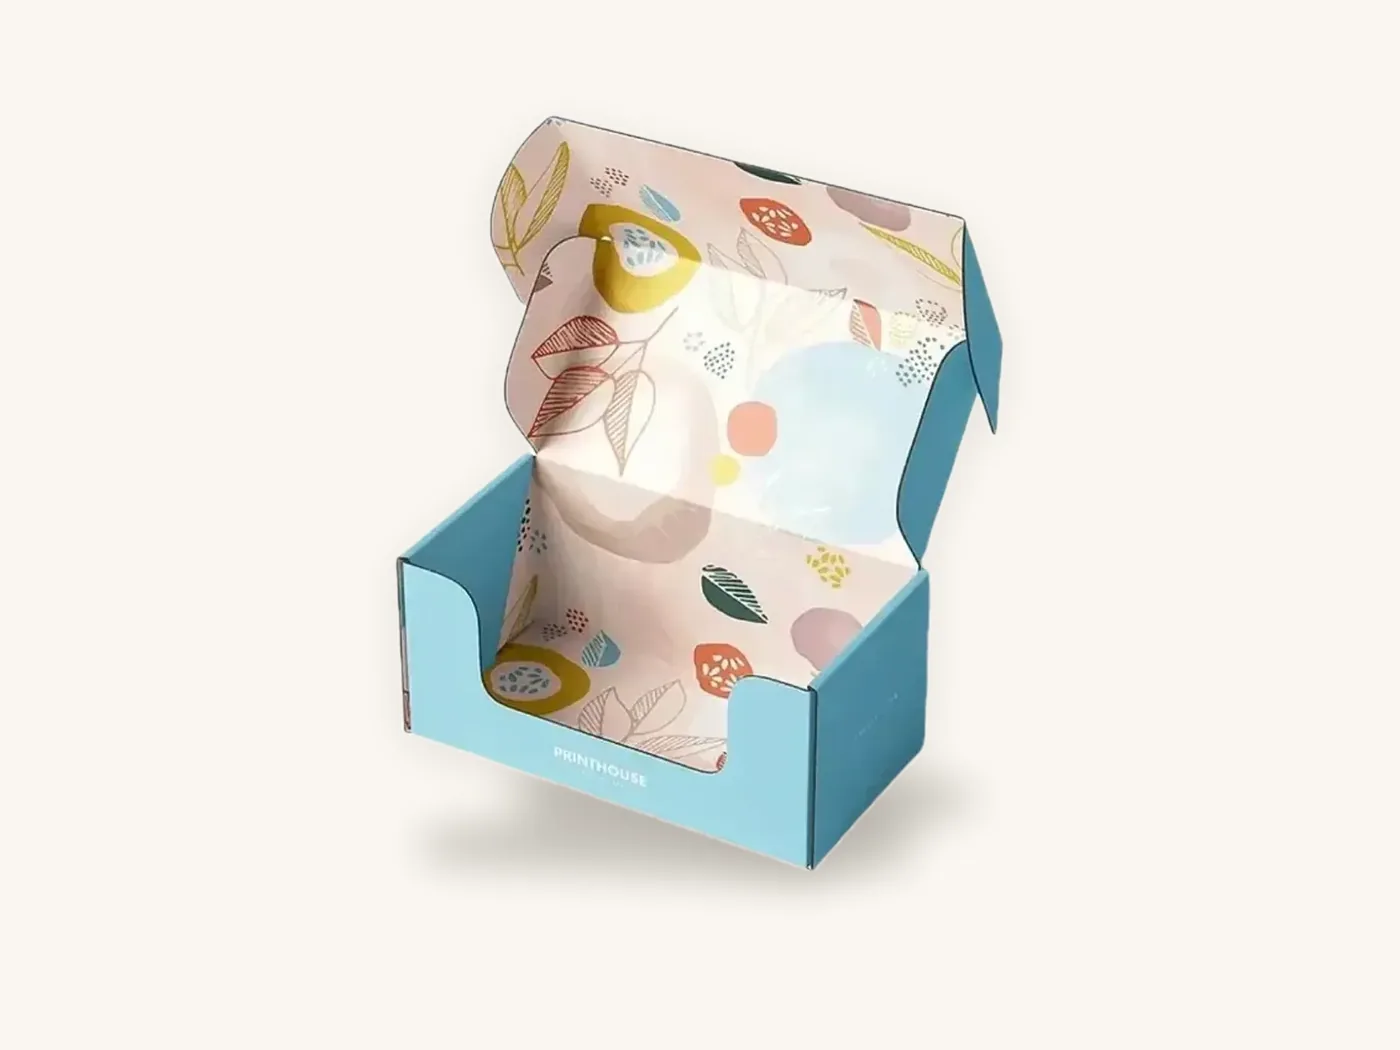
Inside printed boxes carry artwork on the interior surfaces as well as the outside: a message under the lid, a pattern across the walls, or instructions printed where the product sits. It works on corrugated mailers, folding cartons and rigid boxes, and it turns the moment a customer lifts the lid into a planned piece of branding rather than a view of plain board.
It is also a real cost. Printing the inside means a second print pass on the reverse of the sheet, so it pays off on packaging that is opened by the end customer, and far less on boxes that are overboxed, shelved closed or thrown away unopened. This guide shows what it costs, the coverage options between "nothing" and "everything", design ideas that earn their keep, and how to set up interior artwork so it lands the right way up.
Key takeaways
- Inside printing adds a second print pass on the reverse side of the board; in our estimator it costs a little less than the outside print itself.
- You do not need full coverage. A one-color or full-color inside lid only often delivers most of the effect for less.
- It pays off most on direct-to-consumer mailers, subscription boxes, PR kits and gift packaging, where the customer opens the box themselves.
- Interior artwork is laid out on the reverse of the dieline, so orientation, crease lines and glue areas need extra care.
- As a reference, a 10x8x4 in E-flute mailer printed full color inside and outside is about $4.33 each at 100 units and $1.92 at 1,000.
Where inside printing works by box style
Every major box family can be printed inside, but the method and the result differ. Knowing which surfaces you actually see when the box is open helps you decide where to put ink.
| Box style | How the interior is printed | Surfaces seen on opening | Notes |
|---|---|---|---|
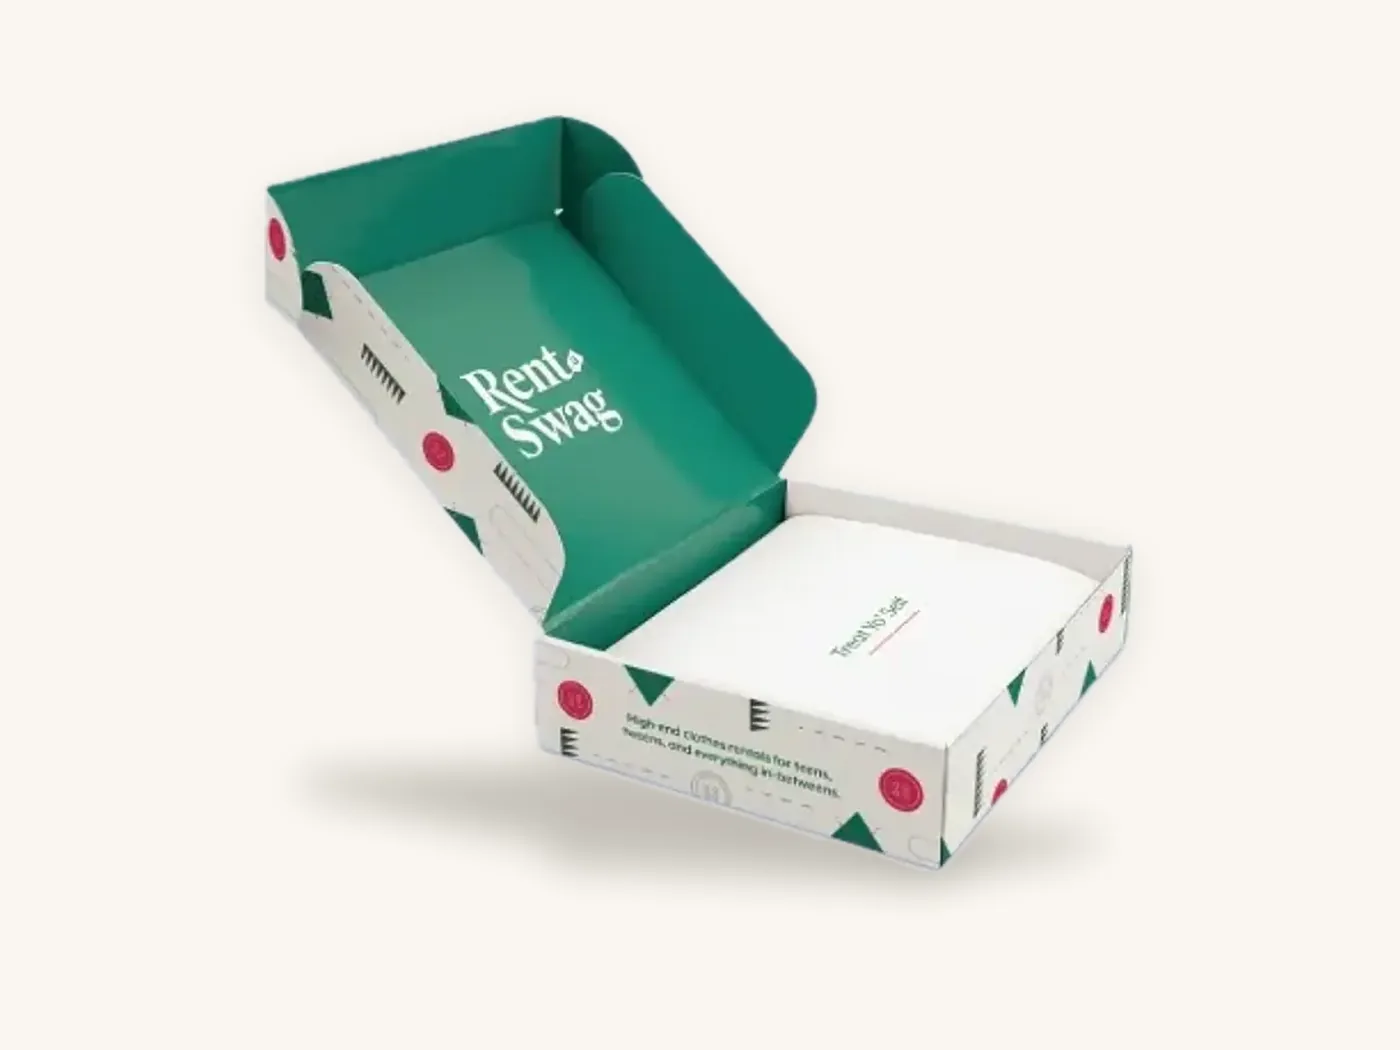
| Roll-end tuck-front mailer | Reverse side of the corrugated sheet printed in a second pass | Inside lid, inner base, inner walls | The classic interior printing mailer; inside lid is the hero panel |
| Tuck top mailer | Same as above | Inside of the top flap, inner walls, base | Flap opens toward the customer, so its underside reads first |
| Book mailer | Reverse side of the wrap | Inner tray, wrap flaps | Flaps unfold in sequence, good for a step-by-step reveal |
| Folding carton | Reverse side of paperboard, best on board coated both sides | Inside tuck flap, inner panels | Visible mainly when the flap opens; product often covers panels |
| Rigid box | Separate printed liner paper glued inside, or printed tray wrap | Inside lid and tray | Liner can be a different paper and finish from the outside |
| Sleeve and tray box | Tray printed inside, sleeve printed inside if desired | Tray interior | Tray interior is where the product sits, so print can frame it |
Which surface matters most
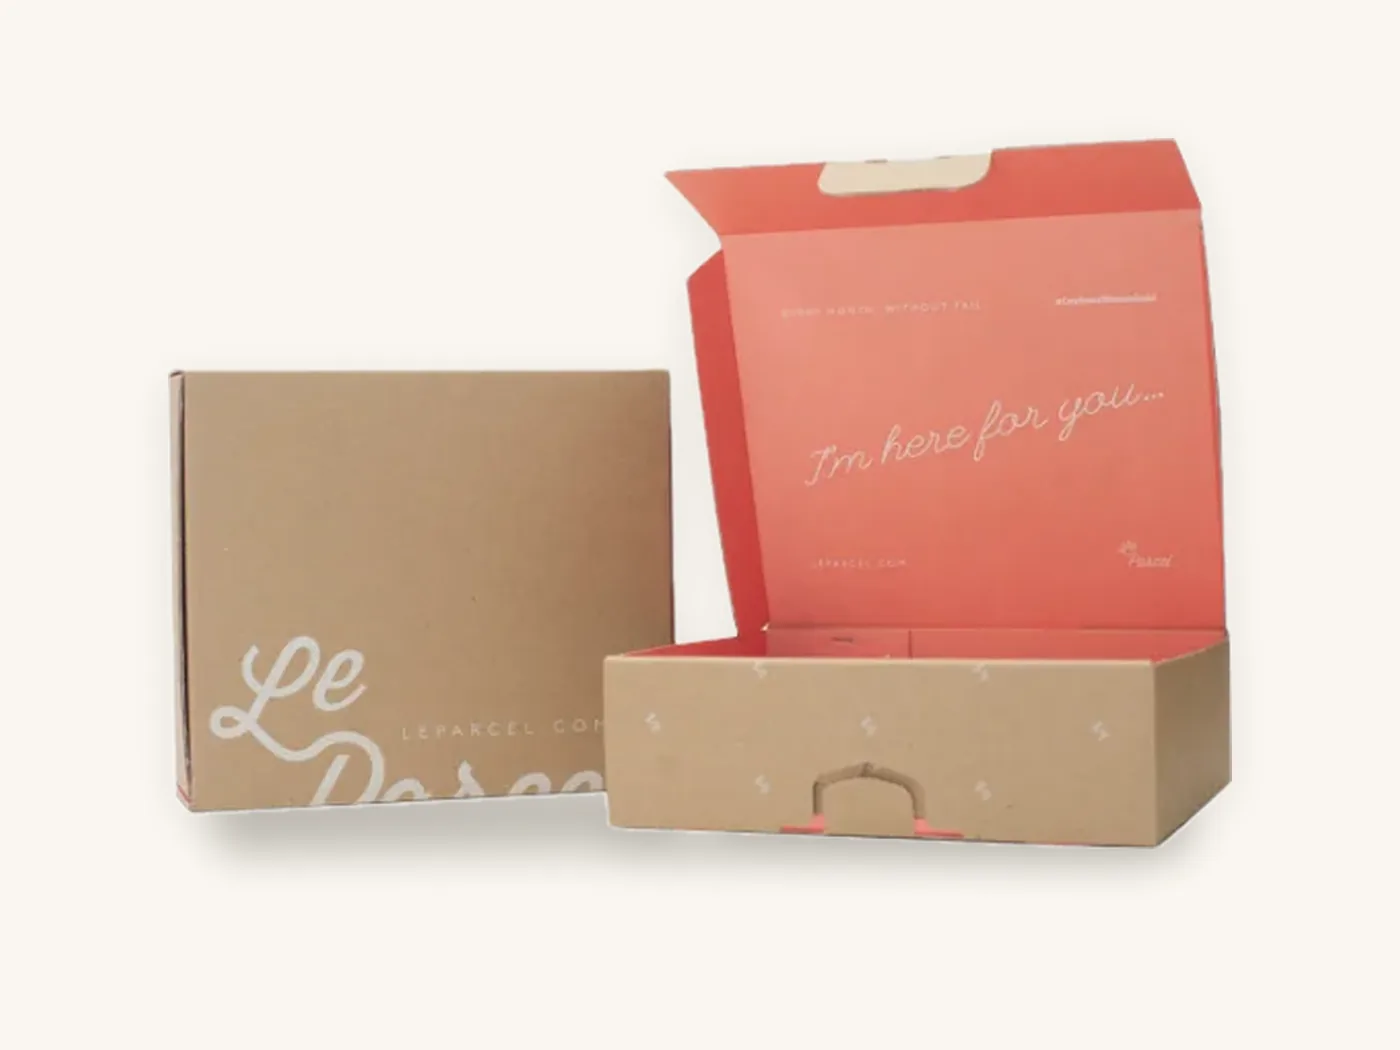
On a mailer, the underside of the lid faces the customer at eye level the instant the box opens. It is the single highest-value interior panel. The inner base is often covered by product, tissue or an insert, and the inner walls are seen at an angle. If budget forces a choice, print the lid.
Standard custom mailer boxes and tuck top mailer boxes both give you a large, flat inside lid panel. The mailer boxes style page shows the rest of the family.
What inside printing costs
Inside printing adds ink, a second pass through the press and extra drying and handling time. In our instant estimator, full color inside and outside adds a little less than the cost of the outside print again, before quantity discounts. Board, size and finishes still dominate the final price.
| Spec (indicative, US shipping included) | 10 units | 100 units | 500 units | 1,000 units |
|---|---|---|---|---|
| Mailer, E-flute, 8x6x3 in, full color outside only | $3.99 | $2.64 | $1.41 | $1.17 |
| Mailer, E-flute, 10x8x4 in, full color inside and outside | $6.54 | $4.33 | $2.31 | $1.92 |
| Subscription mailer, E-flute, 12x9x4 in, full color both sides, insert and tear strip | $8.83 | $5.85 | $3.12 | $2.60 |
Those rows are different sizes, so the gap between the first two is not all inside printing; the larger box uses more board too. To isolate the effect for your own box, run the same size and board in the instant price estimator with outside-only and inside-and-outside print. Our mailer box cost guide breaks the other cost drivers down.
What moves the inside-print cost
- Coverage: a small message uses little ink; a full dark flood uses a lot, and heavy ink on corrugated takes longer to dry.
- Colors: one color or a single PMS is cheaper than full CMYK.
- Coating: an interior coating is optional; skipping it is common unless the product rubs against the print.
- Print method: digital printing handles short runs of roughly 10 to 500 with no plates, which keeps a two-sided print affordable in small quantities. The digital vs offset printing guide explains where offset takes over.
Tip: if the price difference feels steep, price three options side by side: outside only, outside plus a one-color inside lid, and full color both sides. The middle option is the one many brands end up choosing.
Five levels of inside printing, from subtle to full coverage
Think of interior print as a ladder. Each step up adds impact and cost, and most brands do not need the top rung.
| Level | What it looks like | Relative cost | Best for |
|---|---|---|---|
| 1. One-color inside lid message | A short line of type or a logo in one ink | Low | Tight budgets, kraft boxes, minimalist brands |
| 2. Full-color inside lid only | Illustration, photo or message on the lid panel | Low to moderate | Most DTC brands wanting a strong first reveal |
| 3. One-color all-over pattern | A repeat pattern or brand color across the interior | Moderate | Strong brand color identity, gift boxes |
| 4. Full-color pattern with a lid message | Pattern on walls and base, hero message on lid | Moderate to high | Subscription and PR kits |
| 5. Full-color interior with printed guides | Every panel designed, including product maps or instructions | Highest | Multi-item kits, launches, collector editions |
Choosing your level
Start from the question "what should the customer notice first?" If the answer is a thank-you message or brand line, level 1 or 2 does that job. If the answer is "this feels like a gift", a pattern at level 3 or 4 changes the whole impression. Level 5 makes sense when the interior has real work to do, such as explaining a kit.
Inside printing design ideas that earn their cost
Interior artwork is most effective when it has a purpose beyond decoration. These ideas are ordered roughly from simplest to most involved.
- A short message under the lid. A welcome line, a thank-you or a brand promise in large type. Keep it to one sentence so it reads in a glance.
- A repeat pattern. Your logo mark, an icon or a texture tiled across the interior. Patterns hide small registration shifts and look intentional even when partly covered by product.
- A "what's inside" map. In multi-item kits, label where each product sits, printed on the inner base or inside lid. It reduces confusion and support questions.
- Step-by-step instructions. Setup or usage steps printed inside the lid replace a separate leaflet that often gets lost.
- A QR code to content. Link to a video, a reorder page or a care guide. The QR codes on packaging guide covers sizing and placement so codes scan reliably.
- Social prompts. A handle or hashtag near the lid edge, where it appears in unboxing photos.
- Seasonal or limited artwork. With digital printing, you can change the inside design for a holiday run while keeping the outside constant.
- Recycling and disposal instructions. A simple note on how to flatten and recycle the box, printed where it is seen after unpacking. Keep any environmental claims accurate and qualified.
For more ideas across the whole opening sequence, including tissue, cards and inserts, see unboxing experience and subscription box ideas.
When inside printing pays off, and when it does not
The value of inside printing depends entirely on who opens the box and in what setting. Use this matrix before adding it to every SKU.
| Situation | Is inside printing worth it? | Why |
|---|---|---|
| DTC mailer opened by the end customer | Usually yes | The inside lid is seen at peak attention |
| Subscription box, recurring monthly | Yes | Repeat openings reward a consistent branded interior |
| PR, influencer or press kit | Yes | Unboxing is filmed and photographed |
| Luxury or corporate gift | Yes | Interior finish signals quality and care |
| Retail carton sold closed on a shelf | Rarely | Shoppers decide from the outside; interior is seen after purchase |
| Inner carton shipped inside an outer box | Rarely | The inner carton's exterior already does the branding |
| Wholesale or bulk shipper | No | Opened by staff, not the customer |
| Product that fills the box completely | Only on the lid | Walls and base will not be visible |
A quick test for your own box
Pack the box, close it, and film yourself opening it. Note what you see in the first two seconds, and what is covered when everything is in place. Print only the surfaces that appear in that window. Brands running e-commerce and subscription packaging often find the lid and the front inner wall are all they need.
How to set up artwork for interior printing
Interior artwork causes more proofing rounds than any other part of a mailer, because the layout is mirrored relative to the outside. Follow these steps on the dieline we supply.
Interior artwork checklist
- Use the inside view of the dieline. We provide separate outside and inside artboards; inside artwork goes on the inside artboard, never flipped by hand on the outside one.
- Check orientation on the lid. Text on the inside lid must read the right way up when the box is opened toward the customer, which is often upside down relative to the outside lid art on the flat sheet.
- Respect crease and roll lines. Keep type and logos at least 1/8 in (3 mm) from creases, and farther from rolled mailer walls, where panels double over.
- Do not align borders across both sides. Registration between the outside and inside prints typically varies by roughly 1–2 mm on corrugated, and exact tolerances are confirmed at proofing. Avoid thin frames or edge-to-edge lines that must match the outside.
- Leave glue and lock areas clear. Some tabs and glue zones need bare board; they are marked on the dieline.
- Extend backgrounds into bleed. Carry interior floods 1/8 in (3 mm) past cut lines, just like the outside.
- Plan around inserts. If a box insert covers the base, do not place key messages there.
- Mind heavy solids. Large dark floods inside can mark light-colored products or tissue through rubbing; consider a lighter pattern or an interior coating.
- Size QR codes and small type for the surface. Corrugated liners are less smooth than paperboard, so keep small text larger and QR codes generous.
Watch out: the most common interior mistake is a lid message that arrives upside down. Always check the 3D digital proof by virtually opening the box, not just by looking at the flat artwork.
If artwork setup is not your team's strength, our design services team places interior art on the dieline and checks orientation before the proof.
Board choices that affect inside print quality
The inside of a box is not always the same surface as the outside, and that changes how interior print looks.
Corrugated liners
Corrugated board has an outer and an inner liner, and they can differ. A white outer liner with a kraft inner liner is common, which means interior colors print onto brown and look darker and more muted. If a bright interior matters, specify a white inner liner, or use opaque white ink as a base on kraft. Our white ink on kraft guide explains what to expect. Flute size also affects print surface; the corrugated flutes guide compares E-flute and B-flute.
Paperboard: C1S vs C2S
Folding carton board can be coated on one side (C1S) or both sides (C2S). On C1S board, the reverse is uncoated, so ink soaks in and looks flatter and less sharp. For crisp interior printing on a carton, C2S board is the better base. The SBS vs kraft vs CUK guide explains the grades, and the SBS paperboard page lists what we run.
Rigid box liners
Rigid boxes use a separate liner paper glued inside the tray and lid. That liner can be printed full color, left a solid color or chosen as a specialty paper, independent of the outer wrap. It is often the easiest way to get a premium interior.
Ordering inside printed boxes from Box Sense
Inside printing is available on our mailers, cartons and rigid boxes. Tell us what you want the customer to see, and we will recommend where to put the ink.
What to send
- Box style and internal dimensions, or product dimensions for a recommendation
- Board: E-flute or B-flute, kraft or white liners, or paperboard grade
- Outside print and inside print specified separately (one color, PMS or full color)
- Which interior panels you want printed, such as lid only or full interior
- Inserts, tissue or cards that will cover any panels
- Quantities to price, such as 50, 250 and 1,000
- Artwork files for both sides, or a request for design help
What happens next
- Quote within 24 hours for each print option you want compared.
- Free design support: dielines with inside and outside artboards, artwork setup, and a 3D digital proof you can open virtually, with two revision rounds.
- Samples: unprinted structural samples are free; a printed sample of approved artwork is free on orders of 100 or more, the best way to check interior colors on the real liner.
- Production: 8–12 business days after proof approval, with rush in 5 business days on most paperboard and corrugated styles.
- Delivery: free shipping on every US order; international shipping quoted at cost.
The minimum order is 10 boxes, with no die or plate charges, which makes a small test of inside printing on subscription boxes or mailers practical before a full run. Defective boxes reported within 14 days are reprinted free.
Frequently asked questions
How much does it cost to print inside a box?
It depends on box size, coverage, colors and quantity. In our estimator, full-color inside printing adds a little less than the cost of the outside print again before quantity discounts. As a reference, a 10x8x4 in E-flute mailer printed full color inside and outside is about $4.33 each at 100 units and about $1.92 at 1,000. Compare options on the pricing page.
Can you print inside a mailer box?
Yes. Interior printing on mailers is done with a second print pass on the reverse side of the corrugated sheet. You can print the full interior, only the inside lid, or a one-color pattern. The inside lid is the most valuable surface because customers see it first. Keep text clear of crease lines and rolled walls.
Is inside printing worth it?
It is usually worth it for boxes the end customer opens: direct-to-consumer mailers, subscription boxes, PR kits and gifts. It is rarely worth it for retail cartons sold closed, inner cartons that ship inside an outer box, or bulk shippers opened by staff. A simple inside lid message often delivers most of the value for a modest cost.
What should I print inside my box?
Choose content with a job to do. Popular options are a short thank-you or brand line under the lid, a repeat logo pattern, a map showing where kit items sit, setup instructions, a QR code to a video or reorder page, and recycling instructions. Keep messages short and place them on surfaces that products and inserts will not cover.
Why does my inside print look darker than the outside?
The interior surface is often a different material. Many corrugated boxes have a white outer liner and a kraft inner liner, so interior ink sits on brown and looks darker. Folding carton board coated on one side has an uncoated reverse that absorbs ink. Specify a white inner liner, C2S board or white ink if interior color matters.
Can inside and outside artwork line up exactly?
Not precisely. Outside and inside are printed in separate passes, so the two sides can shift relative to each other, typically by a millimeter or two on corrugated, with exact tolerances confirmed at proofing. Avoid designs that depend on borders or lines matching across both sides. Patterns and centered artwork hide small shifts well.
Do you need a minimum quantity for inside printed boxes?
At Box Sense, inside printed boxes follow the same minimum order of 10 units as other boxes. Short runs are printed digitally with no plates, so two-sided printing stays practical in small quantities. Unit price falls as quantity rises, so compare a few tiers, and consider a small test run before committing to full coverage.
Next steps
Open your current box, note which interior surfaces the customer actually sees, and decide which level of inside printing fits. Then compare outside-only and two-sided print in the box price estimator. When you are ready, request a quote for inside printed boxes and we will confirm pricing within 24 hours and set up both artboards on your dieline.
Boxes in this guide
Order the packaging we covered
Written by the Box Sense Packaging Team
Our structural designers, prepress technicians and production staff print and convert custom boxes every day for brands in the United States, United Kingdom and UAE. Questions about this guide? Talk to us.