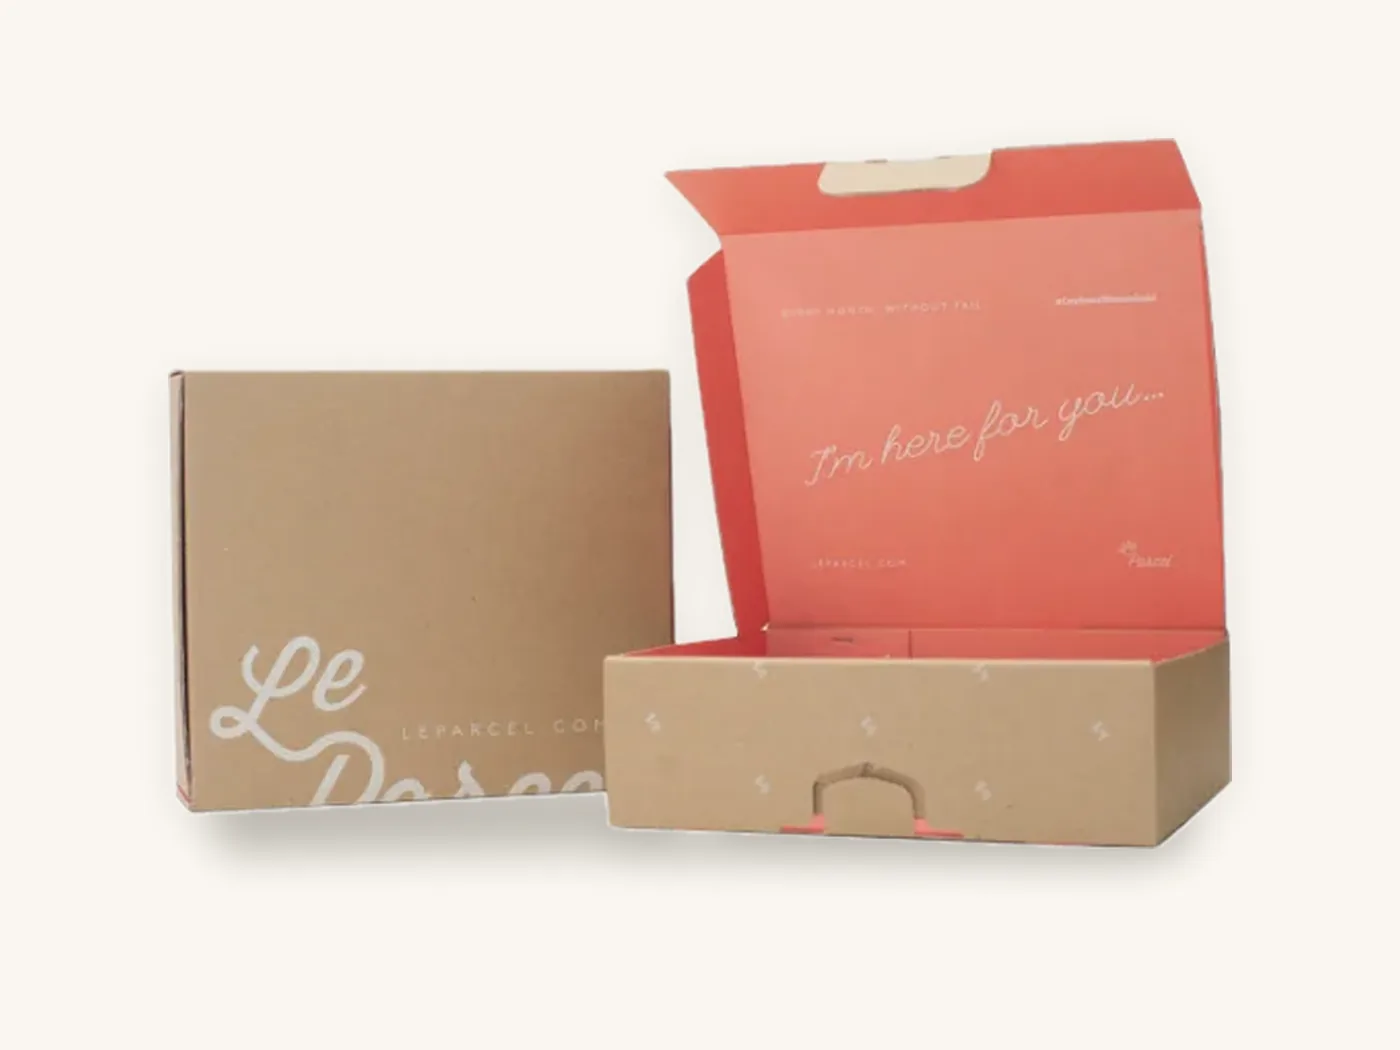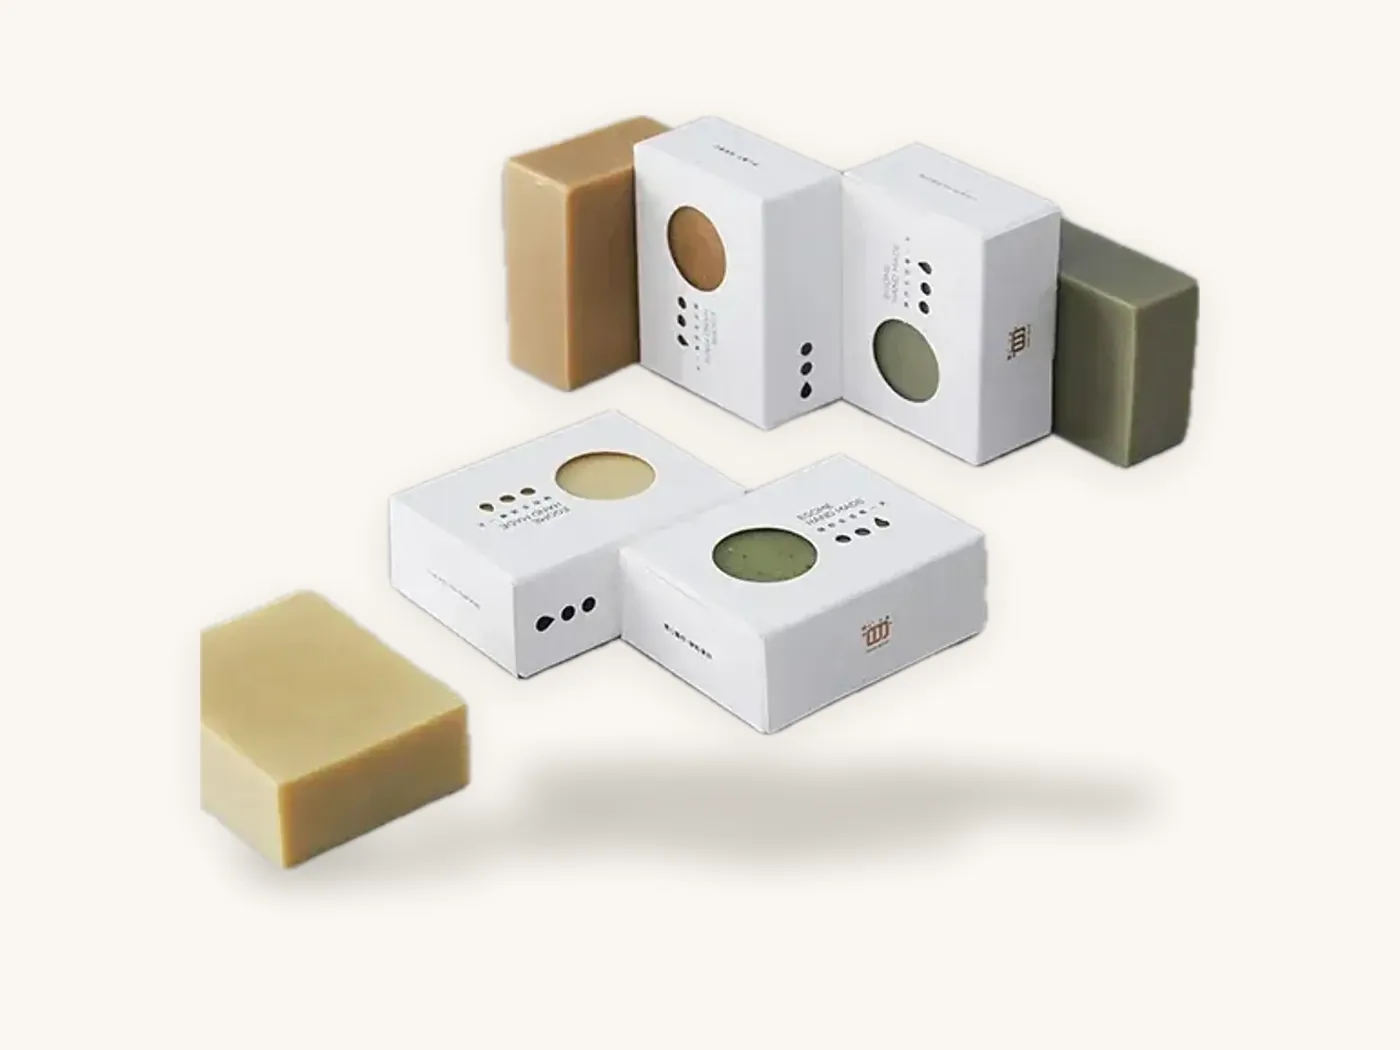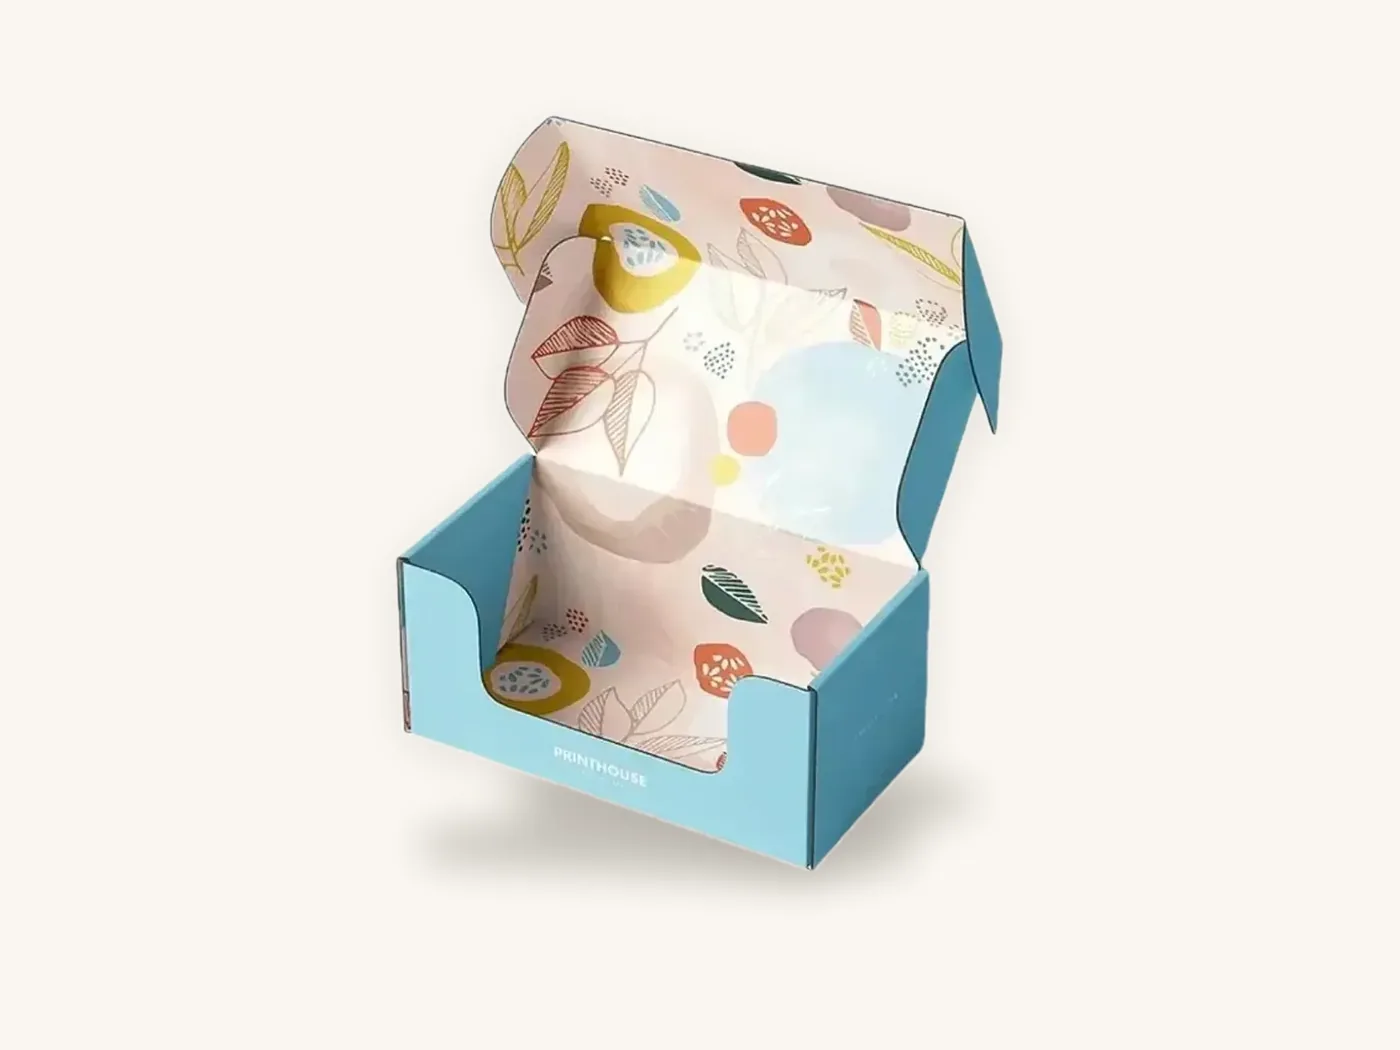
If you are wondering how to design a box without being a designer, the answer is to make a few structural decisions first and keep the graphics simple. Choose the box style, measure your product, pick the board and base color, then place a small number of elements, usually your logo, one color and one message, on the panels people actually look at.
You do not need expensive software or a design degree. Most good-looking custom boxes from small brands rely on restraint: one strong idea executed cleanly beats five ideas competing for space. The technical file work can be handed to your manufacturer.
This guide walks through ten practical steps, from deciding what the box has to do to approving a proof. It follows one hypothetical small business the whole way through, and it flags the handful of decisions where non-designers most often go wrong.
Key takeaways
- Decide the box's job first: shipping, retail shelf, gift or all three. That choice points to the style and board.
- Measure the packed product, not the bare item, and specify internal dimensions.
- Pick your base before your colors. Kraft, white and colored boards change how every color and logo looks.
- Use a simple layout recipe: a centered logo, an all-over pattern, or a label-style panel. Each is hard to get wrong.
- Mock up the box in paper at full size before sending anything to print, and view it from arm's length.
- Box Sense offers free design support, including the dieline, artwork setup and a 3D proof, from a minimum order of 10 boxes.
Step 1: Decide what the box has to do
Every design decision gets easier once you know the box's main job. A box that ships through the mail needs different structure and a different design than one sitting on a boutique shelf.
| Main job | Recommended style | Where people see the design | Design priority |
|---|---|---|---|
| Ship directly to customers | Corrugated mailer box | Lid top, inside lid | A clean exterior that survives scuffs; a memorable interior |
| Sit on a retail shelf | Folding carton, such as a tuck end box | Front panel, sides | Brand and product name readable from a distance |
| Gift or keepsake | Rigid box or two-piece gift box | Lid, sides, inside | Premium feel; finishes matter more than graphics |
| Ship and display | Mailer with a printed interior or a retail carton inside a shipper | Both | Keep the shipper simple, put the detail on the inner box |
A hypothetical example
Say you run a small online shop selling knitted scarves and hats. Orders ship straight to customers, many are bought as gifts, and you want the box to feel special without paying for rigid packaging. The main job is shipping, with a gift moment when opened.
That points to a printed corrugated custom mailer box: it survives the mail, assembles without tape, and has a lid that opens like a gift. The mailer boxes style page shows the family of options.
Step 2: Measure your product the way it will ship
Box size affects cost, protection and how the design sits on each panel, so measure before you design anything.
- Pack the product as it will ship. For the scarf shop, that means a scarf folded in tissue with a care card on top.
- Measure the longest length, width and height of that bundle with a ruler or tape.
- Add a small clearance. Soft goods like folded knitwear need almost none; rigid items need roughly 1/8 in on length and width.
- Write the size as length x width x depth, using internal dimensions.
- Check it against common sizes. A standard size may already fit, which keeps things simple. Our custom box sizes guide lists common options.
For the scarf shop, a folded scarf in tissue measures about 7.5 x 5.5 x 2.5 in, so an 8x6x3 in mailer fits with a little room for the tissue to puff up.
Tip: if you sell several products in different sizes, try to design one box that fits most of them. One size means one design, one dieline and a better unit price than splitting quantity across three sizes.
Step 3: Choose the board and base color
The material under your design changes how it looks more than most people expect. Decide it before you pick colors.
Kraft, white or colored
- Kraft (natural brown): looks natural and handmade, hides scuffs from shipping, and works best with one or two dark colors or white ink. Light colors printed directly on kraft almost disappear. See kraft mailer boxes.
- White: shows colors closest to what you see on screen, so it suits colorful brands, photography and pastels.
- Printed solid color: a white box can be printed in any background color, including black, if your brand calls for it.
Corrugated or paperboard
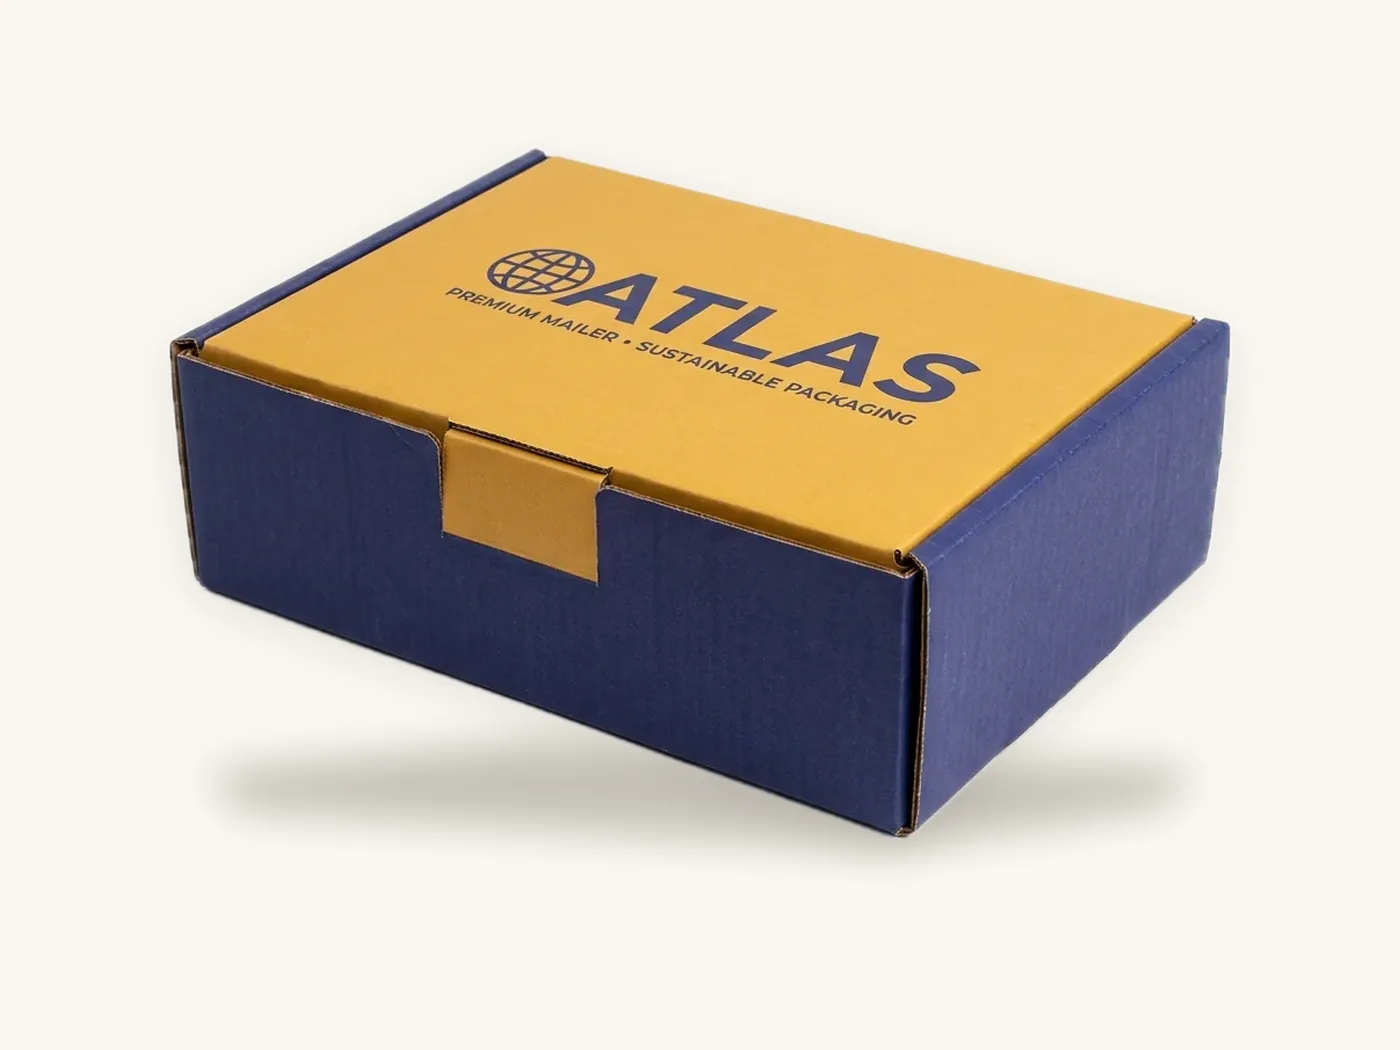
Mailers and shipping boxes use corrugated board, usually E-flute, which is thick enough to protect but smooth enough to print well. Retail cartons such as custom product boxes use thinner paperboard, which prints sharper detail but does not survive shipping alone.
The scarf shop picks kraft E-flute. It matches their natural wool products, and they plan a simple two-color design.
Step 4: Gather your brand assets
Before opening any design tool, collect everything the box needs in one folder. Missing assets are the most common reason non-designers stall halfway through.
Your checklist of assets
- Logo as a vector file (AI, EPS, SVG or vector PDF). If you only have a small PNG, ask whoever made the logo for the original.
- Brand colors, ideally with PMS or CMYK values. If you only have a hex code from your website, write it down and your manufacturer can match it.
- Fonts you use on your website or labels, with the font files or names
- Copy: tagline, website, social handle, care instructions, any required product information
- Photos or illustrations, if you want them, in high resolution
- Barcode, if the box goes to retail
If you do not have a logo yet
Keep it simple. A well-set brand name in one good typeface works as a logo on packaging. You can refine it later, and changing a simple wordmark between print runs is easy.
Step 5: Pick a design tool, or hand it off
You have three realistic options, and none of them requires years of training.
| Option | Cost | Best for | Watch for |
|---|---|---|---|
| Free design support from your manufacturer | Included with your order at Box Sense | Anyone who has a logo and knows what they want | You describe the design; the team builds it |
| Browser design tools like Canva | Free or low monthly cost | Sketching layouts and testing ideas | Limited print color control; files often need rebuilding for press |
| Vector software like Adobe Illustrator or Affinity Designer | Subscription or one-time license | Hands-on control and final print files | Learning curve |
| A freelance packaging designer | Project fee | Complex product lines, retail launches | Choose someone with printed packaging in their portfolio |
For most small businesses, the fastest route is to sketch the layout yourself using the recipes below, then send the sketch, logo and copy to our design services team to build the print file.
Step 6: Use a simple layout recipe
Non-designers get into trouble by filling every panel. A box is seen in stages: first the lid or front, then the inside, then the sides when it is handled. Design for that sequence, and pick one of these proven recipes.
Recipe 1: The centered logo
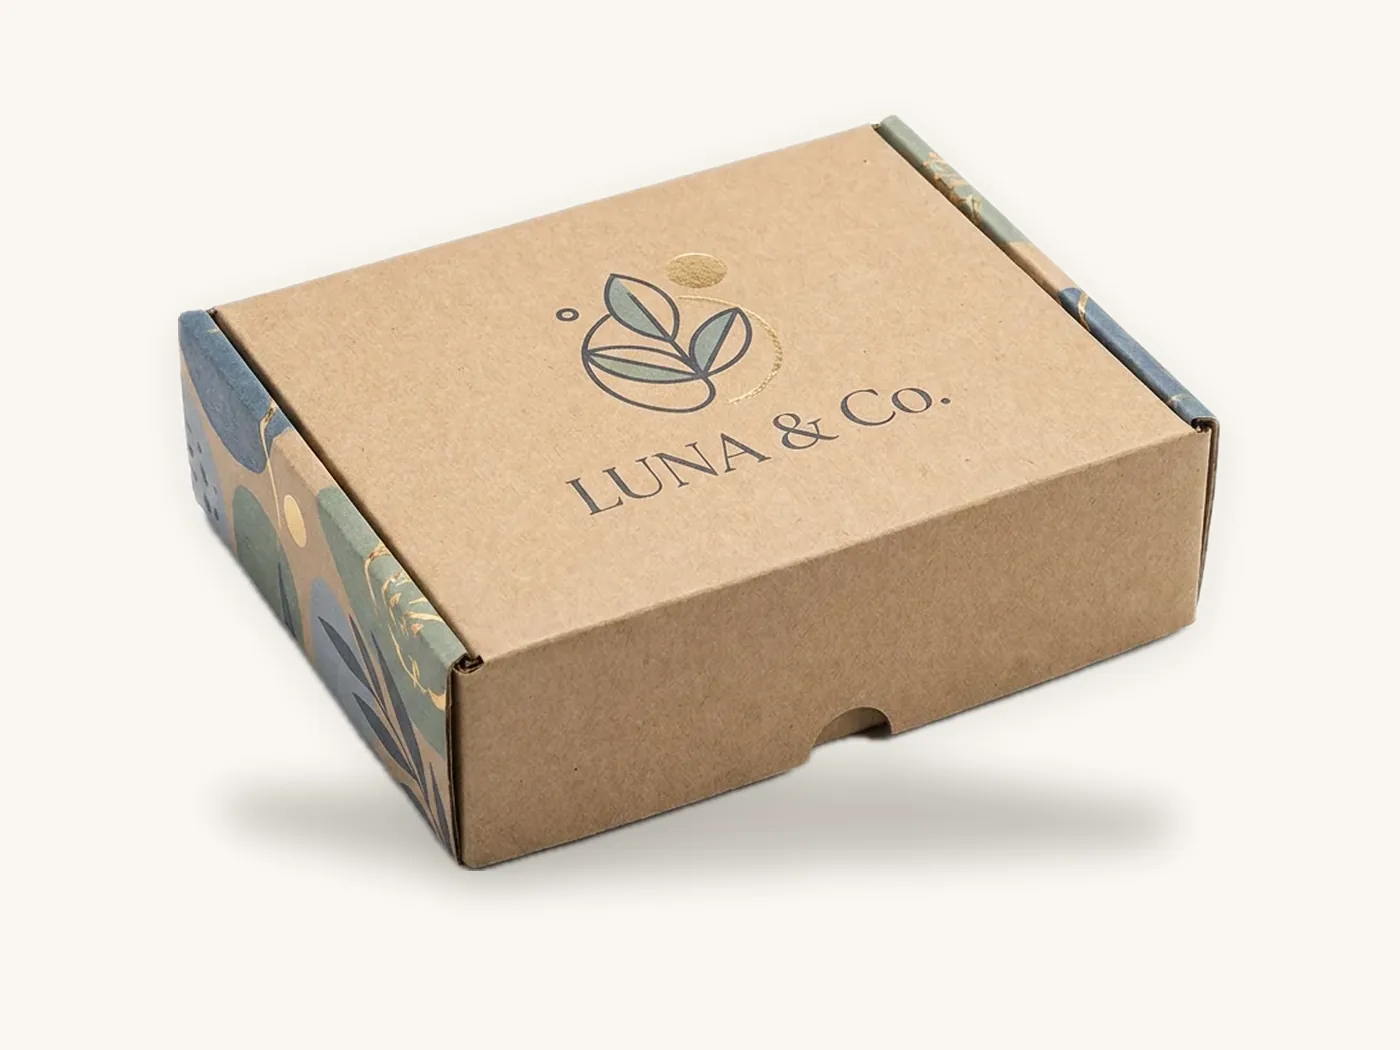
A single logo, centered on the lid, on a plain kraft or solid color box. Add a small website or tagline on one side panel. It looks confident and costs the least to print. It works for almost any brand and is very hard to get wrong.
Recipe 2: The all-over pattern
A repeating pattern covers the whole outside, built from your logo mark, a simple shape or an illustration. Patterns hide scuffs and small print variations well, which makes them good on shipping boxes. Keep the pattern elements generous in size so they stay crisp on corrugated board.
Recipe 3: The label panel
The box is mostly plain, with a rectangle or circle on the lid that looks like a label, holding your logo, product name and one line of copy. It feels crafted and organized and suits food, candles, cosmetics and handmade goods.
Choosing for the example
The scarf shop picks Recipe 1 outside, printing their logo in one dark color centered on the kraft lid. The inside lid gets something more personal, covered in the next step.
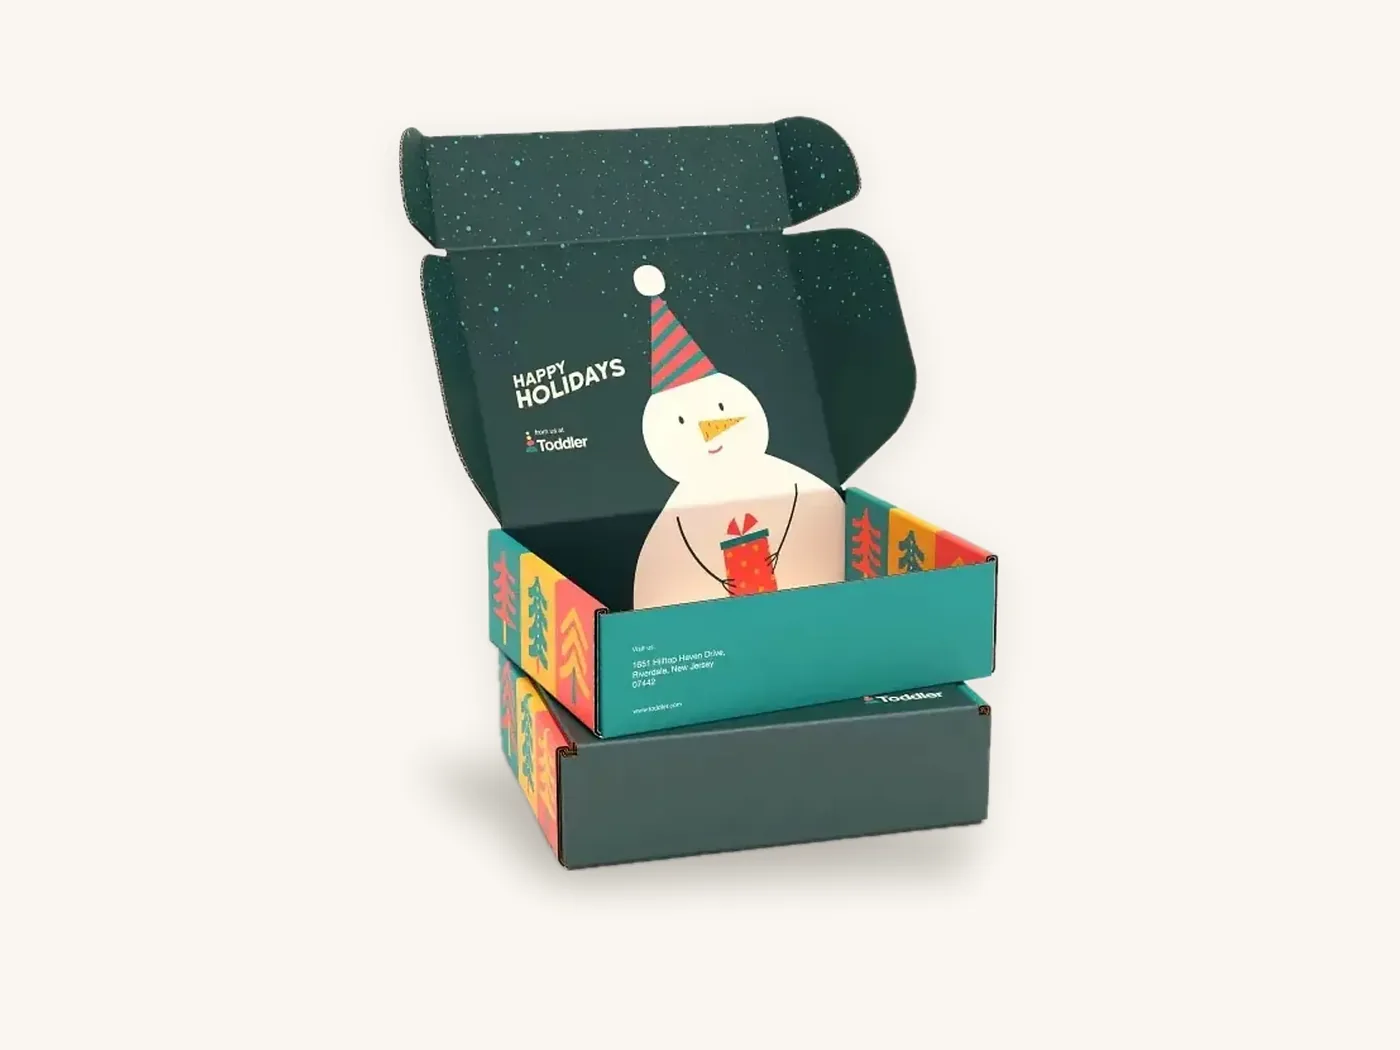
Step 7: Plan the inside and the unboxing moment
The inside lid is where a customer is paying the most attention: they have just opened the box and have not yet seen the product. It is the best space on the whole box for a message.
Ideas that work without design skills
- A short thank-you line in your brand font
- A handwritten-style note, scanned from your own handwriting
- A simple pattern in one color
- A QR code linking to care instructions or a reorder page
Layering inside the box
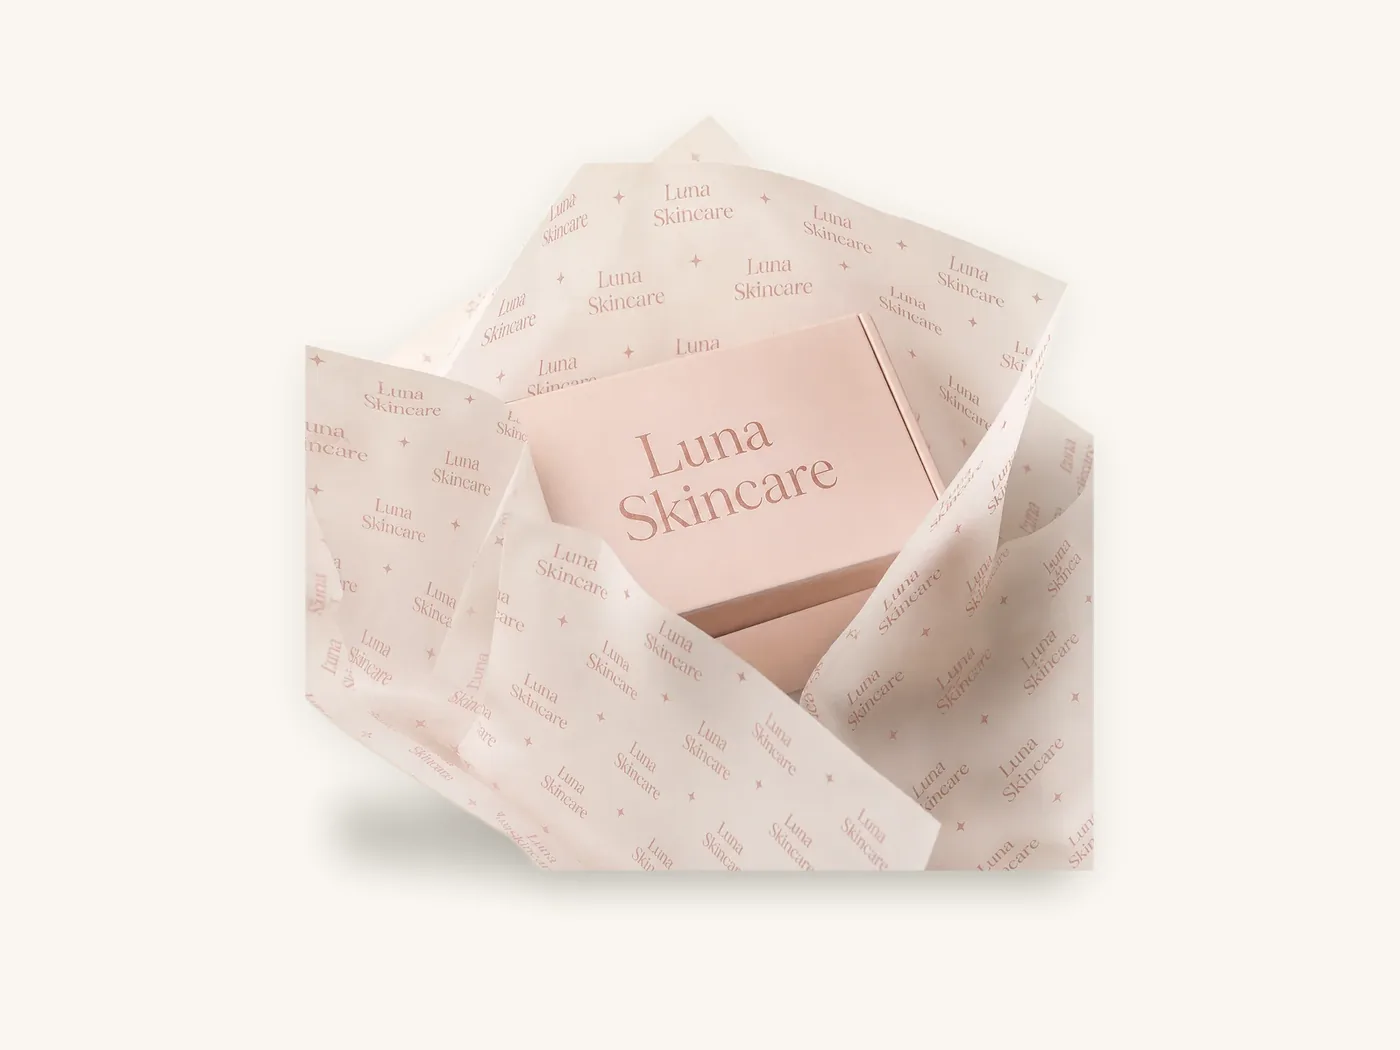
Printed tissue paper or a card adds a reveal layer and does design work that print alone cannot. For more ideas on sequencing what the customer sees, read our unboxing experience ideas.
The scarf shop prints "Made slowly, worn for years" on the inside lid and wraps each scarf in tissue with a care card on top.
Step 8: Choose finishes that are worth it
Finishes change how a box feels in the hand. They are optional, and a well-laid-out plain box looks better than a cluttered one with foil on everything.
| Finish | What it does | When it earns its place | Budget note |
|---|---|---|---|
| Aqueous coating | Protects print from scuffs; keeps the box recyclable | Almost always, especially on shipping boxes | Low cost default |
| Matte lamination | Smooth, non-glare surface | Minimal, modern designs | Adds per-unit cost |
| Soft-touch lamination | Velvety feel | Beauty, gifts, premium products | Adds more per-unit cost |
| Foil stamping | Metallic logo or detail | One element on a lid | One-time tooling of about $60 |
| Spot UV | Glossy highlight on selected areas | Logos on matte backgrounds | One-time tooling of about $40 |
| Embossing | Raised logo you can feel | Simple logos on premium boxes | One-time tooling of about $60 |
The printing and finishes page shows each effect. The scarf shop skips premium finishes and uses a plain coating, keeping their budget for printed tissue.
Step 9: Mock it up and test it
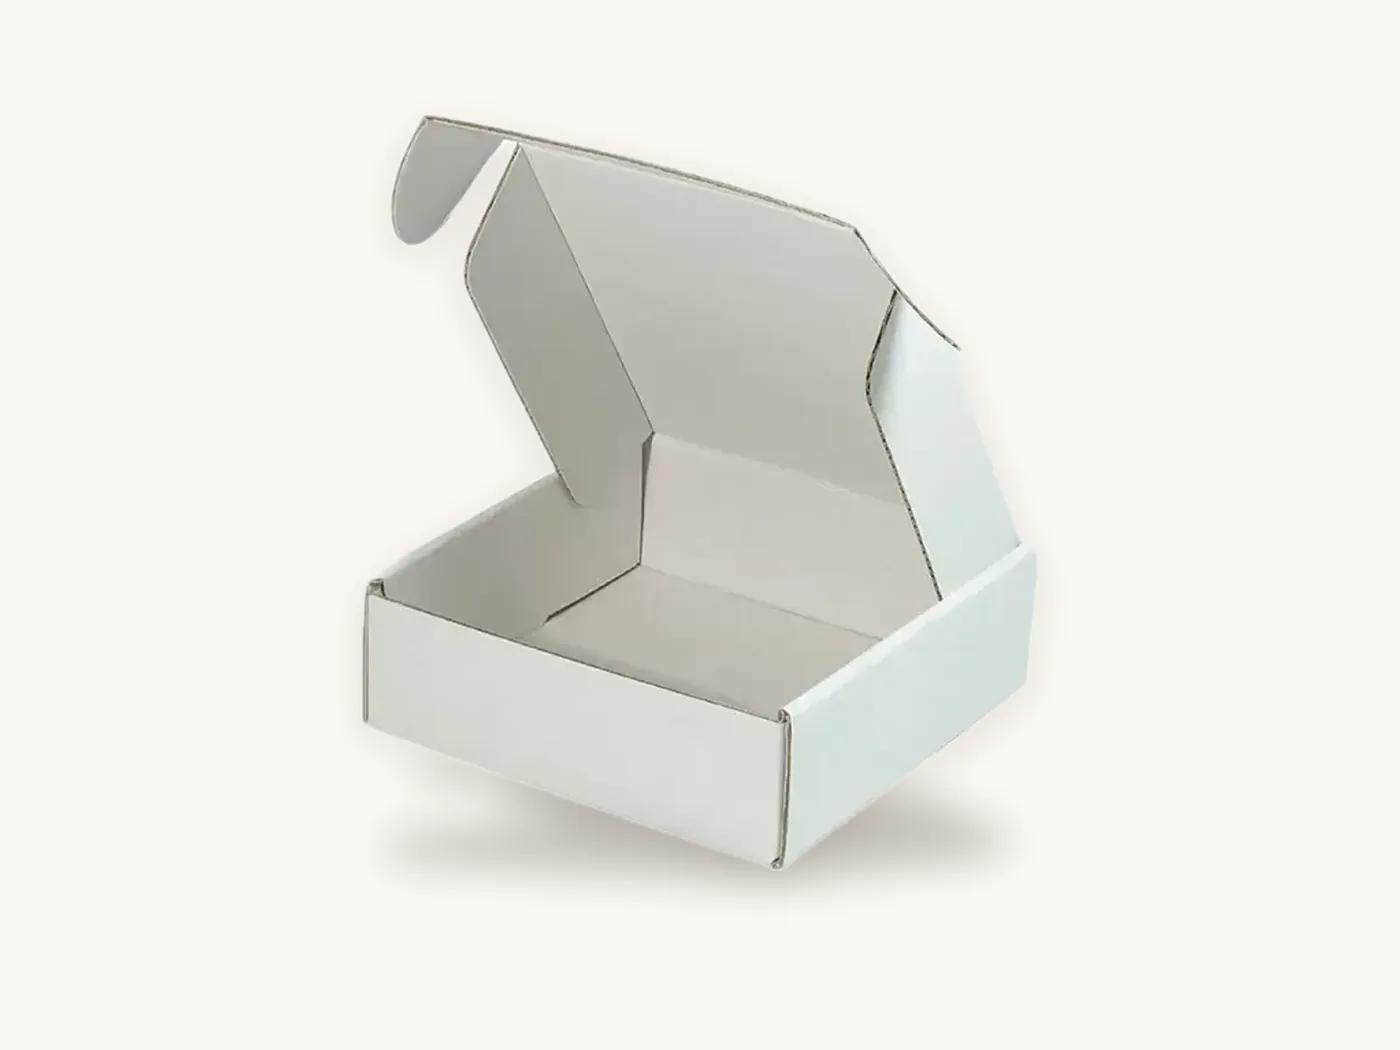
This is the step non-designers skip, and it catches most mistakes. Ask for the dieline, the flat template of your exact box, and use it to make a paper version at full size. Our guide on what a dieline is explains how to read the template.
How to make a quick mock-up
- Print the dieline with your rough design at 100% scale, taping sheets together if needed.
- Cut it out and fold it along the crease lines.
- Put your product inside.
- Set it on a table and step back about three feet.
- Open it the way a customer would.
What to check
- Can you read the brand name from across a room?
- Is anything upside down once folded? Lids and inside panels often are.
- Does text fall across a fold or too close to an edge?
- Does the inside message appear right side up when the lid opens?
- Does it feel like your brand, or like a template?
Show the mock-up to two or three people who fit your customer profile and ask what the brand sells. If they guess wrong or hesitate, simplify.
A paper mock-up checks layout and orientation. For how the finished design will look, a 3D digital proof and a physical sample go further; see our guide to packaging mockups and 3D proofs.
Step 10: Prepare files or let the printer do it
If you built your design in vector software, the file needs to meet print requirements: backgrounds extended past the cut line, text kept inside a safe margin, CMYK color, outlined fonts and a high-resolution PDF. Our artwork preparation guide covers every setting.
If that list sounds like a foreign language, do not worry. Send your sketch, logo, colors and copy, and our team sets up the file on the dieline, then sends a 3D proof for you to approve.
Mistakes non-designers make most often
- Too many elements on the lid, competing for attention
- Small, thin text that looks fine on screen but is unreadable when printed
- Light colors on kraft without white ink underneath
- Low-resolution logos copied from a website
- Important text across folds or too close to edges
- Designing before measuring, then having to redo everything when the size changes
- Skipping the mock-up, and discovering an upside-down panel on the proof
Watch out: a design that looks balanced on a flat screen can look very different folded into three dimensions. Side panels are narrow, lids are seen from above, and inside panels are seen at an angle. Always check a folded version before approving.
What a custom box design costs to print
Designing the box is free if you use Box Sense design support. Printing costs depend on size, print coverage, finishes and quantity. These indicative prices include free US shipping; check your spec in the price estimator.
| Spec | 10 units | 100 units | 1,000 units |
|---|---|---|---|
| Mailer box, E-flute, 8x6x3 in, full color outside | about $3.99 each | about $2.64 each | about $1.17 each |
| Mailer box, E-flute, 10x8x4 in, full color inside and outside | about $6.54 each | about $4.33 each | about $1.92 each |
| Kraft tuck carton, 18 pt kraft, 4x3x2 in, 1-color print | about $1.22 each | about $0.81 each | about $0.36 each |
How design choices affect price
- Printing inside and outside costs more than outside only, as the two mailer rows show.
- A one-color design on kraft is one of the most economical ways to get a branded box.
- Premium finishes add per-unit cost, and foil, embossing and spot UV each carry one-time tooling.
- Quantity has the biggest effect of all. Unit prices fall steeply from 10 to 100 to 1,000.
Ordering your custom box design from Box Sense
When your design direction is clear, ordering is straightforward.
What to send
- Product dimensions, packed the way it will ship, or your chosen box size
- Box style, for example a mailer, a gift box or a tuck end carton
- Board and base color: kraft, white or printed color
- Your logo, brand colors, fonts and copy
- A sketch or photo of your paper mock-up, if you made one
- Finishes you want, and quantities to price
What happens next
- Quote within 24 hours. We confirm pricing for your spec.
- Free design support. We provide the dieline, set up artwork and send a 3D digital proof, with two revision rounds.
- Samples. Unprinted structural samples are free, and a printed sample of approved artwork is free on orders of 100 or more. See samples.
- Production. Standard production takes 8–12 business days after proof approval; rush in 5 business days is available on most paperboard and corrugated styles.
- Delivery. US shipping is free on every order.
The minimum order is 10 boxes, and there are no die or plate charges. Apparel brands like the scarf shop can browse the apparel and fashion packaging range for more ideas.
Frequently asked questions
How do I design my own box with no design experience?
Start with decisions, not graphics: choose a box style, measure your packed product and pick kraft or white board. Then use a simple layout, such as a centered logo on the lid with a short message inside. Make a full-size paper mock-up to check it. Box Sense can build the print file from your sketch and logo for free.
What software should I use to design a box?
For sketching ideas, a browser tool like Canva is fine. For final print files, vector software such as Adobe Illustrator or Affinity Designer gives the color and layer control printers need. If you do not want to learn software, send your logo, colors and a sketch to your manufacturer's design team and approve their 3D proof instead.
Can I design a custom box in Canva?
You can use Canva to sketch a layout, try colors and test ideas on a box template. For printing, though, Canva files often need rebuilding because of limited CMYK color, spot color and layer control. Use it for the concept, then have a designer or your manufacturer's design team set up the final file on your exact dieline.
What should I put on a custom box?
At minimum, your logo on the most visible panel and your website or social handle somewhere smaller. Shipping boxes benefit from a message on the inside lid. Retail boxes also need the product name, key benefit and any required product information, such as ingredients or net contents. Fewer, larger elements almost always look better than many small ones.
How do I know what size box to design?
Pack the product exactly as it will ship, with tissue, inserts or cards, then measure its length, width and height. Use those as internal dimensions and add a little clearance for rigid items. Ask for a dieline at that size before designing, because the panel sizes on the template decide where your artwork goes.
Is kraft or white better for a custom box design?
Kraft suits natural, handmade and eco-minded brands, hides shipping scuffs and works best with one or two dark colors or white ink. White reproduces bright colors, pastels and photos accurately. If your design depends on a specific light or vivid color, choose white. If it is a simple logo and your brand feels natural, kraft is a strong choice.
How much does it cost to design and print a custom box?
Design support is free at Box Sense, including the dieline, artwork setup and a 3D proof. Printing depends on size, coverage, finishes and quantity. As a reference, an 8x6x3 in E-flute mailer printed full color outside is about $3.99 each at 10 units and about $2.64 at 100, including US shipping. Use the pricing page for your spec.
Next steps
Work through the first four steps today: define the box's job, measure your packed product, pick your board and gather your logo and colors. Then check costs in the instant price estimator and request a quote with your sketch and logo. We confirm pricing within 24 hours and turn your idea into a dieline and 3D proof.
Boxes in this guide
Order the packaging we covered
Written by the Box Sense Packaging Team
Our structural designers, prepress technicians and production staff print and convert custom boxes every day for brands in the United States, United Kingdom and UAE. Questions about this guide? Talk to us.