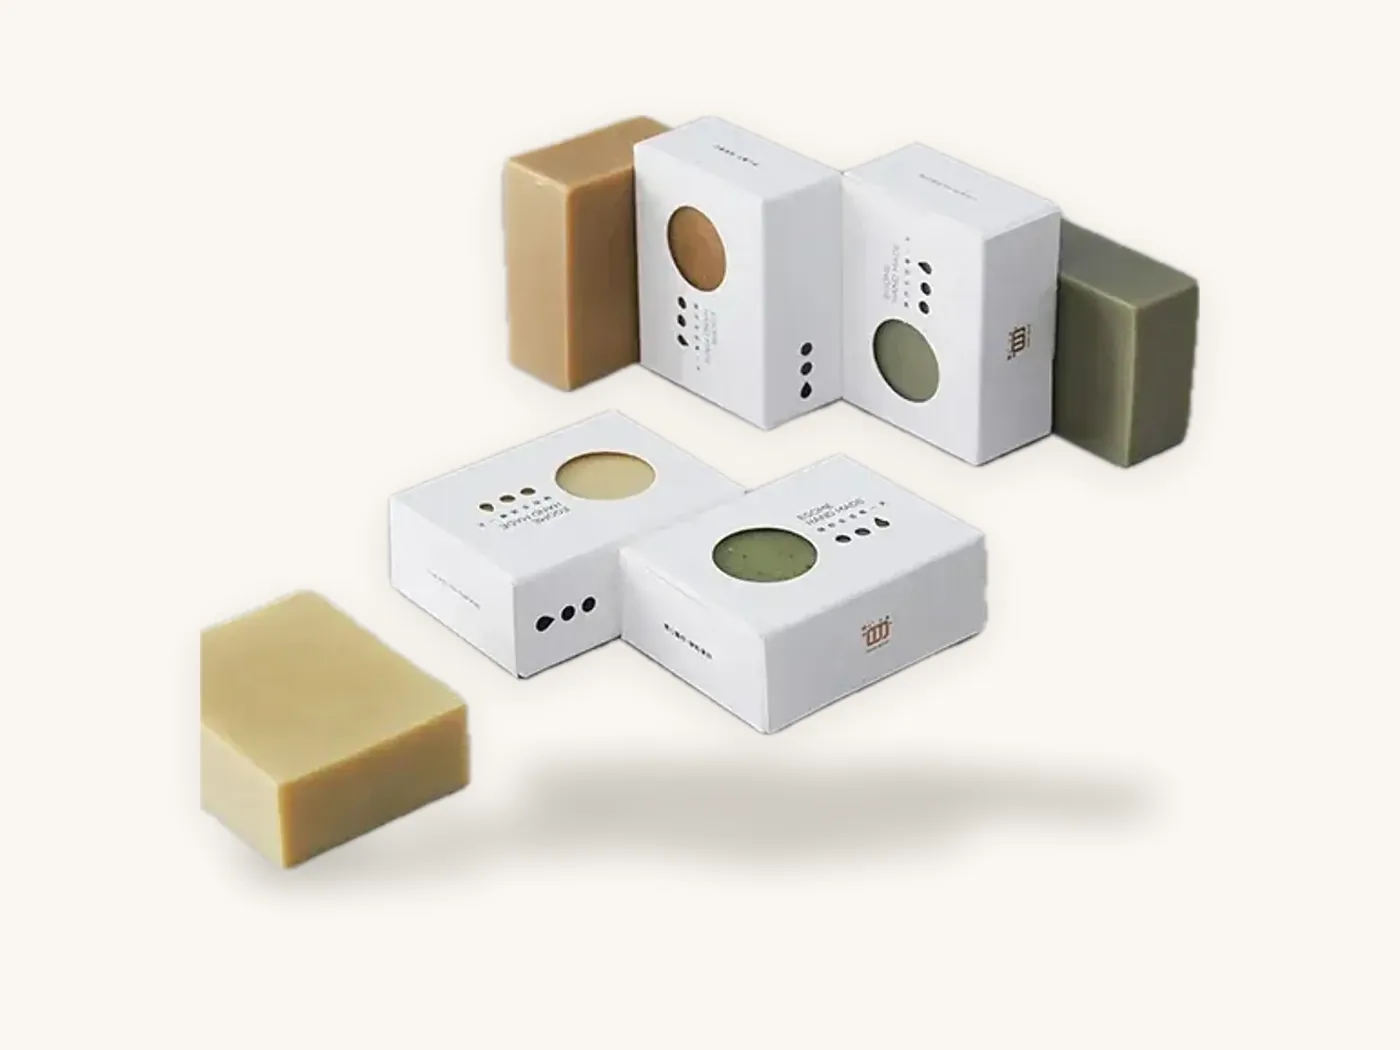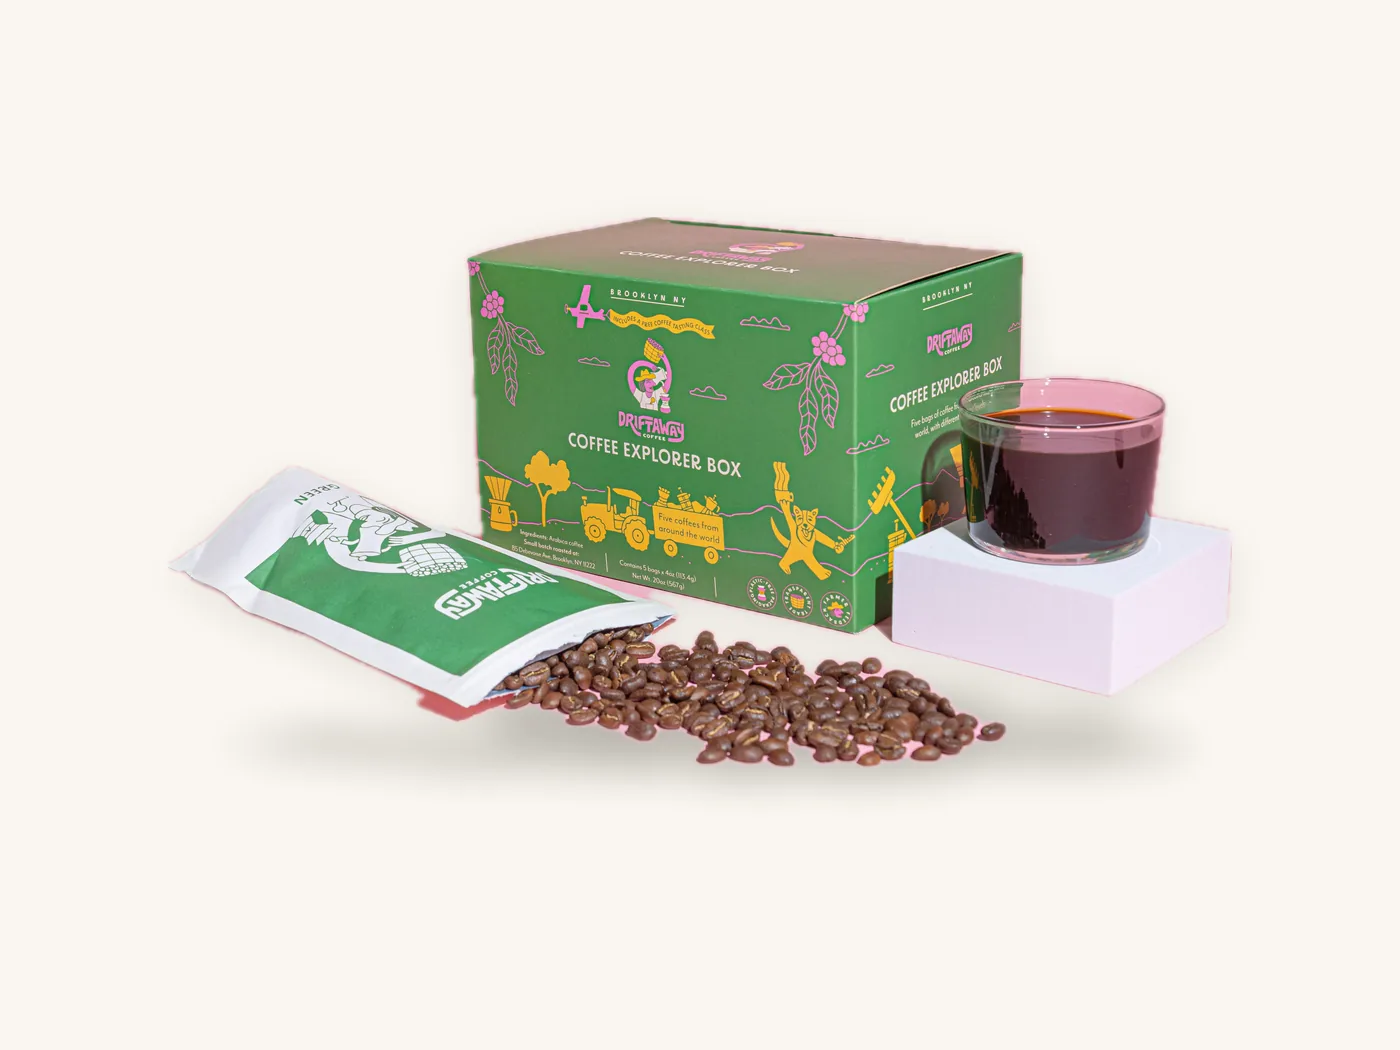
A packaging mockup is a visual representation of your box design, and a 3D proof is a mockup built from your actual dieline and print-ready artwork so you can check how every panel folds together before production. Approving with confidence means knowing what each proof can verify and what it cannot: screens are reliable for layout, orientation and copy, and unreliable for exact color, finish and feel.
Many reprints trace back to something that was visible in the proof but not checked: a line of text upside down on the top flap, a barcode across a fold, a logo sitting on the glue flap. This guide explains the different types of proofs, gives you a panel-by-panel review process, lists the errors worth hunting for, and shows when a physical sample is worth the extra days.
Key takeaways
- A marketing mockup shows what a design could look like; a 3D proof shows how your specific artwork sits on your specific dieline. Only the second one is safe to approve for production.
- Review a 3D box proof for orientation, panel alignment, text near folds, glue flap placement and inside-surface artwork. These are the problems it catches best.
- A screen cannot show exact printed color, soft-touch texture, foil shine or embossing depth. Use a printed sample when those matter.
- Assign one person to give final sign-off, collect all feedback in one consolidated list per revision round, and check that every requested change was made.
- Structural samples confirm fit; printed samples confirm color and finish. Decide which risk you are managing before you order either.
- Approval starts the production clock, so leave room in your schedule for proof review rather than rushing it.
Mockup, flat proof, 3D proof and physical sample: what each one tells you
People use "proof" and "mockup" loosely, which leads to approving the wrong thing. These are the four stages you are likely to see, and each answers a different question.
| Proof type | What it is | What it verifies well | What it cannot verify | When to use it |
|---|---|---|---|---|
| Concept mockup | A render of a design idea on a generic box template | Overall look, direction, brand fit | Your real dimensions, dieline, panel placement, color accuracy | Early design reviews, choosing between concepts |
| Flat dieline proof | Your artwork placed on the dieline, shown unfolded with cut, crease and bleed lines | Bleed, safe zones, copy, barcode placement, file setup | How panels meet once folded, orientation of flaps | Every order; the technical record of what will print |
| 3D digital proof | Your artwork rendered on a folded model of your actual dieline | Orientation, how artwork wraps edges, panel relationships, inside surfaces | Exact color, texture, finish effects, structural fit with the product | Every order; the main approval tool |
| Physical sample | A real box, unprinted (structural) or printed with approved artwork | Fit, strength, closure, color on real board, finish feel | Nothing major, though small differences can exist between sample and production methods | Tight fits, inserts, rigid boxes, color-critical or premium orders |
Why concept mockups are not proofs
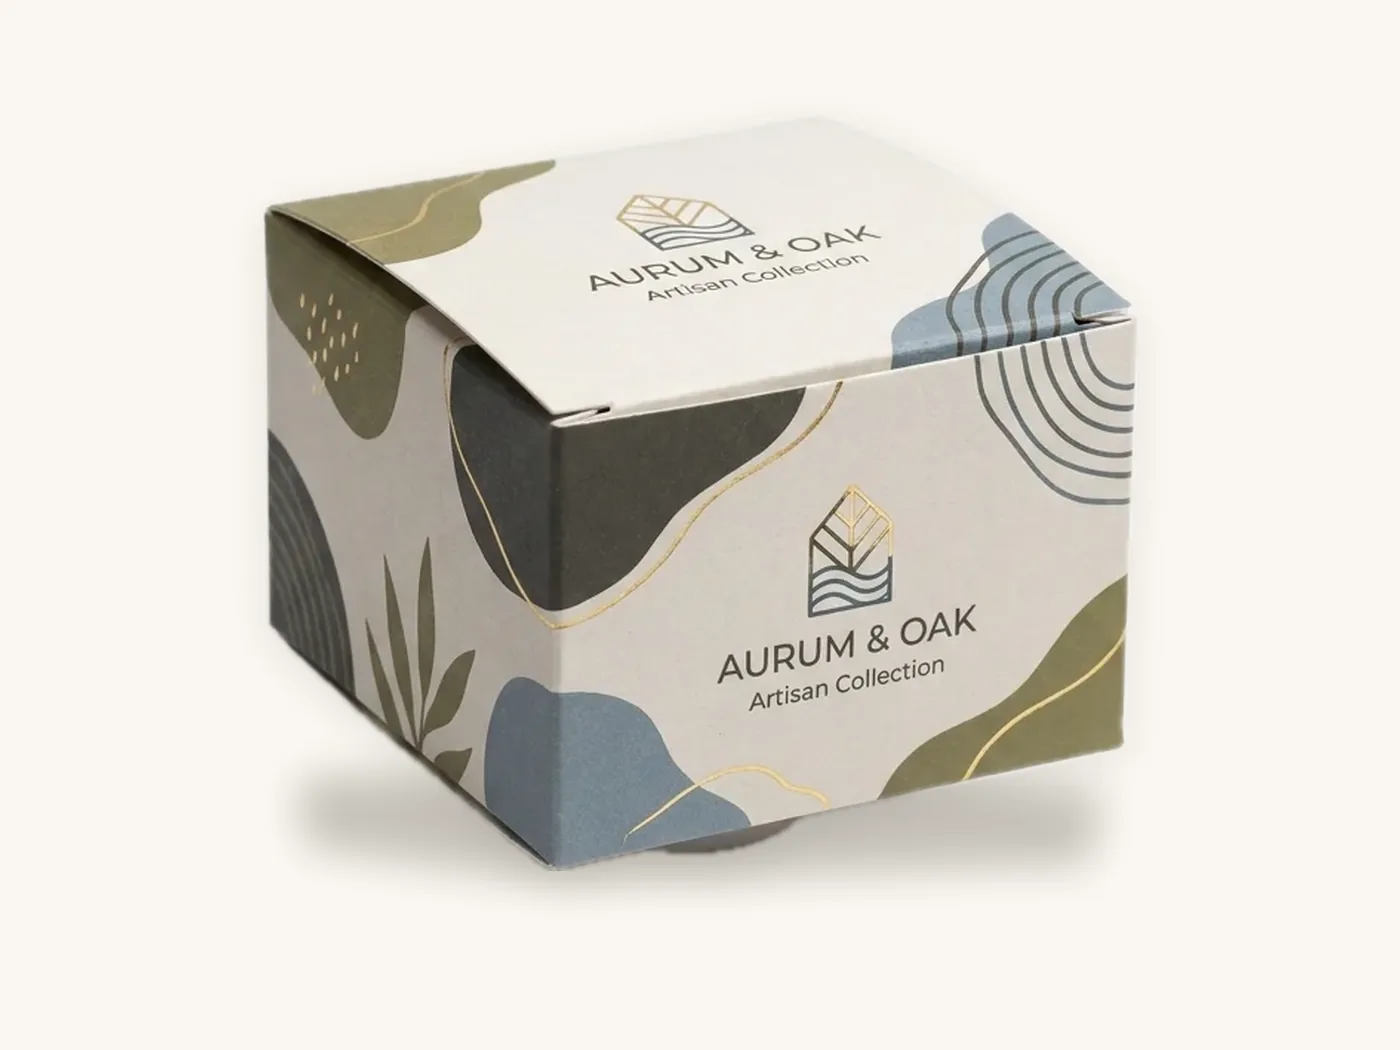
Concept mockups are usually built on stock templates with standard proportions. If your real carton is taller, narrower or has a different closure, the design may shift. A concept mockup is excellent for deciding direction but should never be the file you approve.
Why you need both the flat and the 3D view
The flat proof is the precise record of what gets printed, including the exact position of cut and crease lines. The 3D proof translates that flat sheet into the object people will hold. Problems like upside-down artwork on a reverse tuck flap are easy to miss in a flat file and obvious in 3D. Review both together. Our explainer on what a dieline is covers how to read the flat view.
What a 3D box proof is really checking
A 3D proof is the best tool for spatial problems, the kind that only appear once a flat sheet becomes a box. Focus your review there.
Orientation of every panel
On a tuck end carton, the top and bottom flaps fold in opposite directions, and the artwork on each must be placed accordingly. On a mailer, the inside lid artwork must read correctly when the lid is open and the box faces the customer. Rotate the 3D proof and confirm every word reads the right way up in its real viewing position.
Artwork that wraps across edges
Designs that continue from one panel to the next, such as a stripe, a pattern or a photo, need to line up across the fold. The 3D view shows whether the transition looks intentional. Remember that folding tolerances mean an exact hairline alignment across a crease is not realistic; designs that tolerate a small shift look better in production. Our packaging print tolerances guide explains typical variation.
Glue flaps, dust flaps and hidden areas
Anything printed on a glue flap disappears once the box is assembled. Dust flaps are hidden when the box is closed. The 3D proof makes clear which artwork will actually be seen.
Inside surfaces and inserts
If you print inside, check the relationship between the inside artwork and any insert. A pattern printed on the inside base may be completely covered by a tray. Review the inside view with the insert in place if the proof includes it.
Relationship between front, sides and top
Stand the 3D proof on a virtual shelf in your mind. Does the front panel face the right way relative to the top flap? Is the product name readable on the side panel when the box is stacked? These relationships drive how the box looks at retail.
Tip: take screenshots of the 3D proof from six angles (front, back, both sides, top and bottom) plus the open view, and paste them into one page. Reviewers comment faster and more accurately on a single sheet than on a rotating model.
What screens cannot show: color, finish, texture and scale
A 3D proof is rendered on a screen, and every screen shows color differently. Several aspects of a box simply cannot be judged digitally.
Color
Screens produce color with light (RGB), while printed boxes use ink on board (CMYK or spot colors). Some screen colors cannot be printed, and every monitor is calibrated differently. The board also matters: kraft darkens colors, white SBS shows them brightest, and laminations change saturation. Treat on-screen color as approximate. Specify PMS references for critical brand colors, and read our CMYK vs Pantone guide for how color matching works.
Finishes
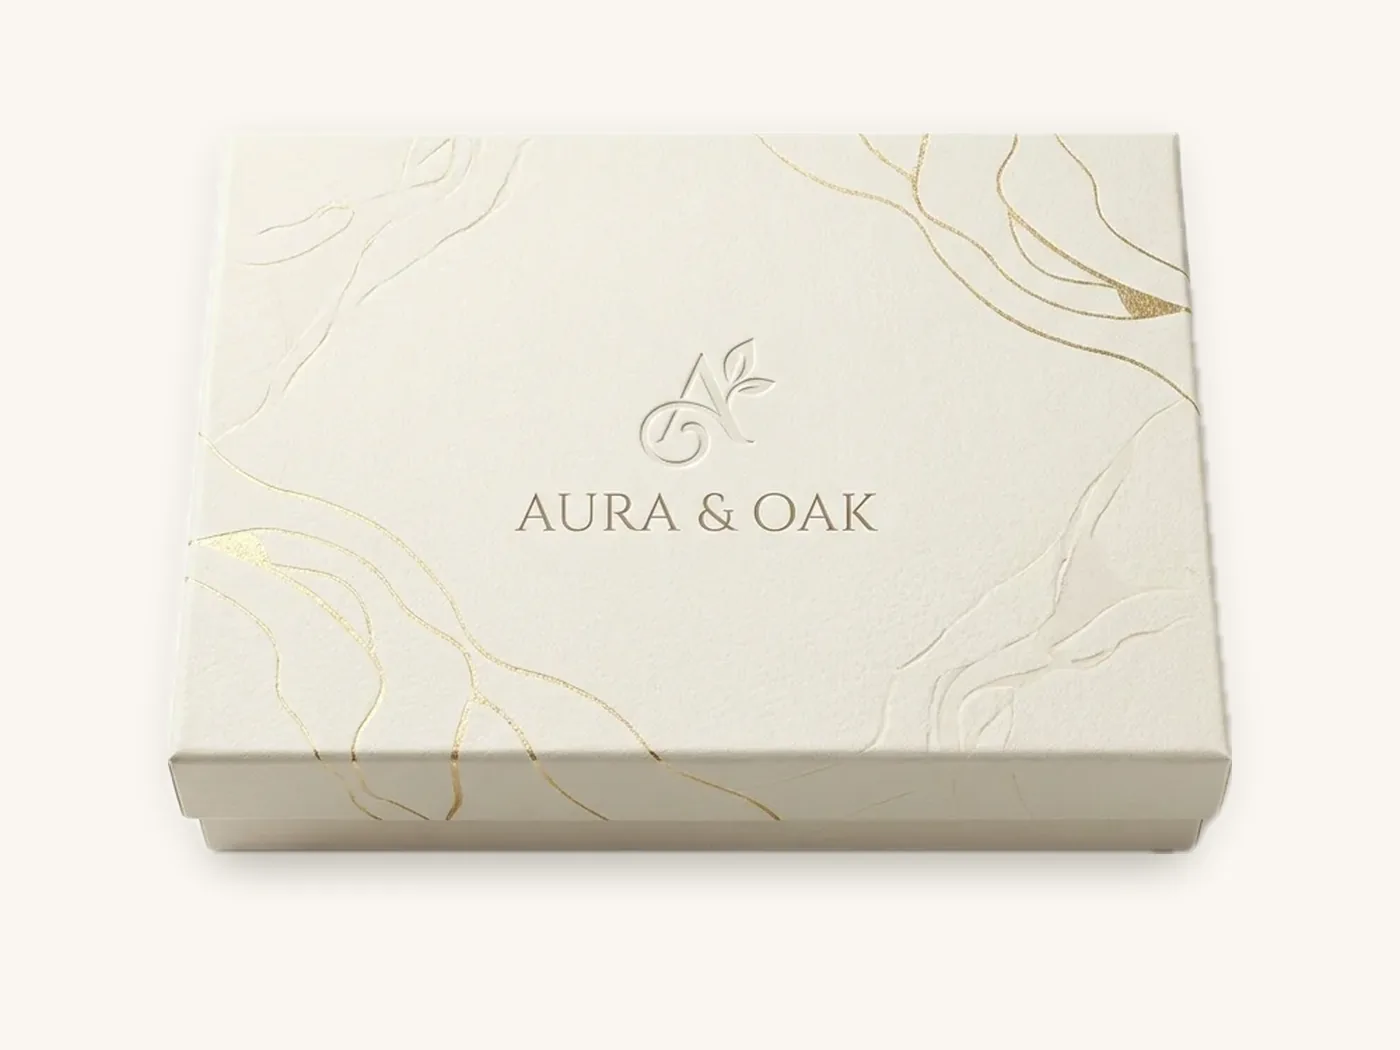
A render can indicate where foil, spot UV or embossing will be applied, but it cannot show how foil catches light as the box moves, how soft-touch lamination softens colors, or how deep an emboss feels. For rigid boxes and other premium packaging where finish is the point, a physical sample is the reliable check.
Texture and board feel
Textured papers, uncoated stocks and board thickness all affect how a box feels in the hand. None of that is visible on a screen.
Scale
A 3D proof on a large monitor makes a small carton look big. Text that seems generous on screen may be tiny in reality. Print the flat proof at 100% scale, cut it out and fold it into a rough paper model to judge text size and proportions.
How to review a packaging proof, step by step
Use this process for every proof, whether it is a first draft or a final revision. It works best when one person leads and others review specific areas.
- Confirm the basics first. Check the box style, internal dimensions, board and finish on the proof match what you ordered. A perfect artwork check on the wrong size is wasted time.
- Check the product fits the dimensions. Measure your product as packed, including any pouch or insert, against the internal dimensions.
- Read every word on every panel. Read slowly, out loud if possible, including small print, ingredients, addresses and URLs.
- Verify numbers. Net quantity, weights, sizes, phone numbers, prices and dates are easy to get wrong when artwork is duplicated for variants.
- Check regulated content. Confirm required statements, facts panels and warnings with the person responsible for compliance. Our packaging typography guide covers type size rules on regulated panels.
- Rotate the 3D proof. Confirm orientation on every panel, including top, bottom, flaps and inside surfaces.
- Look at folds and edges. Keep text and logos at least 1/8 in inside every cut and crease, and make sure nothing important sits on a glue flap.
- Check bleed. Background colors should extend 1/8 in past the cut line on the flat proof.
- Scan codes. Test barcodes and QR codes from a printed copy of the flat proof at 100% scale.
- Review finish placement. Confirm foil, spot UV and embossing areas are exactly where intended and not too close to folds.
- Compare versions. If you have multiple variants, place proofs side by side to confirm consistent placement of shared elements.
- Consolidate feedback. Send one clear list of changes, each with a panel reference, rather than several separate emails.
The artwork preparation guide explains how to set up files so fewer issues appear at proof in the first place.
Common errors caught at the proof stage
These are problems that commonly slip through when proofs are reviewed quickly. Each is easy to fix before approval and expensive after.
| Error | Where it shows up | How to catch it | Fix |
|---|---|---|---|
| Upside-down text on a tuck flap | Top or bottom flaps of tuck end cartons | Rotate the 3D proof; check each flap in its closed position | Rotate the artwork on that panel |
| Inside-lid message reads upside down | Mailer and rigid box lids | View the open 3D proof as the customer would | Flip the inside artwork orientation |
| Text or logo on the glue flap | Side seam of folding cartons | Check the flat proof for the glue area | Move content to a visible panel |
| Barcode across a fold or edge | Side and back panels | Check the flat proof crease lines against the barcode | Move the barcode to a flat area with quiet zone |
| Important text too close to a crease | Any panel edge | Measure against the 1/8 in safe zone | Move inward or reduce text block |
| Missing bleed | Outer edges of the artwork | Check that backgrounds extend past the cut line | Extend background 1/8 in beyond the cut |
| Wrong variant text on a duplicated file | Multi-flavor or multi-shade ranges | Compare variant proofs side by side | Correct and recheck every variant |
| Low-resolution images | Photos and textures | Zoom the flat proof to 100% and look for pixelation | Replace with images at 300 dpi at final size |
| Foil or spot UV too close to a fold | Lids and panel edges | Check finish layers against crease lines | Pull finish areas away from creases |
| Design hidden by an insert | Inside base of mailers and trays | Review inside view with the insert included | Move artwork to lid or print on the insert |
Using packaging mockups for marketing before production
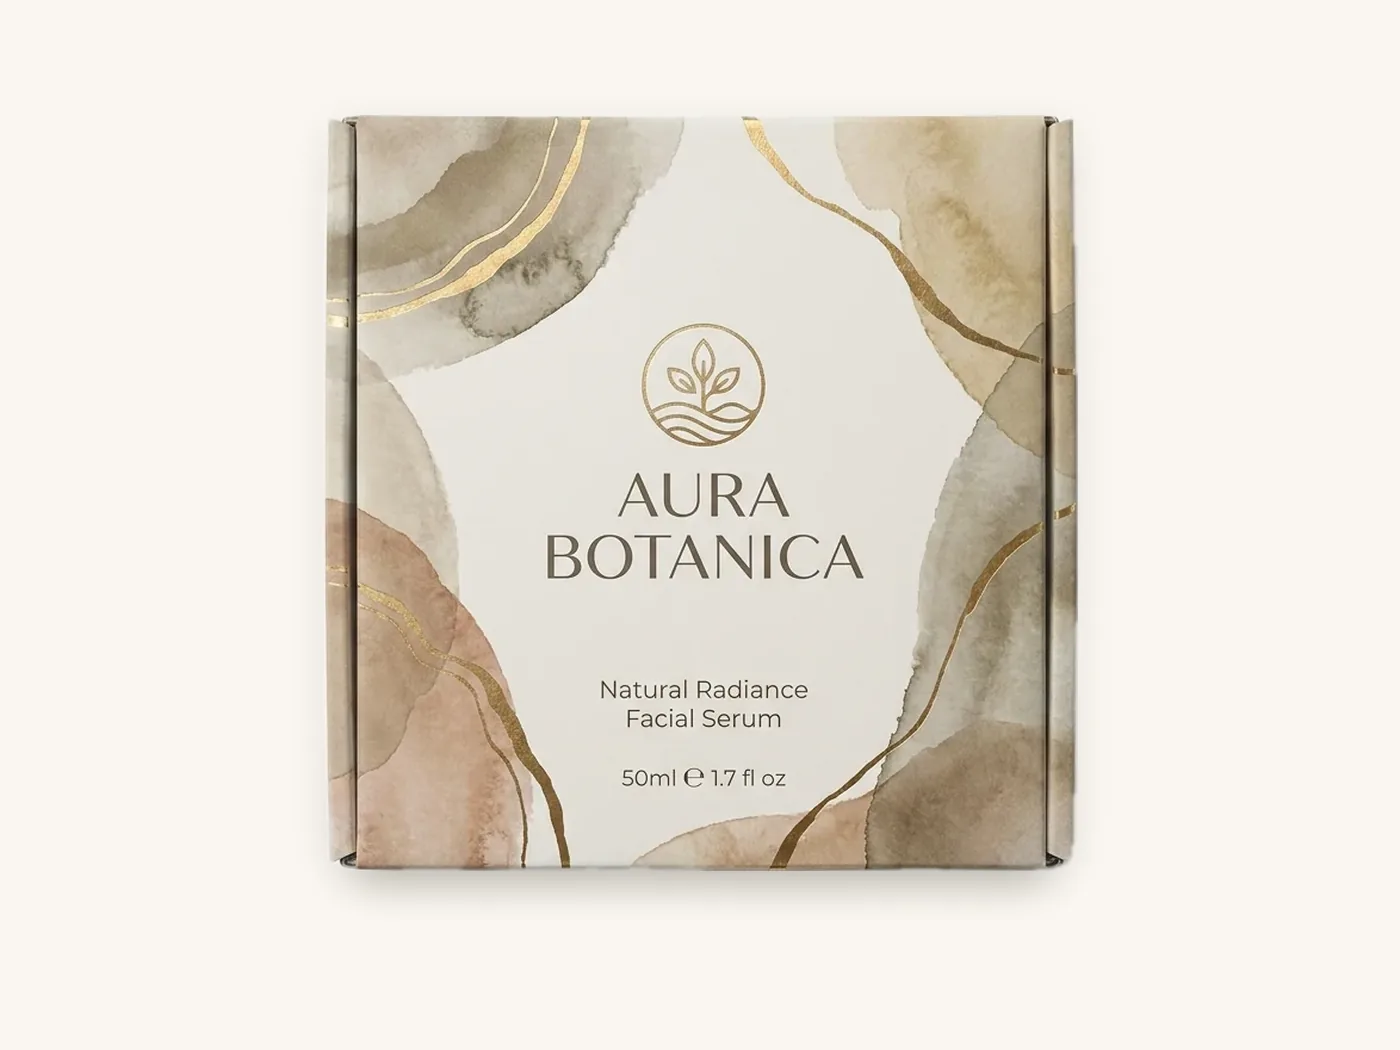
Many brands need product images before the boxes exist: for a product listing, a preorder page, a crowdfunding campaign, retailer pitches or influencer outreach. A realistic packaging mockup makes that possible.
Build marketing mockups from the approved dieline
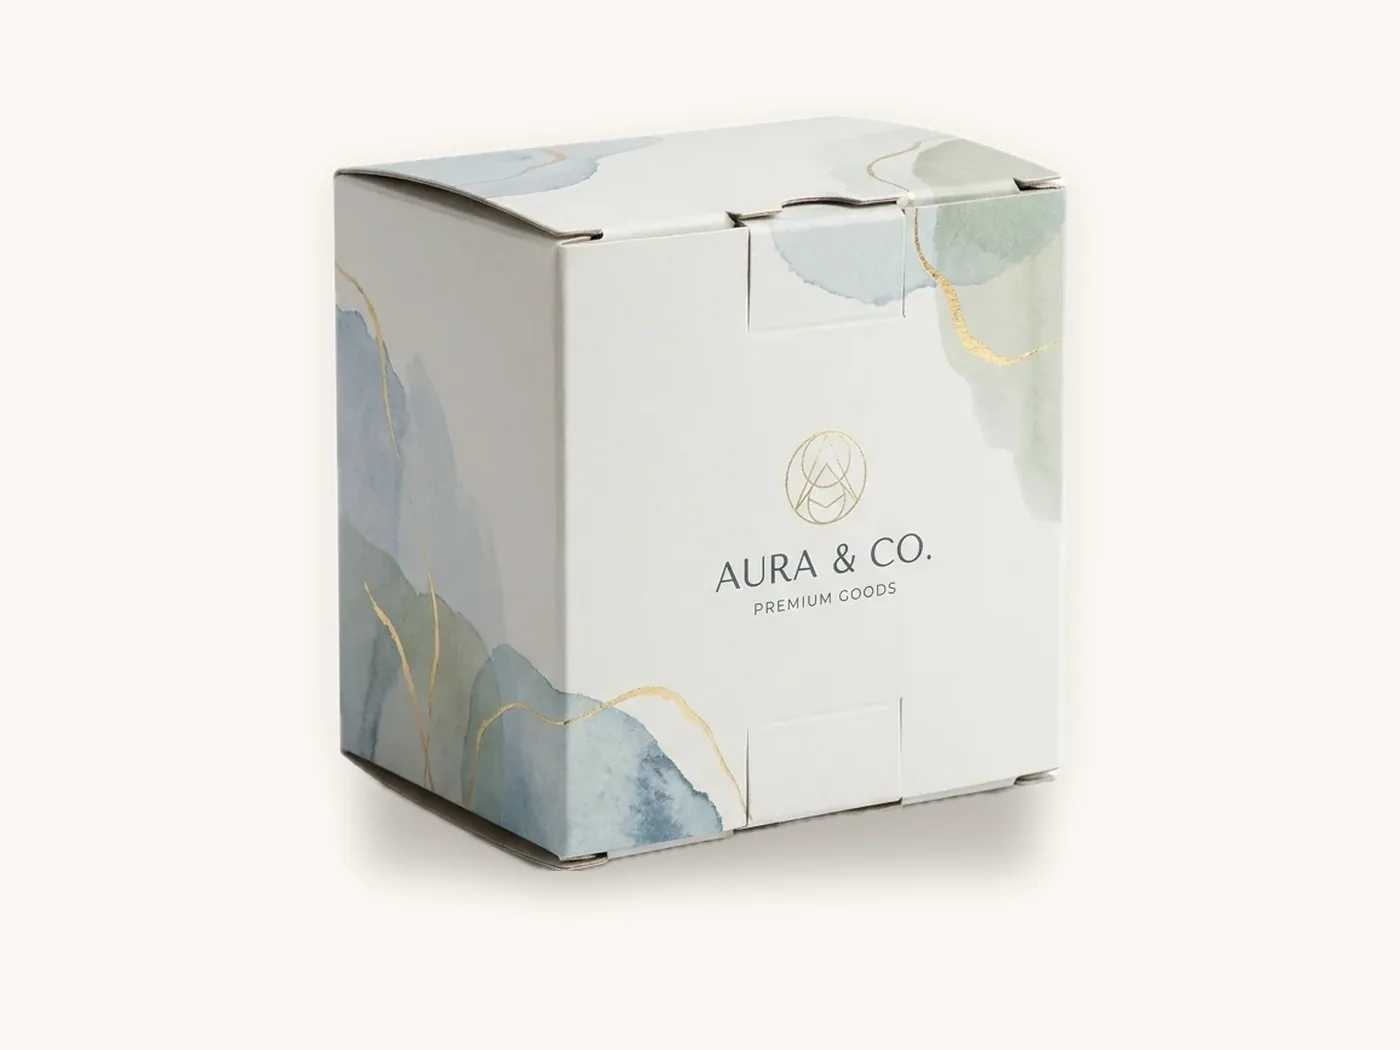
Once the artwork is set on the real dieline and the 3D proof looks right, produce your marketing renders from the same files. That way, the images customers see will match the box they receive. Renders built from a generic template may show proportions your real box does not have.
Keep expectations honest
A render can look glossier, brighter or more saturated than a printed box. Avoid presenting finishes you did not order, and avoid adjusting colors in marketing renders beyond what the printed box will show. If a render is used before production, replace it with real photography once boxes arrive.
Plan for PR and influencer kits
If you are sending boxes to press or creators, those boxes will be filmed and photographed closely, so a physical printed sample check is especially worthwhile. Our PR box and influencer kit guide covers presentation choices for those shipments.
Getting stakeholder sign-off without delays
Proof approval often stalls because too many people give feedback without a clear owner. A simple structure speeds it up.
Assign review roles
- Brand or design lead: overall look, color intent, typography and hierarchy
- Compliance or regulatory owner: required statements, facts panels, claims and warnings
- Operations or fulfillment lead: product fit, inserts, packing sequence and barcode placement
- Final approver: one named person who consolidates feedback and signs off
Manage revision rounds
Our free design support includes two revision rounds, so make each round count. Collect all feedback before sending it, reference each comment to a specific panel, and resolve internal disagreements before the list goes out. After each revision, check that every requested change was made and that nothing else moved.
Name versions clearly
Label proofs with the product, variant, version number and date. When several variants are in review at once, clear naming prevents approving an outdated file.
Redesigns need extra care
When you update existing packaging, compare the new proof directly against the current box. Regulatory text, barcodes and required information are easy to lose when the layout changes. The packaging redesign guide covers how to manage that transition.
Watch out: approval is final for production. Once you approve a proof, the box is made exactly as shown. If something is uncertain, ask a question or request a sample before approving rather than hoping it will be fixed at the press.
When to add a physical sample before approving
Not every order needs a physical sample, but some do. Match the sample to the risk you are managing.
Order a structural (unprinted) sample when
- Your product fit is tight, or you have custom inserts
- You are using a new box style or dimensions for the first time
- The product is heavy, fragile or has an unusual shape
- You need to test closure, such as a tuck flap, magnetic lid or tear strip
Order a printed sample when
- Brand colors must match closely, especially on kraft, metallic board or under soft-touch
- The design relies on finishes like foil, spot UV or embossing
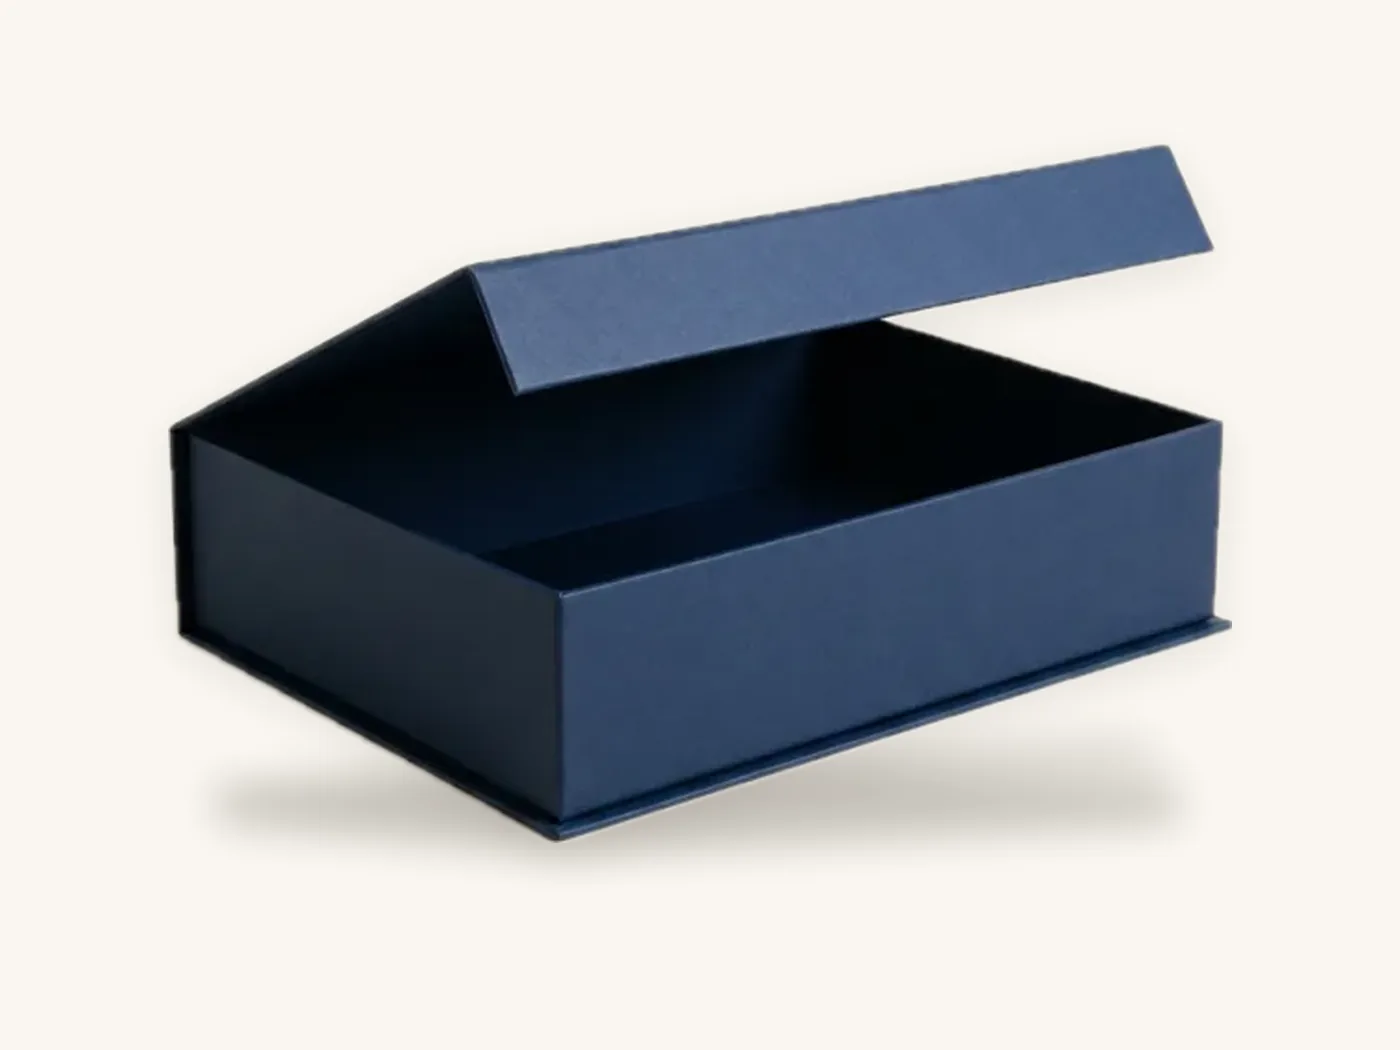
- You are producing rigid boxes or magnetic closure boxes where feel and presentation are central
- The boxes will be photographed for marketing, PR or retail buyer presentations
When the 3D proof is enough
For reorders of an approved design, simple artwork changes on an existing structure, or straightforward folding cartons with forgiving color, a careful 3D proof review is usually sufficient.
Approving packaging proofs with Box Sense
Here is how proofing works when you order with us, and what to prepare so it goes smoothly.
What you receive
- A dieline for your chosen style and dimensions
- Artwork setup by our design services team if you need it
- A flat proof and a 3D digital proof of your artwork on the folded box
- Two revision rounds included, free
- Unprinted structural samples free; a printed sample of approved artwork free on orders of 100 or more (see samples)
What to send
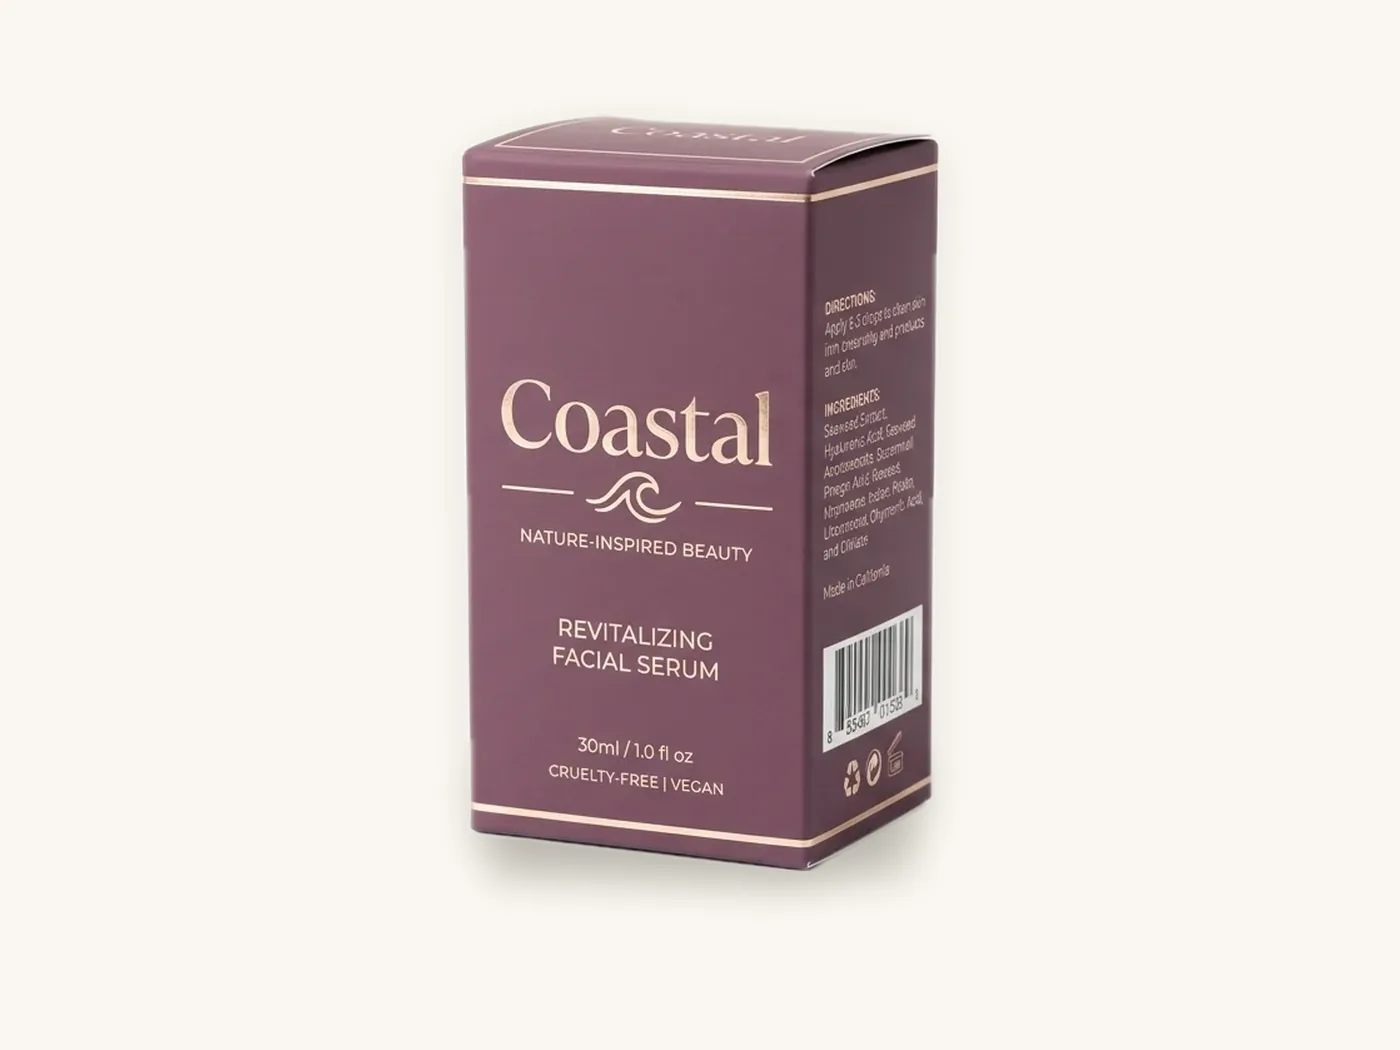
- Box style and internal dimensions, such as custom product boxes or cosmetic boxes
- Board and finish choices, including PMS references for critical colors
- Print-ready artwork on our dieline, or source files and a brief
- The name of the person who will give final approval
Timeline
Quotes are confirmed within 24 hours. Standard production takes 8–12 business days after proof approval, and rush production in 5 business days is available on most paperboard and corrugated styles. The production clock starts at approval, so the time you spend reviewing does not shorten production, but it does move your delivery date. The how it works page shows the full sequence.
The minimum order is 10 boxes, with no die or plate charges; one-time tooling applies only for foil, embossing, spot UV and custom inserts. Shipping is free on every US order. As a price reference, a 2 mm greyboard rigid box at 8x6x3 in with full color and matte finish is about $9.10 each at 100 units and about $4.05 at 1,000. Defective boxes reported within 14 days are reprinted free.
Frequently asked questions
What is a packaging mockup?
A packaging mockup is a visual representation of how a box design will look, usually a digital render. Concept mockups use generic templates to explore design direction, while production mockups, often called 3D proofs, use your actual dieline and print-ready artwork. Use concept mockups to choose a direction and 3D proofs to check details before approving production.
What is a 3D box proof?
A 3D box proof is a digital model of your box built from your real dieline, with your artwork applied to every panel. It lets you rotate the folded box to check orientation, how artwork wraps around edges, what sits on hidden flaps and how inside surfaces look. It does not show exact printed color or the feel of finishes.
Can I trust the colors in a digital proof?
Treat them as approximate. Screens display RGB light and vary by device and calibration, while boxes print with ink on physical board that affects color. Kraft darkens colors, soft-touch mutes them and gloss saturates them. For color-critical packaging, specify PMS colors and approve a printed sample on your chosen board and finish.
What should I check before approving a packaging proof?
Confirm the box style, dimensions, board and finish; read every word; verify numbers and regulated content; rotate the 3D proof to check orientation on every panel; keep text 1/8 in inside folds and cuts; confirm bleed; scan barcodes from a printed copy; and check finish placement. Consolidate feedback into one list per revision round.
Do I need a physical sample if I have a 3D proof?
Not always. A careful 3D proof review is often enough for reorders or simple artwork changes. Order a structural sample for tight fits, inserts or new box styles, and a printed sample when color, foil, embossing or soft-touch finishes are critical, or when boxes will be photographed for marketing, PR or retail buyers.
How many proof revisions are normal for custom boxes?
Many projects are approved within one or two revision rounds when feedback is consolidated and specific. Box Sense includes two revision rounds free with design support. Delays usually come from scattered feedback from multiple reviewers, so assign one final approver and send a single list of changes referenced to specific panels.
Can I use a packaging mockup on my website before the boxes are made?
Yes, many brands use realistic renders for product pages, preorders and pitches. Build those renders from your approved dieline and artwork so they match the final box, avoid showing finishes or colors that will not be produced, and replace renders with real product photography once your boxes arrive.
Next steps
Gather your dimensions, artwork and the name of your final approver, then check costs for your spec with the instant price estimator. When you are ready, request a quote and we will confirm pricing within 24 hours and prepare a dieline and 3D proof for your review.
Boxes in this guide
Order the packaging we covered
Written by the Box Sense Packaging Team
Our structural designers, prepress technicians and production staff print and convert custom boxes every day for brands in the United States, United Kingdom and UAE. Questions about this guide? Talk to us.