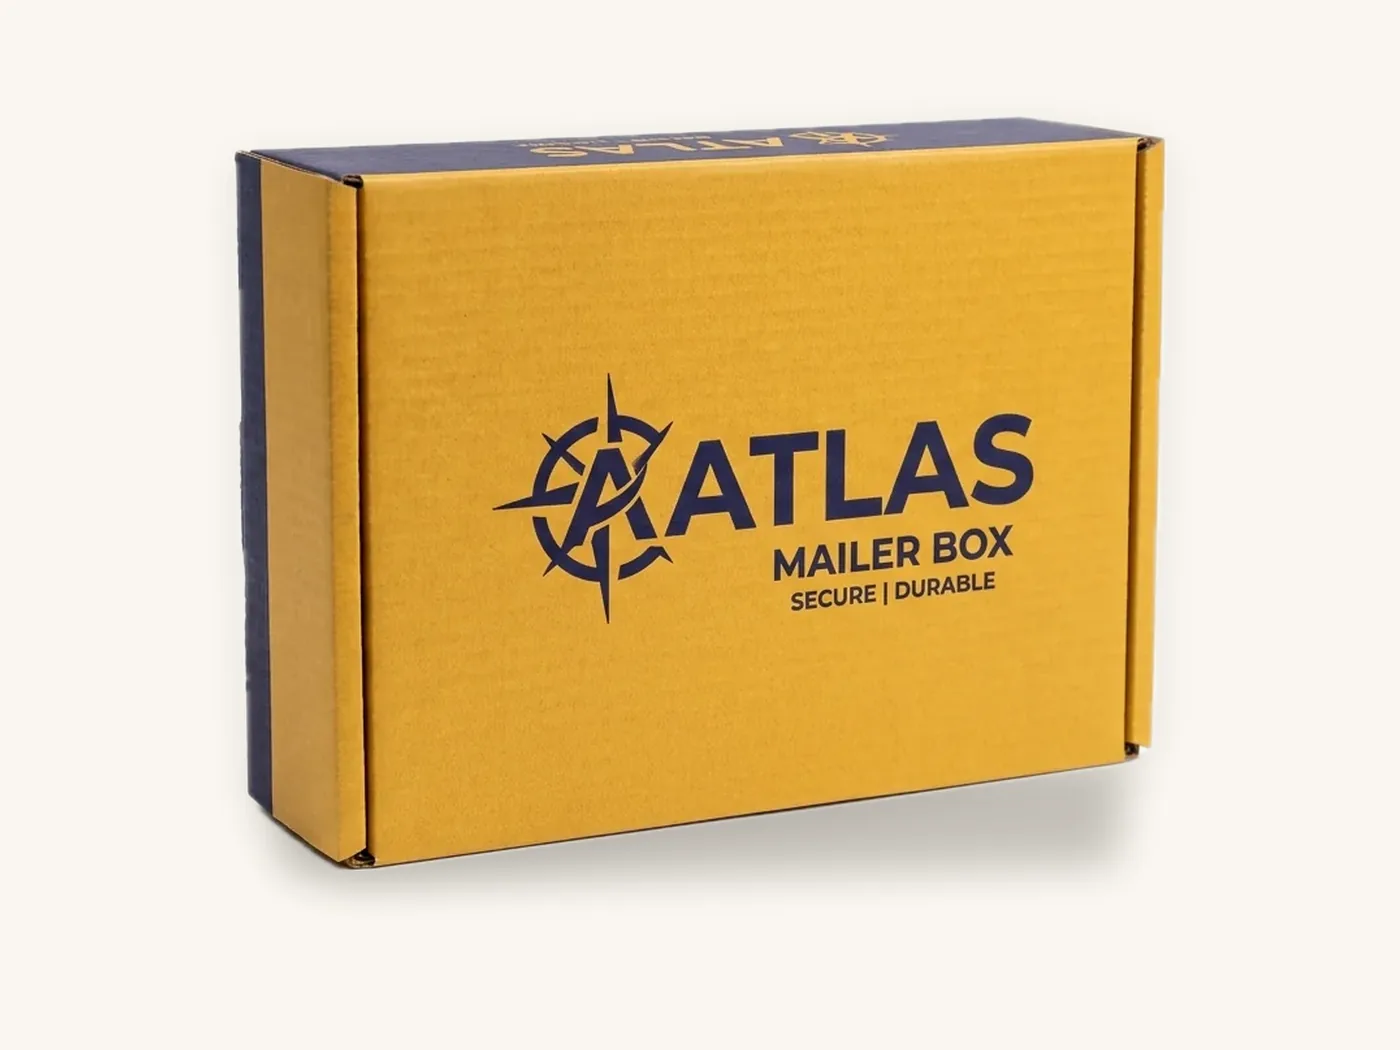
Packaging quality control on arrival means checking a delivery of boxes against what you approved before any of them reach a packing line: the count, the color against the proof, the internal dimensions, the die-cut and creases, the glue joints and the surface condition. Done in the first day or two, it takes an hour or less for most orders and catches problems while they are still easy to fix.
The key is to inspect against a defined standard, not a feeling. That means having the approved proof, the spec sheet and ideally a physical reference sample on hand, pulling boxes from several cartons rather than the top of one, and recording what you find. This guide gives you a box inspection checklist you can use as-is, explains how to classify packaging defects, and covers AQL sampling in plain terms so you know how many boxes to check.
Key takeaways
- Inspect every delivery within a day or two of receipt, and always before the supplier's defect reporting window closes.
- Prepare a reference kit first: approved proof, spec sheet, a reference sample if you have one, a ruler or calipers, and the actual product.
- Check in a fixed order: shipment condition and count, color, dimensions and fit, die-cut and creases, glue and assembly, surface and finish.
- Pull sample boxes from several cartons across the shipment. Defects often cluster in one part of a run.
- Classify defects as critical, major or minor, and set a stricter acceptance limit for the more serious classes.
- AQL sampling standards give a structured way to decide sample size and pass or fail; small brands can use a simplified in-house version.
Why incoming inspection matters
Packaging defects are cheapest to deal with at the receiving dock. Once boxes are folded, filled and shipped, every problem multiplies: product is repacked, orders go out late, customers receive damaged goods, and evidence of the original defect is gone.
Timing and reporting windows
Most packaging suppliers set a time limit for reporting defects. At Box Sense, defective boxes reported within 14 days are reprinted free. Other suppliers use different windows and different evidence requirements. Whatever the terms, a box that sits unopened in a storeroom for a month may fall outside them.
What inspection is and is not
Incoming inspection confirms that the delivered boxes match the approved specification. It does not re-open design decisions you already signed off, such as a font size or a color choice shown correctly on the proof. That distinction matters when you report issues: a supplier is responsible for matching the approved proof and spec within stated tolerances, not for design choices you approved.

Before the boxes arrive: build your reference kit
Inspection is only as good as the standard you compare against. Put these together before delivery day.
Documents
- Approved proof: the final dieline proof you signed off, printed or on a calibrated screen.
- Spec sheet or order confirmation: board type and caliper or flute, internal dimensions, print method, finish, inserts, quantity.
- Supplier tolerances: any stated tolerances for color, dimensions, print registration and quantity. Our packaging print tolerances guide explains what is normal.
Physical references
- Reference sample: a printed sample you approved, or a box from a previous good run. This is the most useful color and finish reference you can have.
- Your product: the actual item and any insert or pouch it ships in, for fit testing.
- Tools: a steel ruler or tape measure, and ideally a digital caliper for board thickness; good neutral lighting; a camera or phone for photos; a notepad or inspection form.
Tip: keep one or two boxes from every approved run, labeled with the order number and date, in a dry drawer away from sunlight. They become your reference for the next reorder and make color disputes far easier to resolve.
The box inspection checklist
Work through these checks in order. The earlier checks are quick and can stop an inspection early if something is clearly wrong.
- Shipment condition: outer cartons or pallets intact, dry, not crushed, labels readable.
- Count: number of cartons matches the packing list; units per carton verified on a sample.
- Correct item: right design, version and variant, with the correct barcode and text.
- Color versus proof and reference sample: under consistent, neutral lighting.
- Dimensions: internal length, width and depth measured on assembled boxes.
- Fit test: real product and insert placed in the box, closed and handled.
- Die-cut quality: clean edges, correct cut position, no torn tabs or nicks.
- Creases and folds: fold cleanly without cracking the print or board.
- Registration: print aligned with folds and cut edges within tolerance.
- Glue joints: manufacturer's joint and any pre-glued bottom hold firmly.
- Surface and finish: no scuffing, set-off, lamination bubbles or finish defects.
- Board quality: correct thickness, flat blanks, no warping or delamination.
The sections below explain what to look for in each area.
Receiving: shipment condition and count
Check the outer packaging first
Before opening anything, walk around the shipment. Crushed corners, torn stretch wrap, water stains or leaning pallets suggest transit damage. Photograph any damage before moving the cartons, and note it on the carrier's delivery receipt if possible. Transit damage is often handled differently from manufacturing defects, so evidence at the door matters.
Verify the count
Count the cartons and compare them with the packing list. Then open a few cartons and count the boxes inside. For large quantities, counting every flat box by hand is slow. Two practical shortcuts:
- Weigh-count: weigh a counted stack of, for example, 25 boxes, then weigh full cartons and calculate the approximate count. This works well because flat blanks are uniform.
- Stack-height count: measure the height of a counted stack, then measure full stacks. Less accurate for corrugated, which compresses, but useful for folding cartons.
Remember that many printers deliver slightly more or fewer units than ordered. Compare the count against any stated overs and unders tolerance before raising a shortage.
Confirm it is the right job
Check that every carton contains the correct design and version. Brands with several variants, such as scents, shades or sizes, can receive a mix-up where one carton contains the wrong variant. Scan a barcode on a sample box to confirm it reads and returns the right number.

Color: comparing printed boxes to the proof
Color is the most common source of disagreement between brands and printers, largely because it is judged under inconsistent conditions.
Set up a fair comparison
Compare in the same neutral light every time, ideally a daylight-balanced lamp rather than warm indoor bulbs or a window that changes through the day. Printing industry standards use controlled viewing conditions, often called D50 lighting, for exactly this reason. Place the delivered box and the reference sample side by side on a neutral gray or white surface.
Proof versus physical sample
A screen proof shows layout and content; it cannot show exact printed color, because monitors and board surfaces render color differently. A physical printed sample is a much stronger color reference. If you approved only a digital proof, judge color against brand intent and any specified PMS colors, and expect normal variation. Our guide to CMYK versus Pantone for packaging explains why spot colors hold more consistently.
What counts as a color defect
- Obvious shift in a brand color compared with the reference sample, visible at arm's length
- Noticeable variation between boxes in the same run, or between cartons
- Streaks, banding, blotchy solids or missing ink
- A wrong color altogether, such as a variant printed with the wrong color band
Slight variation between print runs, or between kraft and white board, is normal. Material matters too: color on kraft looks darker and more muted than the same file on white board.
Dimensions, fit and structure
Measure internal dimensions correctly
Assemble a box and measure inside it: length, width and depth, from inner wall to inner wall. Measure several boxes from different cartons. Compare with the spec. Small variations from board thickness and folding are normal; the question is whether the product fits and the box closes as intended.
Test fit with the real product
Put the product in, with its insert, pouch or tissue, and close the box. Check that:
- The product drops in without force and does not rattle when shaken
- The lid or tuck flap closes flat without bowing
- Locking tabs engage properly
- Inserts hold items in place and do not need to be forced in
Check board thickness and flatness
Use a caliper to confirm board caliper or flute is what you ordered; thinner board can look similar but perform worse. The paperboard thickness guide gives reference values. Also check that flat blanks lie flat. Warped cartons can jam automated packing equipment and look poor on shelves.
Structural performance for shipping boxes
For corrugated shippers and mailers, pack a box fully, seal it and do a simple drop test from waist height onto a hard floor, onto a face, an edge and a corner. For a more structured approach, our ISTA drop testing guide explains the recognized test procedures.
Die-cut, creases, registration and glue
Die-cut quality
Look at the cut edges. They should be clean, with no ragged or fuzzy edges, torn tabs or partial cuts that need tearing apart. Check windows, hang holes and thumb notches for position and clean cutting. On custom product boxes and other folding cartons, check that small tuck flaps and dust flaps are fully cut and not nicked.
Creases and folds
Fold each crease on a few boxes. A good crease folds cleanly along the line. Problems include:
- Cracking: the printed surface or lamination splits along the fold, often on dark solid colors
- Off-line folding: the board folds beside the crease rather than on it
- Stiff or bouncing folds: the crease is too shallow and the panel springs back
Registration: print versus cut
Registration is how accurately the print lines up with folds and cut edges. Check that borders, color bands and text sit where the proof shows them. Common registration defects include a white sliver where background color should reach the edge, text drifting onto a side panel, or a logo sitting off-center on the lid. Some movement is normal, which is why proofs include bleed and safe zones.

Glue joints and assembly
The manufacturer's joint. Most folding cartons and many corrugated boxes have a glued side seam. Open and close several boxes and press along the seam. It should hold without peeling. Look for glue squeezed out onto the inside or outside, which can stick boxes together in the stack.
Pre-glued bottoms and closures. Auto lock bottom boxes should pop open and lock into a flat base in one motion. Test several, then place the actual product in and lift the box by its sides. The bottom should not give way. Check crash-lock bottoms, glued inserts and window film attachment the same way.
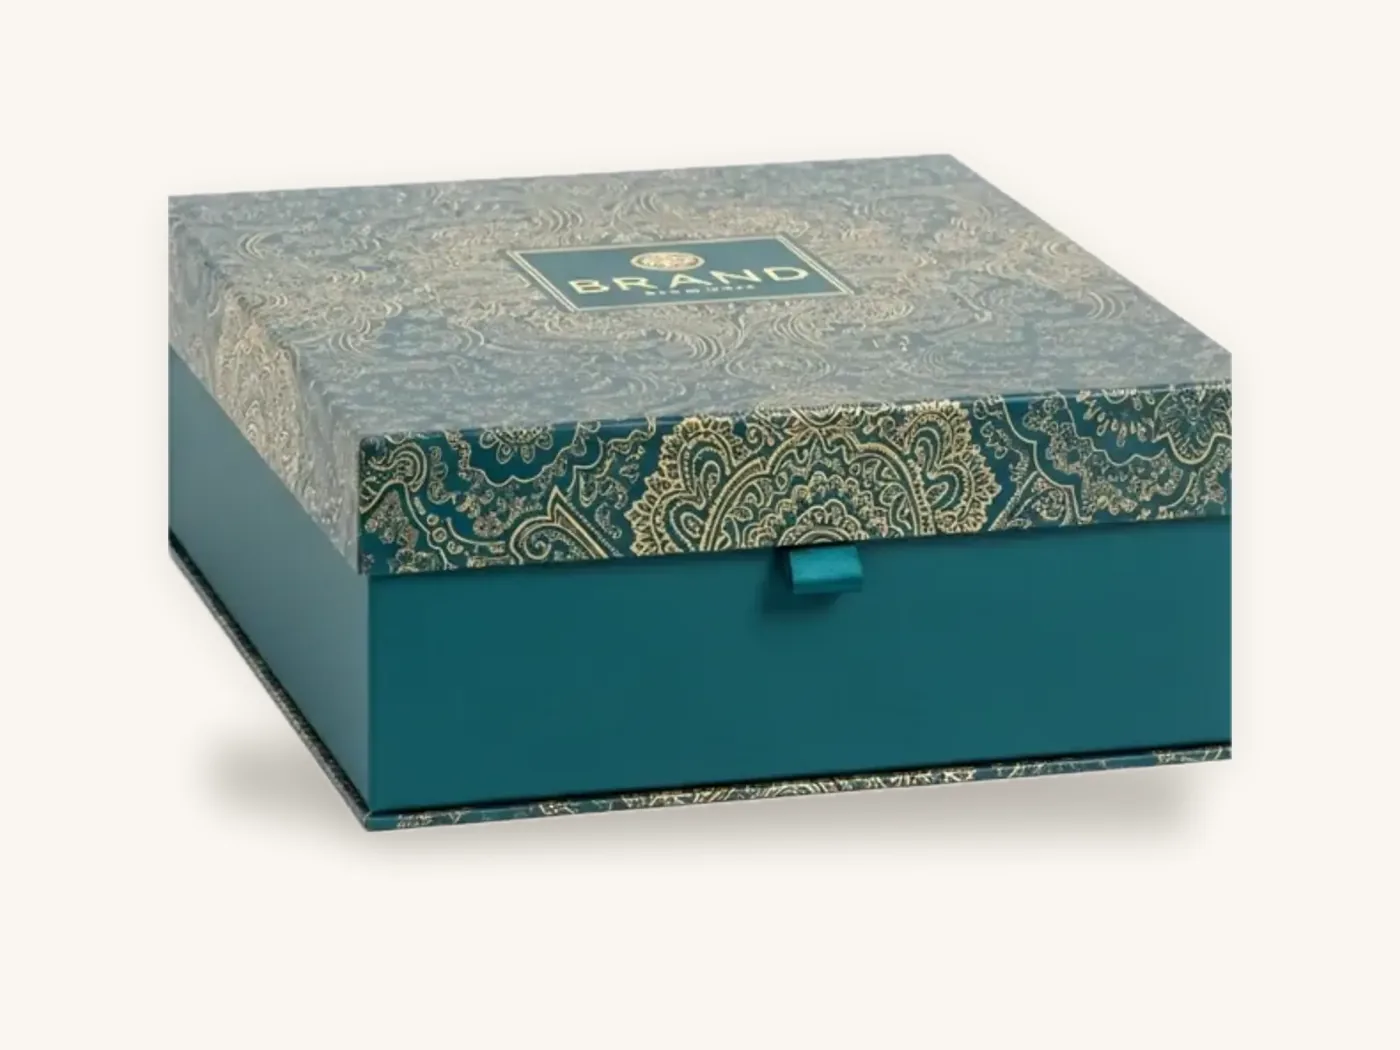
Rigid box construction. For rigid boxes, check that the wrap paper is fully adhered with no lifting at corners, that corners are square and tight, that lids fit without being too tight or loose, and that magnets or ribbons are firmly attached and aligned.
Surface condition, scuffing and finishes
Scuffing and rub marks
Scuffs appear when boxes rub against each other in transit or during stacking, especially on dark solid colors and uncoated surfaces. Check the outer faces and edges of boxes from the top, middle and bottom of cartons.
Common surface and finish defects
- Set-off: ink transferred from one printed sheet onto the back of another
- Lamination bubbles or wrinkles: trapped air or creasing in matte, gloss or soft-touch film
- Foil defects: incomplete foil fill, flaking or foil landing off-position
- Spot UV misregistration: gloss areas not aligned with the printed element
- Embossing problems: shallow or uneven raised areas, or cracking around the emboss
- Contamination: marks, dust, fibers or stains on the print surface
Our packaging finishes guide shows what each finish should look like.
Defect classes and AQL sampling
Classifying packaging defects
Not every defect is equally serious. Classifying them keeps inspection consistent and helps decide what to do.
| Class | Definition | Packaging examples | Typical response |
|---|---|---|---|
| Critical | Makes the box unsafe, unlawful or unusable for its purpose | Wrong barcode, missing required labeling, wrong variant printed, box cannot hold product | Hold the lot and contact the supplier immediately |
| Major | Likely to cause a failure or clearly visible quality problem | Wrong dimensions, failed glue joints, cracked creases, obvious color shift, heavy scuffing | Report with evidence; sort or replace affected boxes |
| Minor | Cosmetic and unlikely to affect use or customer perception much | Small scuff on one edge, slight registration movement within tolerance, tiny speck | Record and monitor; usually accept |
Decide your classifications before inspecting, write them down and share them with your supplier. When both sides agree on what counts as critical, disputes are rarer and resolution is faster.
Why sample instead of checking every box
For large deliveries, checking every box is impractical. Acceptance sampling solves that by checking a defined number of boxes and deciding whether to accept the whole lot.
What AQL means
AQL stands for acceptance quality limit. It is the worst average defect level a buyer is willing to treat as acceptable for a lot. Recognized sampling standards, such as ANSI/ASQ Z1.4 in the US and ISO 2859-1 internationally, provide tables that set a sample size based on lot size and inspection level, and an acceptance number based on the AQL you choose.
How a sampling plan works
- Determine the lot size: the number of boxes in the delivery, or in one production lot.
- Choose an inspection level: general inspection levels are commonly used; tighter levels inspect more boxes.
- Look up the sample size in the standard's tables for that lot size and level.
- Choose an AQL for each defect class: stricter for critical defects, more lenient for minor ones.
- Inspect the sample, pulled at random from different cartons.
- Compare defects found with the acceptance number. At or below it, accept the lot; above it, reject or escalate.
Sampling standards are detailed documents. If you use AQL formally, work from the current published standard rather than copying a table from a website.
A simplified in-house approach for smaller brands
If formal AQL is more than you need, a simple written house rule still gives consistency. Here is an illustrative example a small brand might adopt. It is a practical starting point, not a reproduction of any standard.
| Delivery size | Boxes to inspect | Pulled from | House rule |
|---|---|---|---|
| Up to 100 | 10 or more | At least 3 cartons or stacks | Any critical defect: hold and report |
| 101 to 500 | 20 or more | At least 5 cartons | More than 1 major defect: widen inspection |
| 501 to 2,000 | 32 or more | Top, middle and bottom of at least 8 cartons | More than 2 major defects: report and sort |
| Over 2,000 | Use a formal AQL plan | Across the full shipment | Agree the plan with your supplier in advance |
Random pulls matter
Defects are not spread evenly. A press can drift over a run, glue can run low late in a shift, and cartons at the bottom of a pallet take more compression. Pulling from one carton, or only from the top of each, can miss problems entirely.
Recording and reporting what you find
Keep a simple inspection record
For each delivery, write down the order number, date received, quantity, number inspected, defects found by class and a pass, hold or fail decision. A spreadsheet is enough. Over several orders it shows whether quality is steady or drifting.
Reporting defects to your supplier
- Stop using affected boxes and set them aside.
- Photograph defects clearly, alongside a ruler for scale where relevant, and with the carton label or order number visible.
- Count affected boxes in the sample and estimate how many in the lot.
- Write a short report describing each defect, its class, the reference it fails against and the photos.
- Send it within the reporting window and ask for a written response and remedy.
Building quality into reorders
Share your inspection findings with your supplier, even when an order passes. Repeating brands like those running beauty subscription boxes or meal kits receive frequent deliveries, and consistent feedback helps suppliers keep runs stable. If you are evaluating a new supplier, our guide to packaging supplier red flags covers what to confirm before ordering.
Quality control when ordering from Box Sense
Good incoming inspection starts with a clear order. When you order from Box Sense, you get the documents that make inspection straightforward.
- A written spec and 3D digital proof: free design support includes the dieline, artwork setup and two revision rounds. Keep the approved proof for inspection.
- Samples as references: unprinted structural samples are free for fit testing, and a printed sample of approved artwork is free on orders of 100 or more. See samples.
- In-house production: printing, die-cutting, gluing and finishing happen in our own facility.
- Clear timelines: standard production is 8–12 business days after proof approval, so you can schedule inspection time on delivery.
- Defect policy: defective boxes reported within 14 days are reprinted free. Include photos, your order number and a count.
- Small runs for testing: the minimum order is 10 boxes, which makes it practical to check a structure before a large run.
Use the instant price estimator to price your spec, then request a quote with your dimensions, materials and quantities. For more on how custom shipping boxes should perform, the corrugated board page explains flute and liner options.
Frequently asked questions
What should I check when custom boxes arrive?
Check the shipment condition and carton count first, then confirm the correct design and variant. Compare color against the approved proof and any reference sample under neutral light. Measure internal dimensions and test fit with the real product. Inspect die-cut edges, creases, print registration, glue joints and surface finish on boxes pulled from several cartons, and record what you find.
How many boxes should I inspect from a delivery?
It depends on lot size and how critical the packaging is. Formal AQL standards set sample sizes by lot size and inspection level. Smaller brands often use a simple house rule, such as inspecting at least 10 boxes from a small delivery and more for larger ones, always pulled from several cartons rather than one.
What are the most common packaging defects?
Common packaging defects include color variation from the proof, incorrect dimensions, poor die-cutting with ragged edges or incomplete cuts, cracked creases, print misregistration, weak glue joints, scuffing, set-off, lamination bubbles and foil defects. Counting errors and mixed variants also occur. Classifying each as critical, major or minor helps decide whether to accept, sort or report the lot.
What is AQL in packaging inspection?
AQL, or acceptance quality limit, is the worst average defect level a buyer considers acceptable for a lot. Sampling standards such as ANSI/ASQ Z1.4 and ISO 2859-1 use lot size and inspection level to set a sample size, and the chosen AQL to set how many defects are allowed before a lot is rejected. Stricter AQLs are used for critical defects.
How do I compare box color to the proof fairly?
Use consistent, neutral daylight-balanced lighting and place the delivered box beside a physical reference sample on a neutral surface. A screen proof cannot show exact printed color, so a printed sample is a better reference. Judge at arm's length and remember that board type, especially kraft versus white, changes how colors appear.
How long do I have to report defective boxes?
Reporting windows vary by supplier, so check your order terms before delivery. At Box Sense, defective boxes reported within 14 days are reprinted free. Whatever the window, inspect deliveries within a day or two, photograph defects with order information visible, and report in writing with counts so the issue can be resolved quickly.
Is transit damage the same as a manufacturing defect?
No. Transit damage, such as crushed cartons or water stains, happens after the boxes leave the factory, while manufacturing defects come from printing, cutting, gluing or finishing. They are often handled differently. Photograph outer carton damage before moving anything, note it on the delivery receipt if possible, and report both types promptly to your supplier.
Next steps
Print the checklist above, build your reference kit and schedule time to inspect your next delivery the day it arrives. If you are planning a new order, check your spec in the packaging price estimator and request a quote; we will send a written spec and proof you can inspect against when the boxes land.
Boxes in this guide
Order the packaging we covered


Written by the Box Sense Packaging Team
Our structural designers, prepress technicians and production staff print and convert custom boxes every day for brands in the United States, United Kingdom and UAE. Questions about this guide? Talk to us.