Packaging finishes are everything applied to a box after the ink goes down: protective coatings, laminated films, and decorative effects such as foil, spot UV and embossing. They decide how a box feels in the hand, how well it survives shipping and shelf handling, and whether a customer reads it as mass-market or premium.
The mistake most brands make is choosing finishes one at a time from a menu. Finishes work as a stack, and each layer limits what the next one can do. This guide explains the stack, compares the main box finishing options side by side, shows where the cost goes and gives you a short process for picking a combination that fits your product, channel and budget.
For a deep dive on any single finish, follow the links to our dedicated guides. This page stays at the strategy level.
Key takeaways
- Think of packaging finishes in three layers: a base protection layer (aqueous coating or lamination), an optional decorative layer (foil, spot UV, embossing), and structural add-ons (windows, ribbons, magnets).
- The base layer comes first and controls everything above it. Spot UV needs a matte or soft-touch base to show contrast, and foil adheres differently to film than to bare coating.
- Aqueous coating is the lowest-cost, most recyclable default. Lamination adds scuff resistance and a defined look: matte, gloss or soft-touch.
- One well-placed embellishment usually reads as more premium than three competing ones.
- At Box Sense, foil, embossing and spot UV carry one-time tooling (about $60, $60 and $40); coatings and laminations do not.
- Always approve finishes on a physical sample when feel matters, because a screen proof cannot show texture or sheen.
How packaging finishes stack: the three-layer model
Every finished box is built in the same order on the production floor. Printing comes first, then the base coat or film, then decorative effects, then die-cutting, gluing and assembly. Understanding that order explains most of the compatibility rules you will run into.
Layer 1: base protection
The base layer seals the ink and sets the overall sheen. Your choices are an aqueous coating, a varnish, or a laminated film in matte, gloss or soft-touch. Nearly every printed box should have one of these, because bare ink rubs off at folds and scuffs in cartons during transit.
Layer 2: decorative effects
Decorative effects sit on top of, or press into, the base layer. Foil stamping adds metallic or holographic color. Spot UV adds a glossy clear layer to selected areas. Embossing and debossing reshape the board itself. These are the finishes people notice first, and they are the ones that require one-time tooling.
Layer 3: structural add-ons
Windows, ribbons, magnets, handles, tear strips and inserts are not finishes in the print sense, but they are chosen at the same time and they affect the finish plan. A die-cut window, for example, removes a panel you might have planned to foil, and a magnet closure changes where the lid wrap folds.
Tip: decide the base layer before you brief a designer. A spot UV logo designed for a matte box looks almost invisible if purchasing later switches the job to gloss lamination to save time.
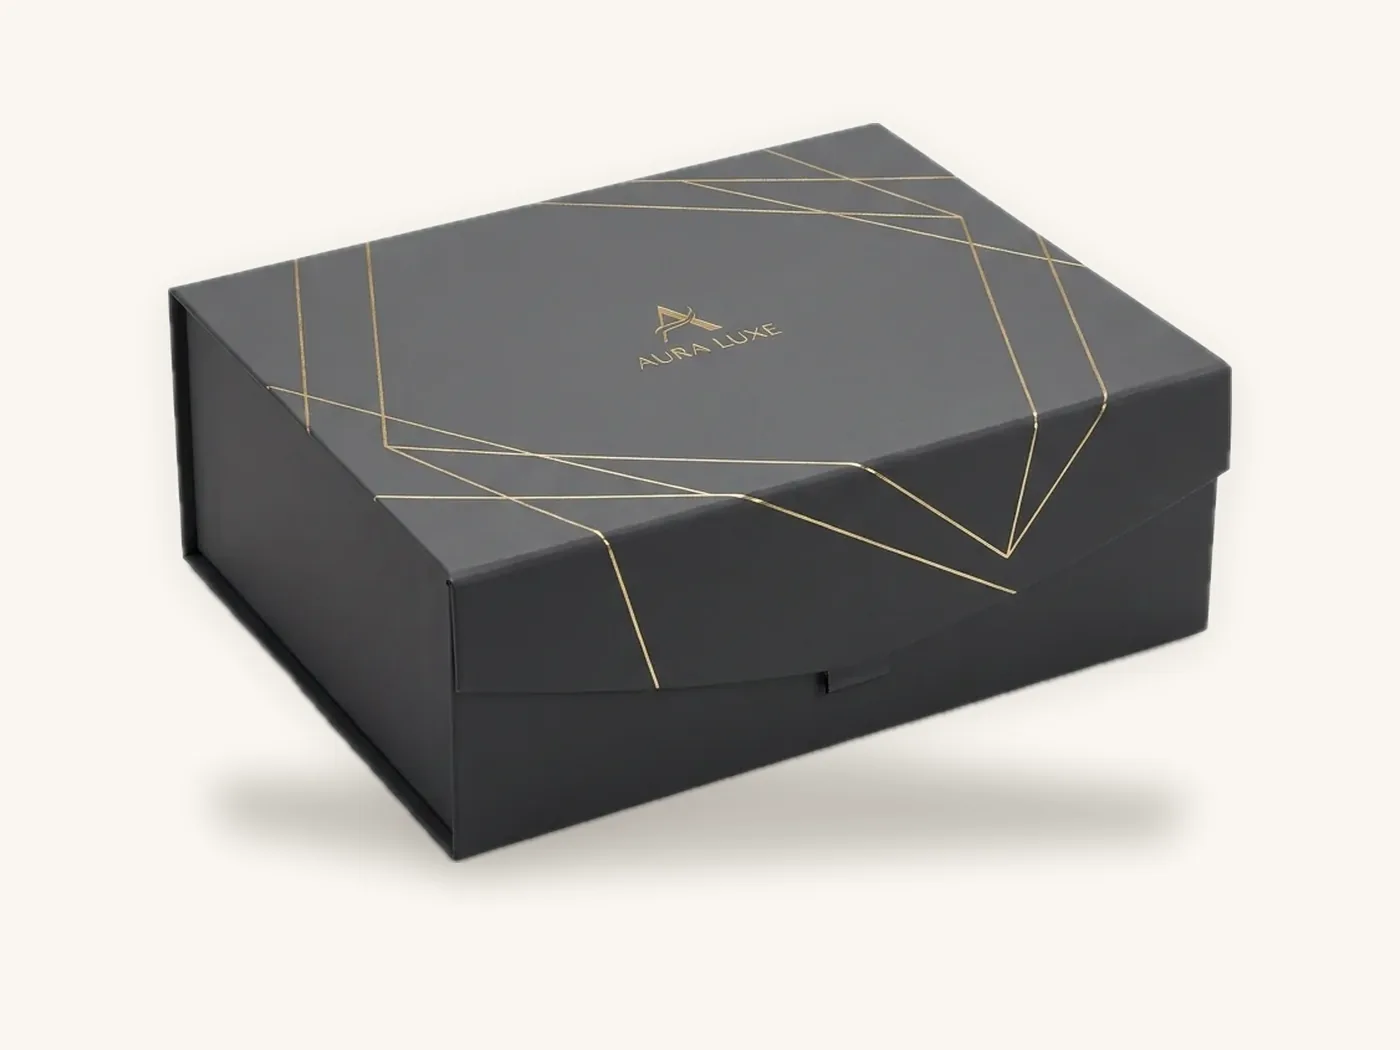
Box finishing options at a glance
The table below is the quick reference. It covers what each option does, where it performs best and the main tradeoff. Samples of every option are on our printing and finishes page.
| Finish | Layer | What it does | Best on | Main tradeoff |
|---|---|---|---|---|
| Aqueous coating | Base | Thin water-based seal, light sheen control | Cartons, mailers, food boxes, kraft | Modest scuff protection |
| Matte lamination | Base | Film with low glare and a flat, modern look | Beauty, apparel, rigid wraps | Dark solids can show scuffs |
| Gloss lamination | Base | Film with high shine and saturated color | Retail cartons, toys, supplements | Glare and visible fingerprints |
| Soft-touch lamination | Base | Velvet-feel film with a deep, muted look | Luxury, cosmetics, fragrance | Higher cost, marks on dark colors |
| Spot UV | Decorative | Clear gloss on selected areas | Logos, patterns over matte or soft-touch | Needs a separate file layer and tooling |
| Foil stamping | Decorative | Metallic or holographic color by heat and pressure | Logos, borders, names | Fine detail limits, tooling |
| Embossing / debossing | Decorative | Raised or recessed relief in the board | Logos and patterns on thicker stock | Shows through inside panels |
| Die-cut window | Add-on | Film-covered opening that shows the product | Food, toys, candles | Weakens the panel it sits in |
Where each finish lives in our guides
- The feel, scuffing behavior and foil pairing of the velvet film are covered in soft-touch lamination explained.
- The look, color shift and durability debate is in matte vs gloss lamination.
- File setup and raised effects are in the spot UV design guide.
- Foil colors and minimum line weights are in the foil stamping guide.
- Relief depth and board choice are in the embossing and debossing guide.
- The recyclable default is covered in the aqueous coating guide.
Choosing a base layer: coating or lamination
This is the most consequential finishing decision because it is applied to the whole sheet and sets the character of the box. There are two families.
Coatings
Coatings are liquids applied on press or inline. Aqueous coating is water-based, dries fast and keeps paperboard and corrugated easy to recycle. UV flood coating cures under ultraviolet light and gives a harder, higher-gloss surface. Varnishes are older oil-based options that some printers still use for specific effects.
Coatings add very little thickness, so folds stay crisp and the natural texture of the board still comes through. That is why coatings are the standard on kraft paperboard and on food cartons where the look should stay honest and papery.
Laminations
Lamination bonds a thin plastic film, typically polypropylene, to the printed sheet with adhesive, heat and pressure. The film is continuous, so it resists scuffing, moisture spotting and ink rub much better than a coating. It also gives a defined, consistent surface: matte, gloss or soft-touch.
Film adds a small amount of thickness and stiffness. On paperboard cartons and on the wrap paper of rigid boxes that is an advantage. On heavily scored or tightly folded structures, it can occasionally lift or crack at a crease if the scoring is not set for laminated stock.
Coating vs lamination decision table
| Situation | Better choice | Why |
|---|---|---|
| Food carton or bakery box | Aqueous coating | Paper-based, simple to recycle, confirm food-contact suitability with your supplier |
| Kraft or natural look | Aqueous coating | Keeps texture; film makes kraft look plasticky |
| Premium cosmetic carton | Soft-touch or matte lamination | Tactile, consistent, protects dark colors |
| Rigid box wrap | Matte or soft-touch lamination | Protects the wrap edges and corners from handling |
| Retail carton on a bright shelf | Gloss lamination or gloss aqueous | Saturated color reads from a distance |
| Shipping mailer, cost-sensitive | Aqueous coating | Enough scuff protection for most parcel routes |
| Mailer where the outside is the brand moment | Matte lamination | Better rub resistance in transit |
If recyclability claims are part of your brand, read the food-safe inks and coatings guide and review the FTC's Green Guides before printing any claim. Laminated paperboard is accepted by many programs, but acceptance varies, so qualify any claim carefully.
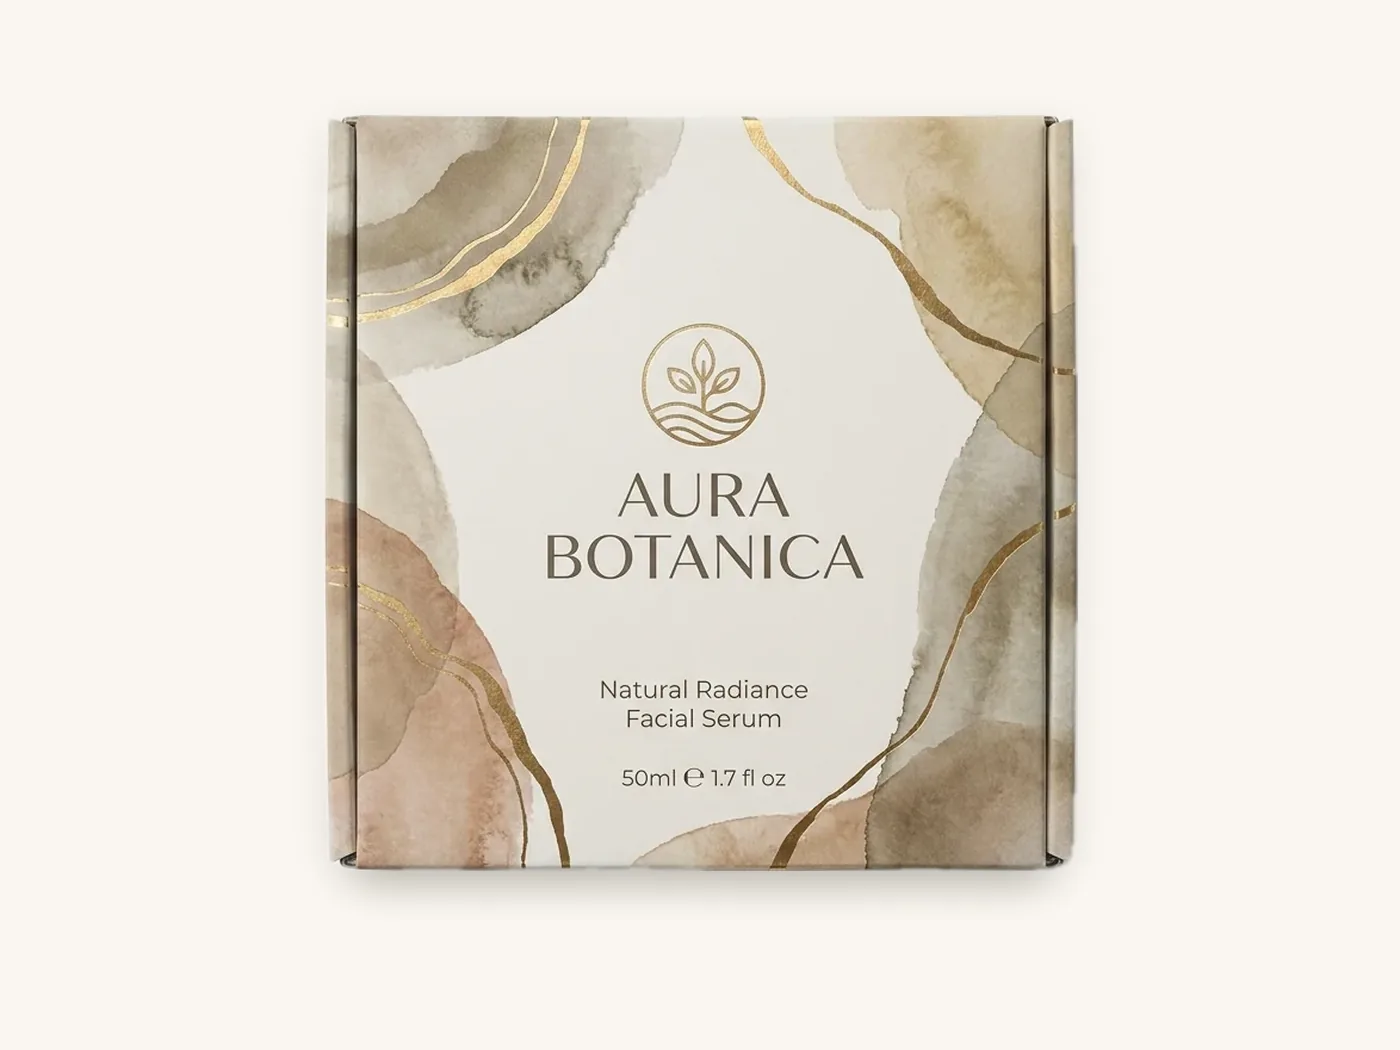
Decorative packaging finishes: picking one hero effect
Decorative finishes work best when one of them leads. A box with a foil logo, a spot UV pattern, an embossed border and a holographic stripe tends to look busy, and it costs more in tooling and setup than a single confident effect.
Match the effect to what your brand wants the customer to notice
- Foil draws the eye from across a room. Choose it when the logo or product name should be the first thing seen, especially on shelf.
- Spot UV is quieter. It catches light as the box is turned, which suits patterns, subtle logos and dark, moody designs.
- Embossing or debossing is felt before it is seen. It suits minimal designs, uncoated or textured papers, and rigid lids where the customer runs a hand across the surface.
- Combined foil and emboss, registered to the same logo, gives a raised metallic mark and is a classic for luxury lids. It needs both tools.
Board and surface limits
Decorative effects depend on what is underneath. Fine foil detail holds best on smooth SBS paperboard and on laminated rigid wraps. Embossing needs enough caliper to hold the shape; very thin cartons give a shallow result. Corrugated board can take foil and simple emboss on E-flute, but the flutes limit crispness, so keep artwork bold.
Textured and specialty papers change the rules again. Deep felt or linen textures can break up foil and spot UV edges. Our specialty papers guide explains which textures work with which effects.
Watch out: embossing on a carton pushes the relief through to the inside panel. If you print inside, keep that artwork clear of the embossed area or it will look dented when the box is opened.
Finish compatibility: what works together
Some combinations are excellent, some are possible with care, and a few should be avoided. This matrix covers the pairings we are asked about most.
| Base layer | Foil stamping | Spot UV | Embossing | Notes |
|---|---|---|---|---|
| Aqueous coating | Good | Weak contrast | Good | Spot UV shows little difference against a satin coat |
| Matte lamination | Excellent | Excellent | Good | The most versatile base for decoration |
| Gloss lamination | Good | Poor | Good | Gloss on gloss is nearly invisible |
| Soft-touch lamination | Excellent | Excellent | Good | Check foil adhesion on a sample; see the soft-touch guide |
| Uncoated kraft | Fair | Poor | Excellent | Emboss and one-color print suit kraft best |
| Textured specialty paper | Fair to good | Fair | Excellent | Depends on texture depth |
The strongest all-round base is matte lamination, because it gives foil a smooth surface, gives spot UV maximum contrast and keeps colors controlled. Soft-touch does all of that with added feel, at a higher cost.
How finishes change color, durability and shipping performance
Finishes are not neutral. They shift how printed color looks and how the box ages. Plan for these effects instead of discovering them at the sample stage.
Color shift
Any clear layer changes how light reaches the ink. Gloss films make colors look deeper and more saturated. Matte and soft-touch films scatter light, so colors look slightly softer and darks can look a touch lighter or grayer. Aqueous coatings shift color the least.
If a brand color must match across different boxes, choose the finish before color-matching, and match against a sample with that finish applied. Our guide to CMYK vs Pantone for packaging covers color systems and proofing in more depth.
Scuff and handling resistance
Parcel shipping is hard on surfaces. Boxes rub against each other in cartons and conveyor chutes, and dark solid colors show every mark. Laminations protect far better than coatings here. Among laminates, gloss hides fine scratches under glare, matte shows them more on dark backgrounds, and soft-touch can burnish if it is rubbed hard.
Moisture and cold chain
Film laminations resist moisture spotting and condensation better than coatings. For chilled food or products stored in humid conditions, a laminated carton, or a coated carton inside a protective shipper, holds up better. Confirm food-contact requirements with the FDA guidance that applies to your product and with your supplier.
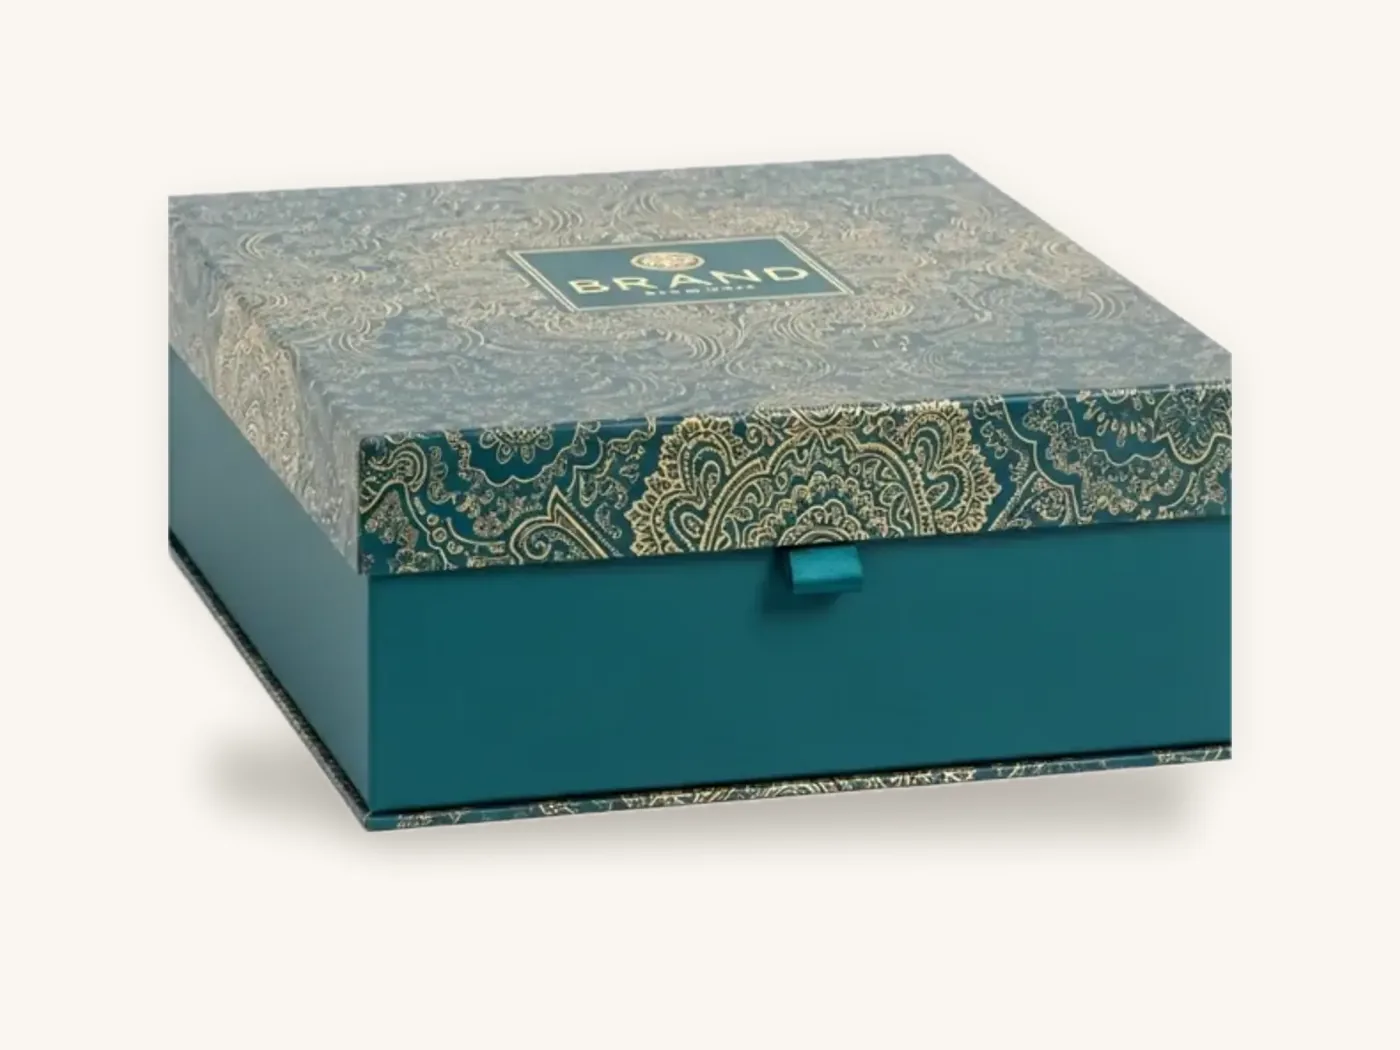
Packaging finishes by product category
There is no universal best finish. What works depends on where the box is seen and how it is handled. These starting points reflect common practice; adjust for your brand.
| Category | Typical base | Typical accent | Reasoning |
|---|---|---|---|
| Skincare and cosmetics | Soft-touch or matte lamination | Foil logo or spot UV | Premium feel, frequent handling on counters |
| Fragrance | Soft-touch lamination | Foil plus emboss | Gift-driven, high perceived value |
| Candles and home | Matte lamination or aqueous | Foil | Warm, calm look; kraft options for natural brands |
| Supplements and vitamins | Gloss or matte lamination | Spot UV | Shelf visibility, legible regulatory text |
| CBD and cannabis | Matte lamination | Spot UV or holographic foil | Differentiation in crowded displays |
| Bakery and food | Aqueous coating | Minimal or none | Recyclability, food-contact considerations |
| Apparel mailers | Aqueous or matte lamination | Inside printing | Shipping durability, unboxing moment |
| Corporate and luxury gifts | Soft-touch or matte lamination | Foil plus emboss | Keepsake value |
For rigid presentation packaging, luxury gift boxes and custom rigid boxes are where multi-layer finishing pays off most, because the box is kept and handled for a long time. For retail cartons, cosmetic boxes show how a laminated carton with one accent competes on shelf. The cosmetics and beauty industry page collects typical specs for that category.
What finishes cost and how to spend the budget
Finishes add cost in two ways: a per-unit cost for materials and machine time, and, for some effects, a one-time tooling cost. Quantity changes the balance between them.
Tooling vs per-unit cost
At Box Sense, coatings and laminations carry no tooling. Foil stamping, embossing and spot UV each need a one-time tool, about $60 for foil, $60 for embossing and $40 for spot UV. There are no die or plate charges otherwise. On a run of 50 boxes the tooling is a noticeable share of the order; at 1,000 it is spread thin.
Real examples from the price sheet
These indicative per-unit prices include free US shipping. They show how finishes combine with box type and quantity. Use the instant price estimator for your exact size.
| Spec | 100 units | 1,000 units | 5,000 units |
|---|---|---|---|
| Straight tuck end carton, 18 pt SBS, 3x2x5 in, full color, aqueous | about $1.15 | about $0.51 | about $0.36 |
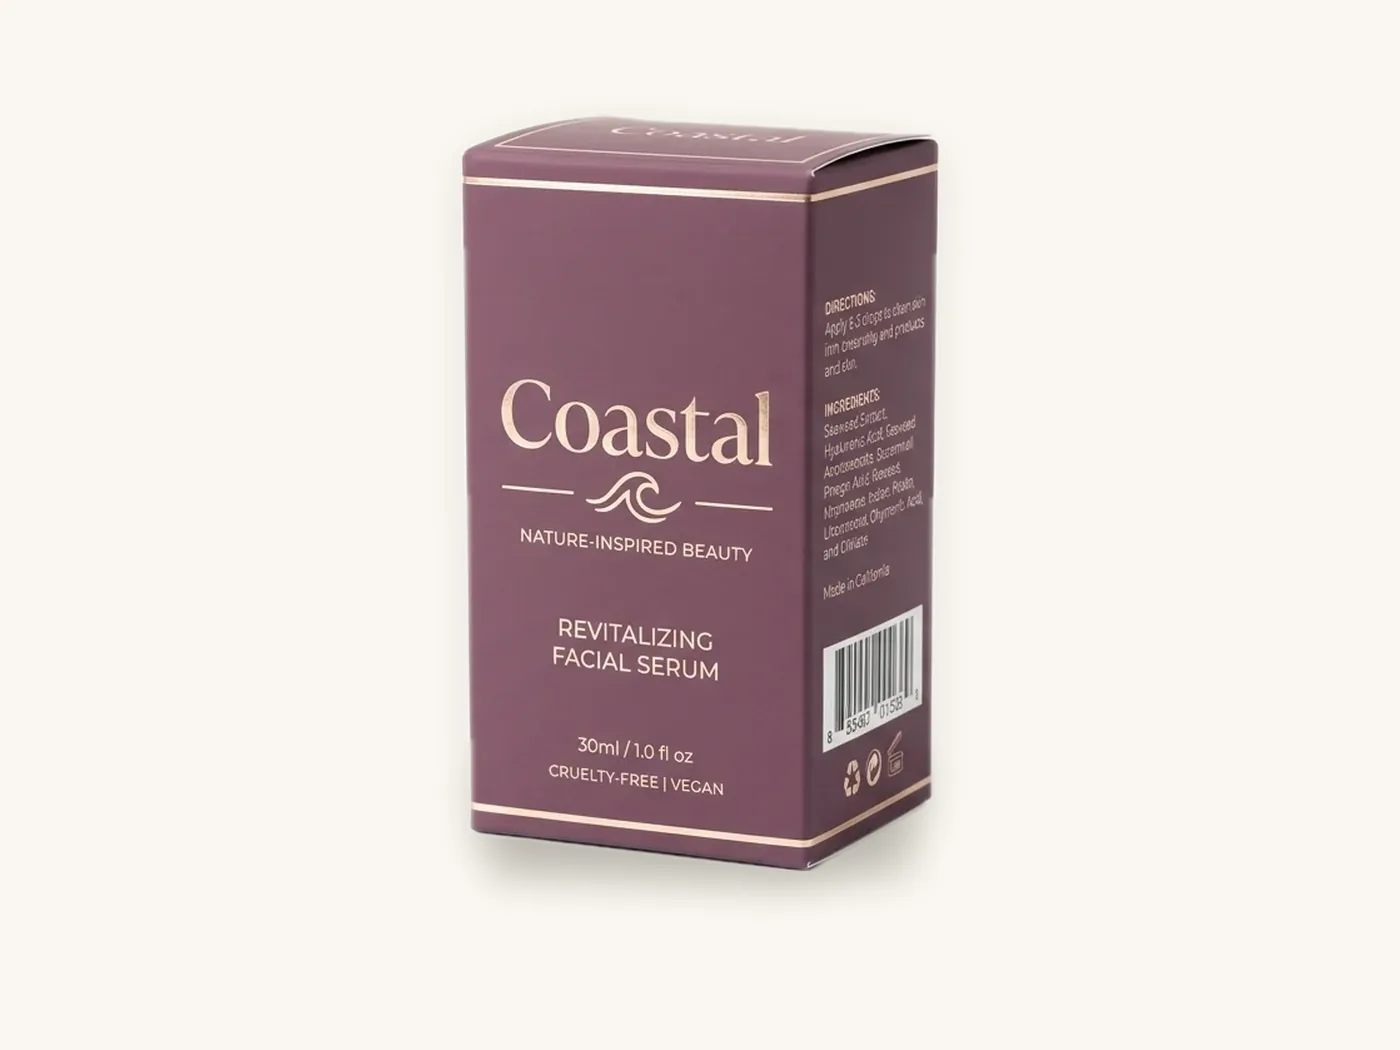
| Cosmetic carton, 18 pt SBS, 2.5x2.5x6 in, full color, soft-touch + foil | about $1.93 | about $0.86 | about $0.61 |
| Candle box, 18 pt SBS, 3.5x3.5x4 in, full color, matte + foil + insert | about $2.33 | about $1.03 | about $0.73 |
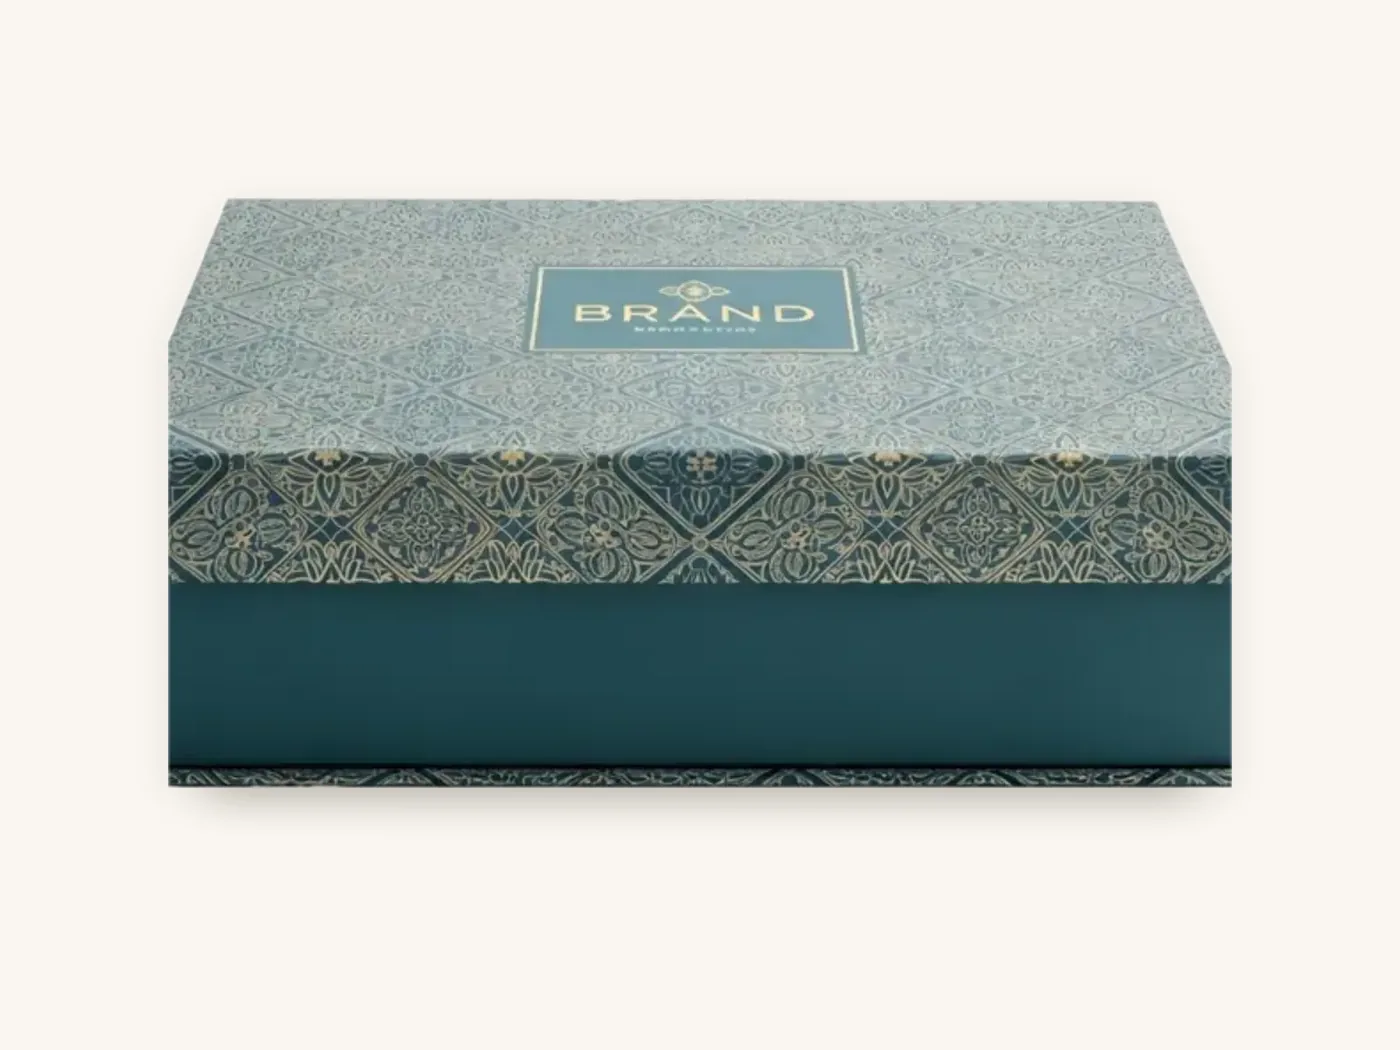
| Rigid magnetic box, 2 mm, 10x8x3 in, soft-touch, foil, insert | about $14.23 | about $6.32 | about $4.49 |
The aqueous carton and the soft-touch plus foil carton are different sizes, so do not read the gap as the cost of the finish alone. What the table does show is that premium finishing on a paperboard carton still lands well below a rigid box at every quantity.
Where finish spending pays back
- Spend on the surface customers touch first. For a rigid box, that is the lid. Finishing the base with the same effects often adds little.
- Choose one hero effect. A single foil or spot UV logo on a matte base gets most of the premium impression.
- Let the base layer do the work. Soft-touch alone often reads more premium than gloss plus two embellishments.
- Reuse tooling. Keep the logo size and position identical across a product line so one foil or spot UV tool covers several SKUs where the layout allows.
A 7-step process for choosing packaging finishes
Use this sequence with your designer and supplier. It avoids the most common rework, which is designing decoration for a base layer that later changes.
- Define the job of the box. Is it shipped, shelved, gifted or kept? A mailer needs rub resistance; a shelf carton needs visibility; a gift box needs feel.
- Pick the board. SBS, kraft, corrugated or rigid greyboard with a wrap. The board limits which finishes perform. Our SBS paperboard page and material pages list what each accepts.
- Choose the base layer. Aqueous, matte, gloss or soft-touch. Consider color shift and recyclability now.
- Choose at most one or two decorative effects. Decide which element is the hero and keep the rest quiet.
- Check compatibility. Use the matrix above, and ask your supplier about any combination rated fair or poor.
- Prepare separate artwork layers. Foil, spot UV and emboss each need their own vector layer, aligned to the dieline and named clearly.
- Approve on a physical sample. Feel, sheen and foil color cannot be judged on screen. Handle the sample under the lighting where the box will be seen.
How to order finished packaging from Box Sense
We handle printing, laminating, foiling, spot UV, embossing, die-cutting and gluing in-house, so a multi-finish box moves through one facility with one proof. Here is what makes the process fast.
What to send
- Box style and internal dimensions, or the product you need to package
- Board preference, if you have one
- Base finish: aqueous, matte, gloss or soft-touch, or ask for a recommendation
- Decorative effects and where they go (for example, gold foil logo on lid only)
- Quantities to price, such as 100, 500 and 1,000
- Target in-hand date and delivery location
- Artwork with foil, spot UV and emboss on separate named layers, or a request for help from design services
What happens after you send it
- We confirm a quote within 24 hours, including any one-time tooling.
- Free design support covers the dieline, artwork setup and a 3D digital proof, with two revision rounds.
- Unprinted structural samples are free. A printed sample of approved artwork is free on orders of 100 or more, which is the best way to check feel and sheen. See samples for details.
- Standard production is 8–12 business days after proof approval, with rush production in 5 business days on most paperboard and corrugated styles.
- Shipping is free on every US order, and international shipping is quoted at cost.
Orders start at 10 boxes. Short runs of roughly 10 to 500 are printed digitally, larger runs on offset. Defective boxes reported within 14 days are reprinted free.
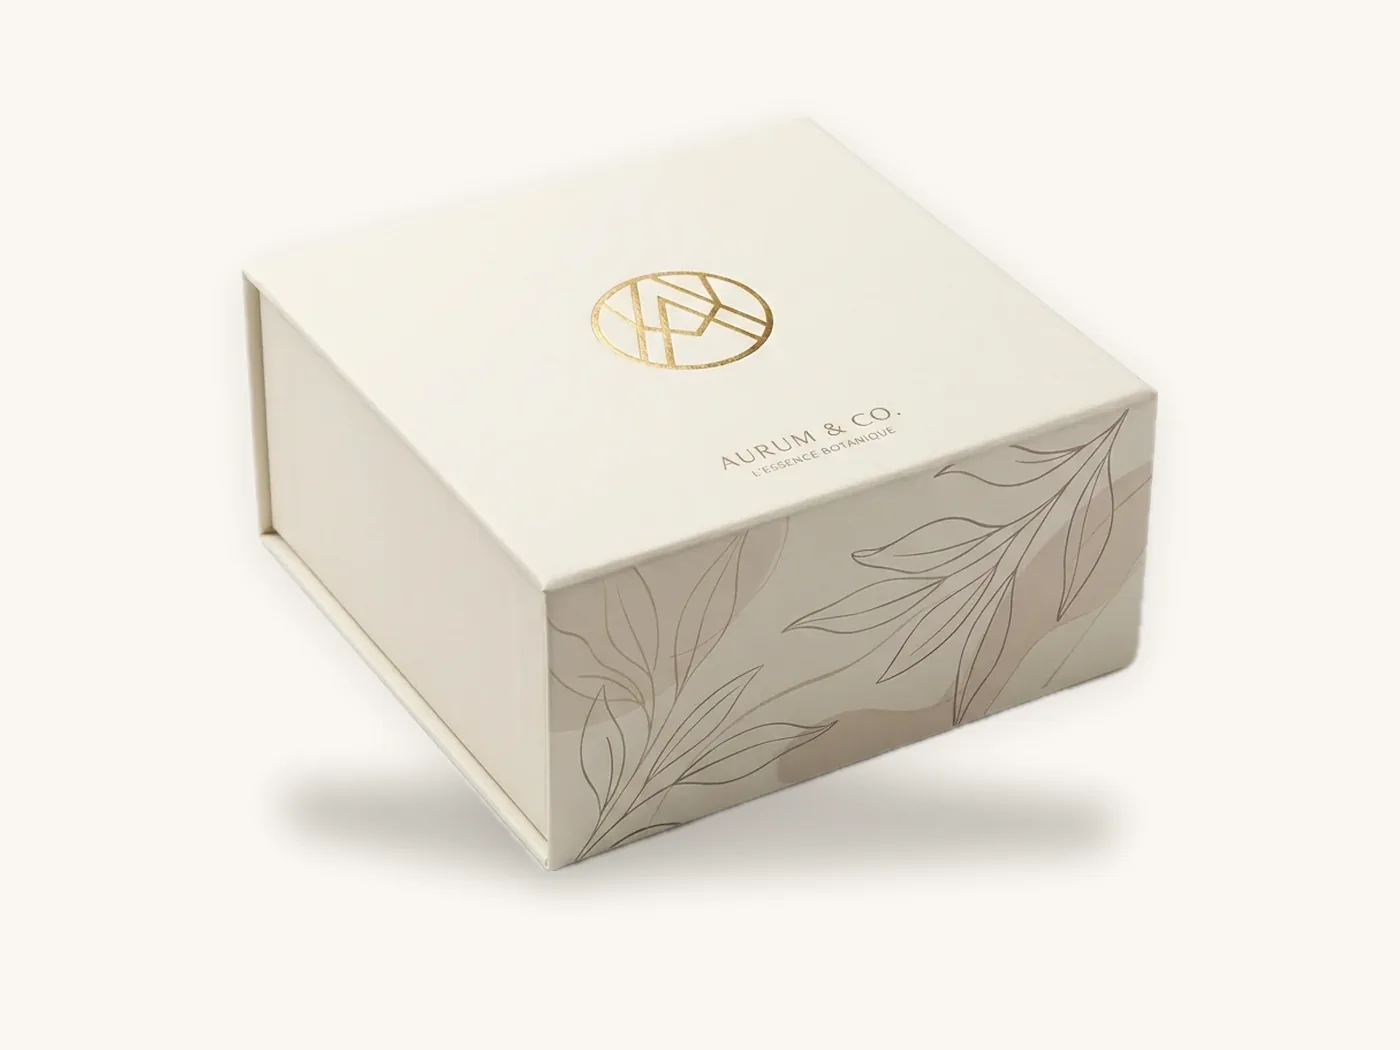
Frequently asked questions
What are the most common packaging finishes?
The most common packaging finishes are aqueous coating, matte lamination, gloss lamination and soft-touch lamination as base layers, plus foil stamping, spot UV and embossing as decorative effects. Most boxes use one base layer and zero to two decorative effects. Aqueous coating is the usual default for food and shipping boxes, while laminations dominate cosmetic, fragrance and rigid gift packaging.
Which box finish is the most premium?
Soft-touch lamination is usually perceived as the most premium base finish because of its velvety feel and deep, muted look. Paired with a single foil or spot UV logo, it reads as high end without looking busy. On rigid boxes, a foil and emboss logo on a soft-touch or matte lid is a classic luxury combination.
Is lamination better than aqueous coating?
Lamination protects better against scuffs, moisture and ink rub, and gives a more defined matte, gloss or soft-touch look. Aqueous coating costs less, adds almost no thickness, keeps kraft texture visible and is simpler for paper recycling. Choose lamination for premium retail and rigid boxes, and aqueous coating for food, kraft and cost-sensitive shipping packaging.
Can you put spot UV on a gloss laminated box?
You can, but the effect is weak. Spot UV works by contrasting shiny areas against a duller surface, so gloss on gloss is barely visible. For clear contrast, put spot UV over matte or soft-touch lamination. If you want a glossy overall look with highlights, consider foil for the accent instead.
Do packaging finishes affect recyclability?
They can. Aqueous coatings and water-based inks keep paperboard and corrugated simple to recycle. Plastic laminations and large foil areas add non-paper material, and acceptance of laminated board varies by recycling program. If you plan to print a recyclability claim, follow the FTC Green Guides and confirm acceptance in your market.
How much do finishes add to the cost of a box?
Coatings and laminations add a per-unit cost with no tooling. Foil stamping, embossing and spot UV add a per-unit cost plus one-time tooling at Box Sense of about $60, $60 and $40 respectively. The per-box impact falls as quantity rises. Use the pricing estimator to compare your spec with and without each finish.
Can I see a sample of the finish before ordering?
Yes. Unprinted structural samples are free, and a printed sample of approved artwork is free on orders of 100 or more. A physical sample is the only reliable way to judge soft-touch feel, foil color and spot UV contrast, because screens cannot show texture or sheen accurately.
Next steps
Pick your base layer first, then one hero effect, then check the combination against the compatibility matrix. Run the spec through the box price estimator to see how finishes change your unit cost, and when you are ready, request a finished packaging quote. We will confirm pricing within 24 hours and prepare a 3D proof with every finish layer marked.
Boxes in this guide
Order the packaging we covered
Written by the Box Sense Packaging Team
Our structural designers, prepress technicians and production staff print and convert custom boxes every day for brands in the United States, United Kingdom and UAE. Questions about this guide? Talk to us.