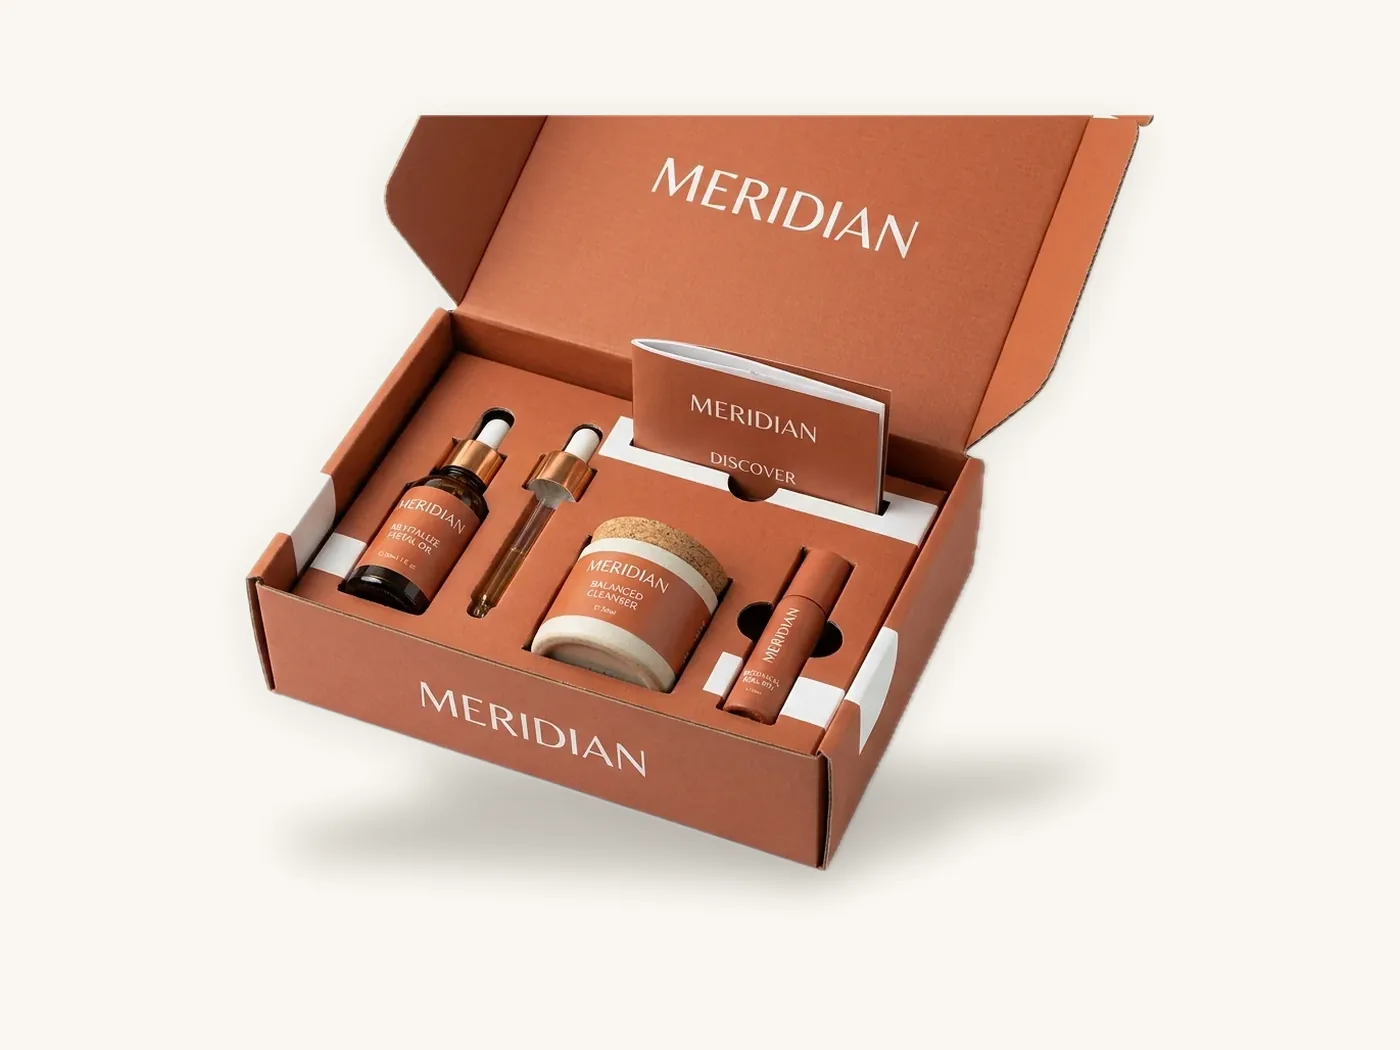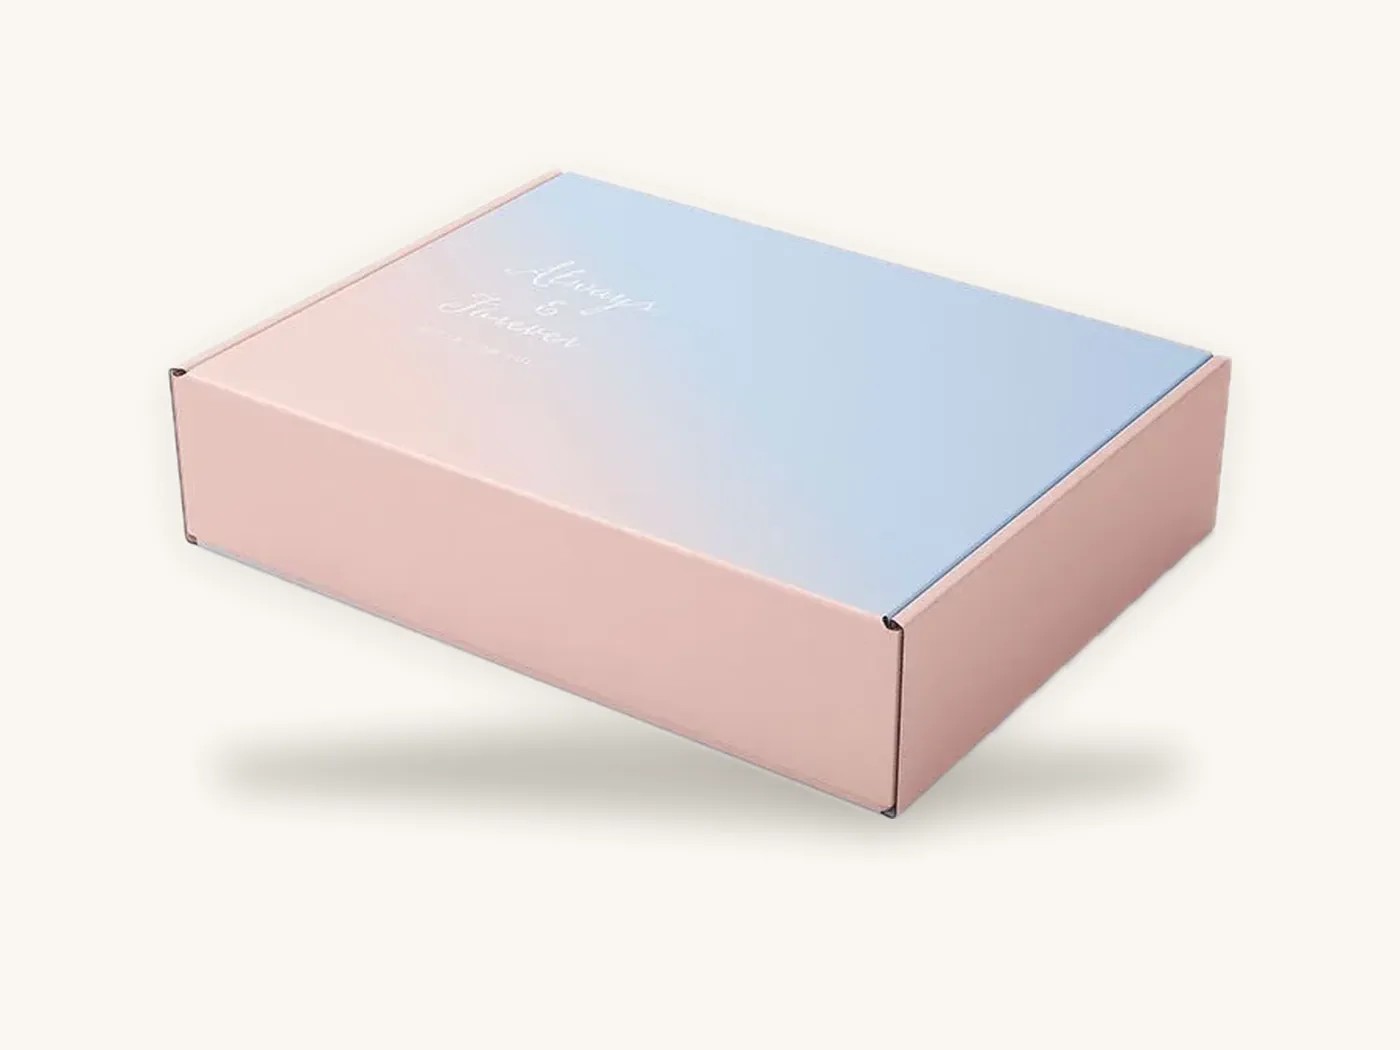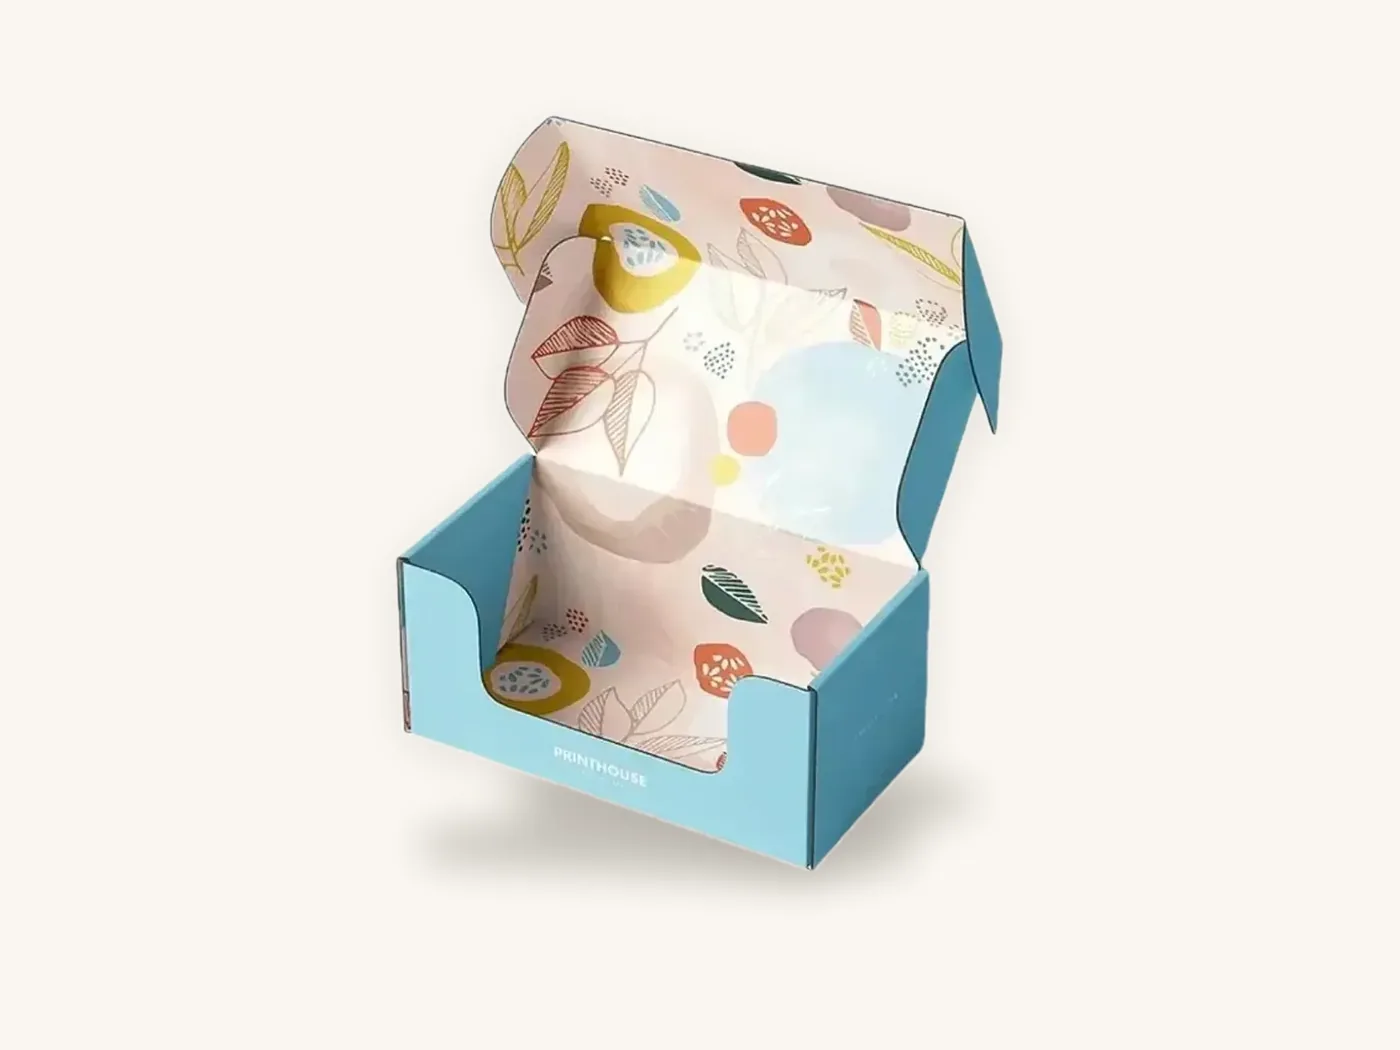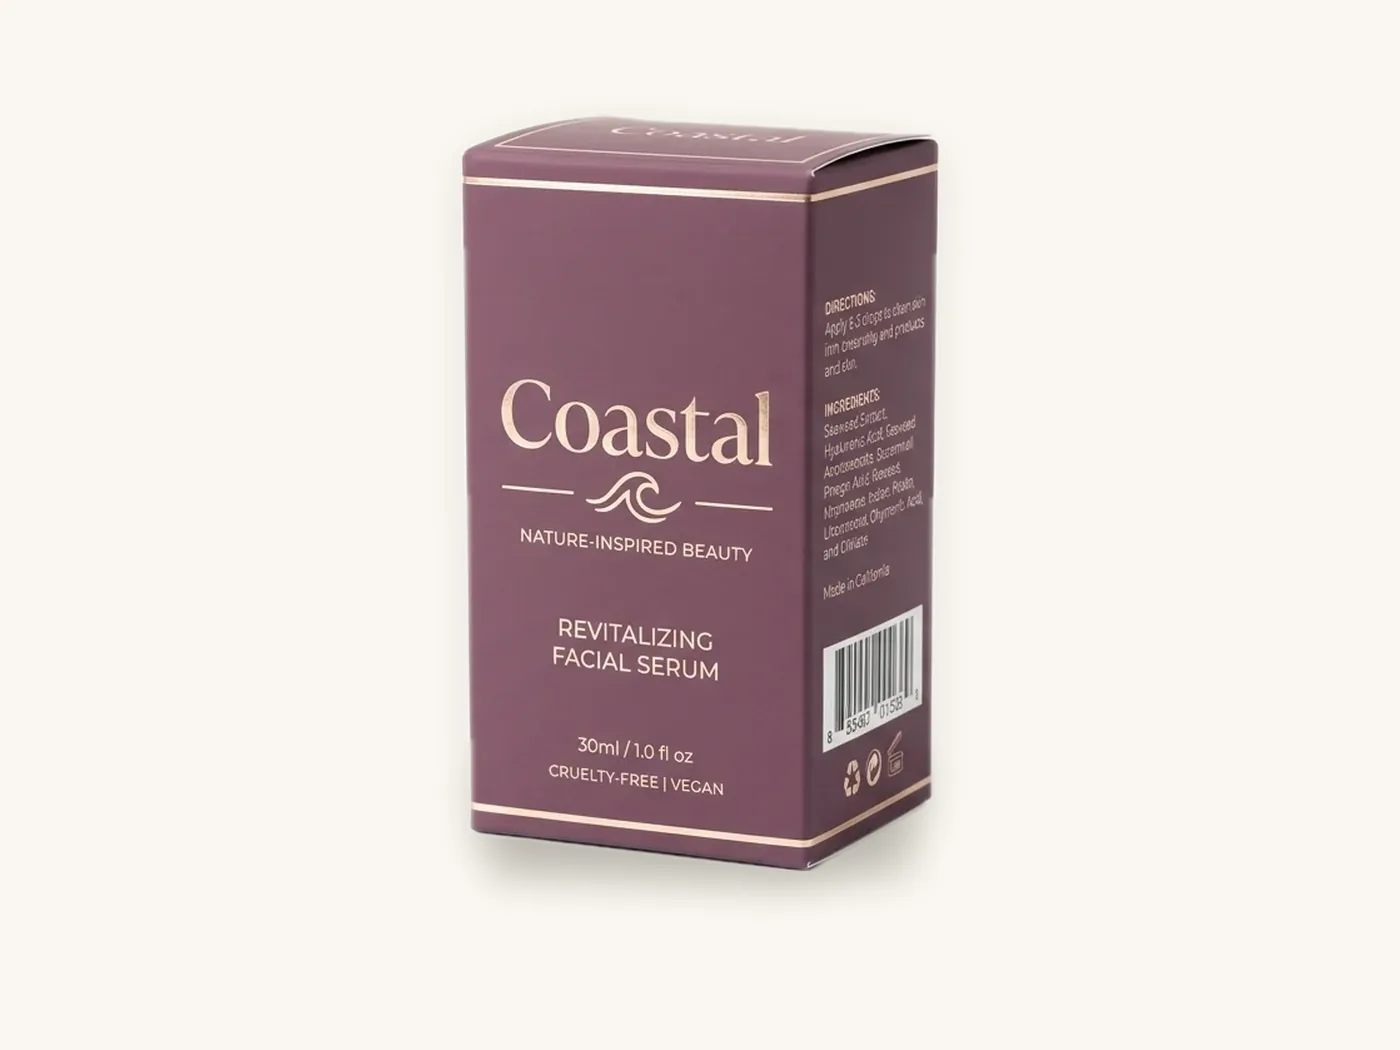
Spot UV packaging uses a clear, glossy varnish applied only to selected areas of a printed box, then cured instantly with ultraviolet light. The coated areas shine while the rest of the box stays matte or soft, so a logo, pattern or product image catches the light as the box moves. Done well, it adds a premium, tactile detail for a modest cost.
Done badly, it is invisible, misaligned or messy. Nearly every spot UV problem comes from three things: the wrong base finish, a poorly prepared file, or artwork that ignores registration tolerance. This guide focuses on those, then covers raised UV, the boxes and boards that suit it, what it costs and how to order spot UV boxes without surprises.
Key takeaways
- Spot UV only works with contrast. Put it over matte or soft-touch lamination; over gloss it nearly disappears.
- Supply it as a separate vector layer, 100% of a single named spot color, perfectly aligned with the print artwork and the dieline.
- Design for registration tolerance: avoid hairline outlines that must sit exactly on printed edges, and keep fine detail bold enough to hold.
- Raised UV builds a thicker, tactile layer you can feel with a fingertip; it needs bolder shapes than flat spot UV.
- At Box Sense, spot UV carries a one-time tooling charge of about $40. A CBD tincture box, 18 pt SBS, 1.5x1.5x4.5 in, with gloss and spot UV runs about $1.31 each at 100 units.
- Always check spot UV on a printed sample; flat screens cannot show the effect.
What spot UV is and how it is made
UV varnish is a liquid coating that stays wet until it is exposed to ultraviolet light, which cures it almost instantly into a hard, clear layer. A flood UV coating covers the whole sheet. A spot UV coating covers only the areas defined in your file.
On packaging, spot UV is applied after printing and after the base lamination or coating, and before die-cutting. The varnish is laid down through a screen or plate made from your spot UV artwork layer, or applied digitally on some equipment, then passed under UV lamps. That sequence is why the base layer matters: the varnish sits on top of whatever finish the sheet already has.
Flat, raised and textured effects
| Effect | What it looks and feels like | Typical use |
|---|---|---|
| Flat spot UV | Glossy area level with the surface; visible, barely felt | Logos, patterns, product imagery |
| Raised UV (3D, tactile) | Thicker gloss you can feel as a ridge | Logos, names, dot or line patterns meant to be touched |
| Textured or grit UV | Rough, sandpaper-like or ribbed surface | Contrast against soft-touch, sports and outdoor brands |
| Tinted or effect UV | Gloss with a subtle color or sparkle | Special editions; availability varies |
Flat spot UV is the standard option and the one most brands mean. Raised UV is covered in its own section below.
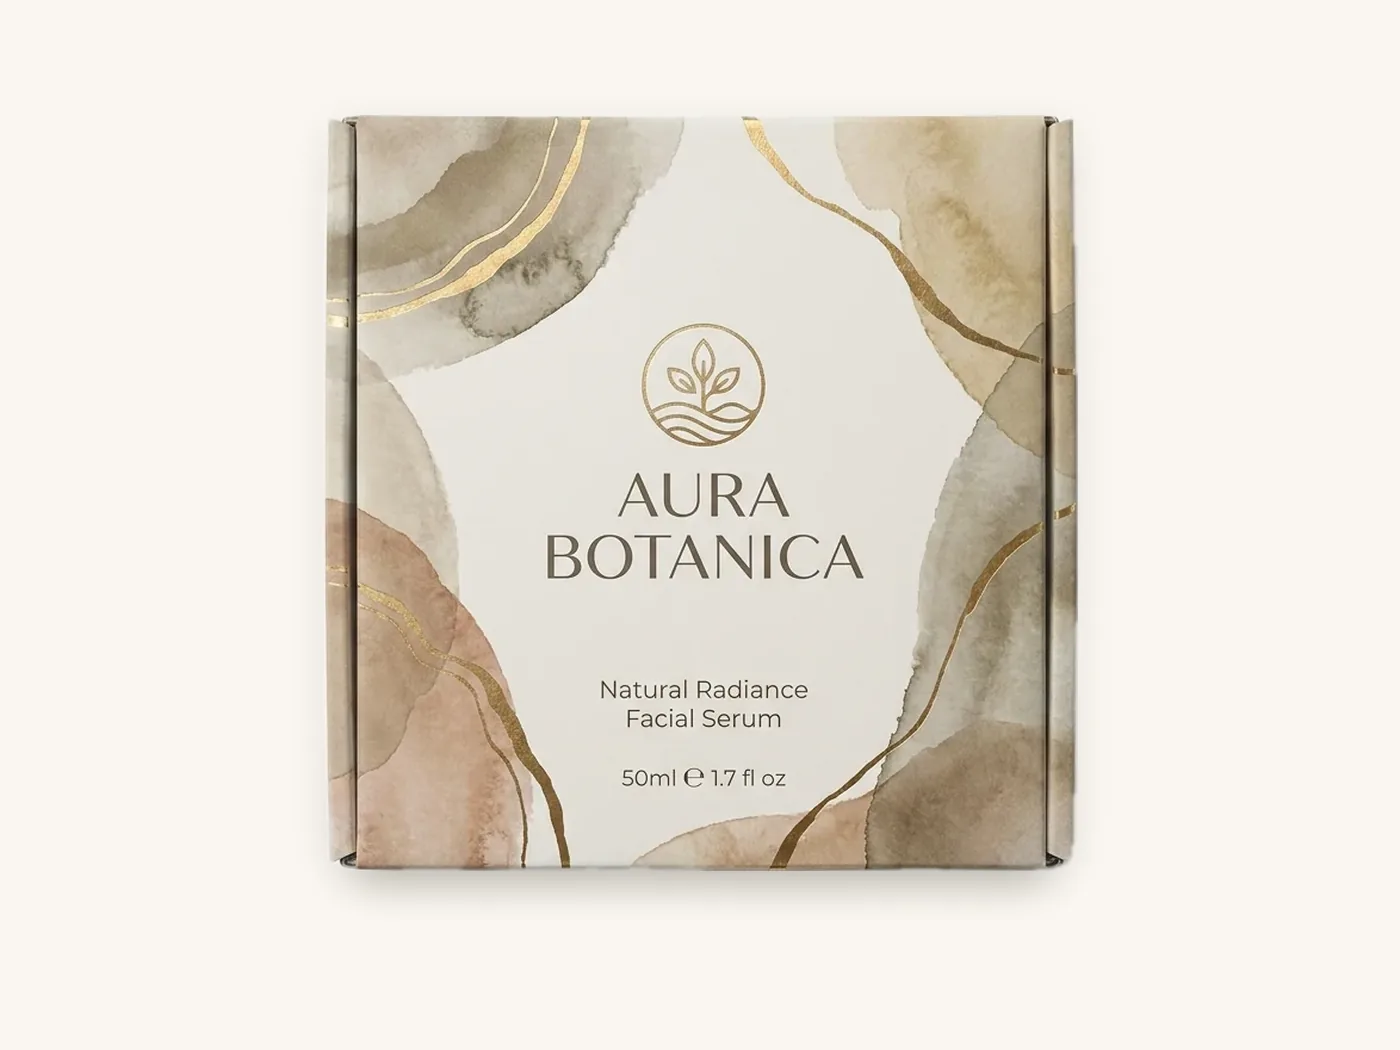
Where spot UV works best: design rules before files
Spot UV is a supporting effect. It rewards restraint and punishes clutter. Before thinking about file setup, decide what the effect is for.
Rule 1: highlight one thing
Pick a single focal point: the logo, the product name, a hero image or a repeating brand pattern. When spot UV is scattered across a dozen elements, none of them stands out and the box looks noisy under light.
Rule 2: use it for things meant to be discovered
Spot UV is subtle at a distance and obvious in the hand. That makes it perfect for details customers find as they turn the box: a tone-on-tone pattern on a black carton, a hidden message on a side panel, a glossy outline of the product silhouette. It is less effective for anything that must be read from across a store.
Rule 3: dark backgrounds show it most
Glossy varnish over a dark matte panel produces the highest contrast. On white or very light backgrounds the effect is much quieter. A black-on-black spot UV logo is one of the most effective premium looks for the lowest cost.
Rule 4: pair it deliberately with other effects
Spot UV and foil can coexist, but they compete for attention because both are reflective. A common, clean approach is foil for the logo and spot UV for a background pattern. The packaging finishes guide explains how to build a finish stack with one hero effect, and the foil stamping guide covers foil-specific rules.
Tip: try tone-on-tone before full-color highlights. A spot UV pattern printed in the same color as its background is invisible in a flat photo and striking in the hand, which is exactly the surprise that makes people turn a box over.
Choosing the right base finish
This is the single most important decision for spot UV boxes. The varnish is always glossy, so the surface around it has to be less glossy.
| Base finish | Spot UV contrast | Notes |
|---|---|---|
| Matte lamination | Excellent | The standard choice; crisp, predictable results |
| Soft-touch lamination | Excellent, plus tactile contrast | Smooth gloss against velvet; confirm adhesion on a sample |
| Aqueous coating (satin or matte) | Fair | Visible but softer; varnish can sink slightly into the surface |
| Uncoated SBS | Fair to poor | Varnish absorbs unevenly; edges less sharp |
| Gloss lamination | Poor | Gloss on gloss is barely visible |
| Uncoated kraft | Poor | Absorbent, textured surface; emboss or foil works better |
| Direct-printed corrugated | Poor | Uneven surface; use a laminated printed liner instead |
If your design is already committed to gloss lamination, consider foil for your accent instead. The tradeoffs between films are covered in matte vs gloss lamination, and the velvet option in soft-touch lamination explained.
How to set up a spot UV file, step by step
The printer cannot guess where varnish should go. Your artwork must define it exactly, in a format that turns directly into a plate or screen. Follow this process.
- Start from the printer's dieline. Place the dieline on its own locked layer. All print and spot UV artwork must align to it.
- Finish the print artwork first. Lock the CMYK or Pantone design before building the spot UV layer, so late edits do not leave varnish floating over the wrong area.
- Create a separate layer named "Spot UV". Keep it above the print artwork. Never merge it into the print layer.
- Build every UV shape as vector. Use paths, outlined type and vector shapes. Raster images cannot become a clean varnish plate.
- Fill UV shapes with 100% of one spot swatch. Create a spot color swatch named "Spot UV" (or as your printer specifies) and fill every shape with it at 100%. Do not use tints, gradients or transparency; varnish is either on or off.
- Set the UV swatch to overprint, or supply a separate file. Overprint prevents the varnish shapes from knocking out the artwork below in the digital proof. Many printers prefer a separate PDF page or file containing only the UV layer at identical size and position.
- Outline all fonts. Convert text in the UV layer to outlines so it cannot reflow or substitute.
- Keep UV away from folds and glue areas. Varnish can crack on creases and can interfere with glue adhesion. Stop UV shapes short of score lines and glue flaps.
- Export and label clearly. Name files and layers plainly, and note in your request which surfaces receive spot UV.
Matching UV to images
If you want spot UV on part of a photograph, such as a product bottle, trace the shape as a vector path. Automatic selections from pixels create jagged edges that look rough under varnish. For pattern-in-image effects, a simplified vector version of the pattern usually looks better than a detailed one.
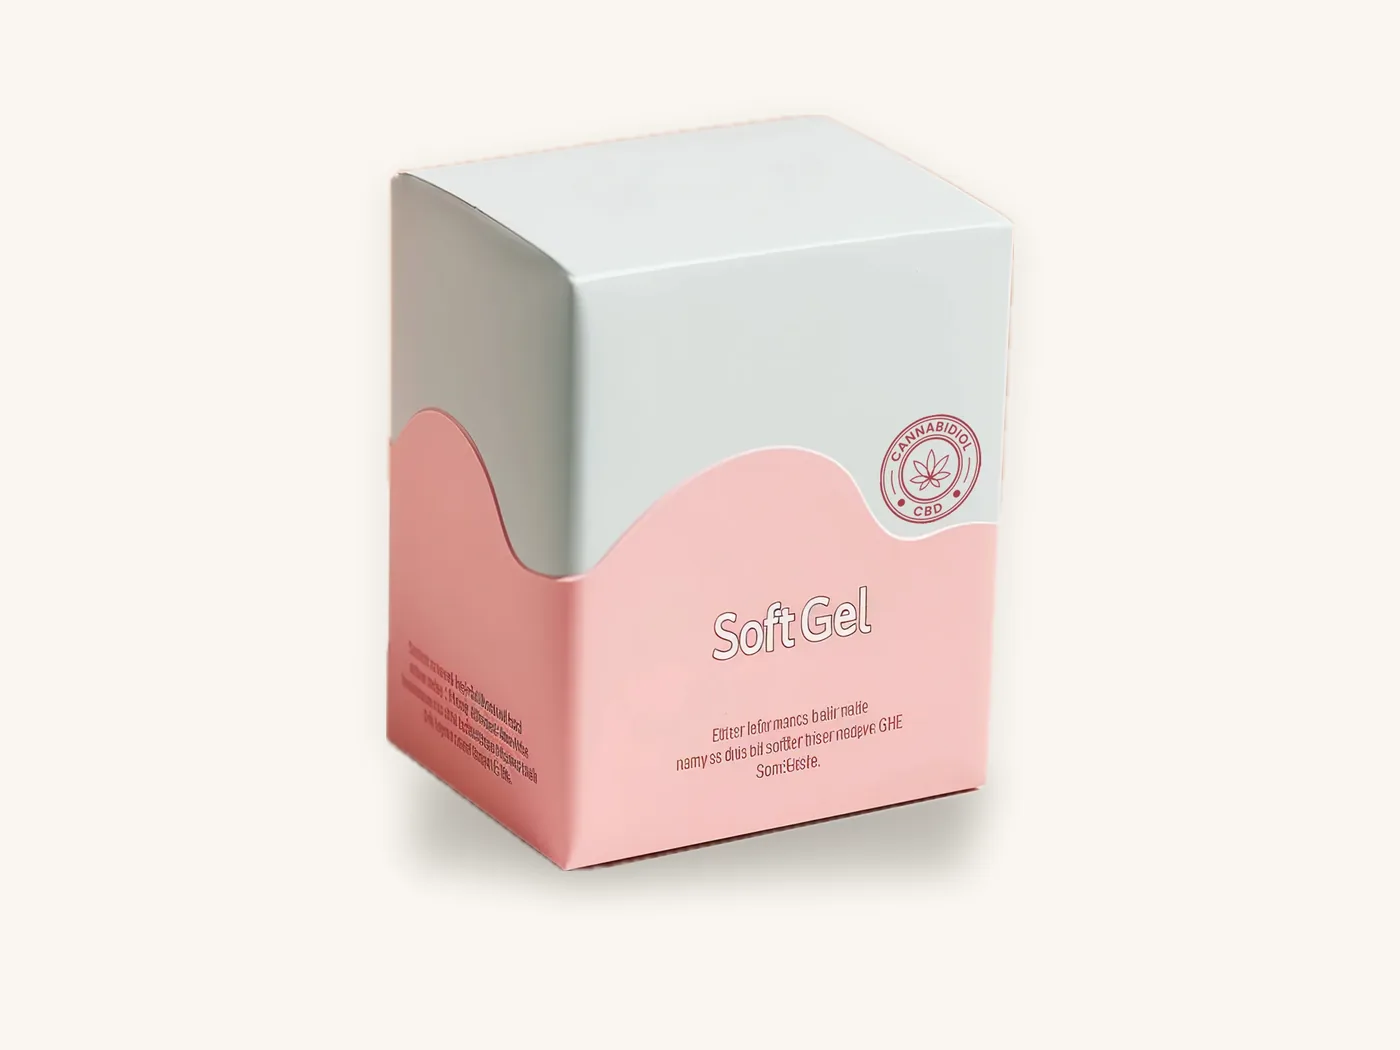
Registration and tolerances: designing for real presses
Registration is how accurately the varnish lands on the printed image. The print and the spot UV are applied in separate passes, so there is always a small, unavoidable variation between them, typically a fraction of a millimeter. Good design makes that variation invisible.
Design choices that hide small registration shifts
| Design choice | Risk | Better approach |
|---|---|---|
| Spot UV exactly matching a printed shape | A slight shift shows a sliver of gloss outside the shape | Choke (shrink) the UV shape slightly inside the printed edge, or deliberately extend it as a halo |
| Thin UV outline around printed type | Outline wanders off the letters | Apply UV to the letters themselves, or use a bold standalone outline |
| Tiny text in spot UV | Letters fill in or lose counters | Keep UV text bold and reasonably large; a common rule of thumb is no smaller than about 8 pt for flat UV |
| Hairline UV rules | Lines break or vanish | Use lines of at least about 0.5 pt for flat UV, heavier for raised UV |
| UV right up to a cut edge | Varnish can chip on die-cutting | Stop UV about 1/16 in (1.5 mm) inside cut lines, unless it is a background area that bleeds |
| UV across a crease | Cracking along the fold | End UV shapes before score lines |
These are general starting points; your printer's specification for their equipment takes priority. Our guide to packaging print tolerances explains how registration and cut tolerances interact across a box.
Choke or spread
When spot UV sits on a printed logo, the safest approach is usually a very slight choke: the UV shape is a hair smaller than the printed shape, so any shift keeps the varnish inside the ink. For shapes where a thin glossy edge would look intentional, a slight spread can work instead. Pick one approach and apply it consistently.
Watch out: a spot UV layer built early and never updated is the most common cause of misaligned varnish. If the logo moves, resizes or changes after the UV layer was drawn, the varnish still prints where the old logo was. Re-check alignment every time the print artwork changes.
Raised UV: tactile spot UV explained
Raised UV, sometimes called 3D UV or tactile UV, applies a much thicker layer of varnish so the coated area stands up from the surface. Customers can feel the edges with a fingertip, and under light the thicker layer looks more like glass.
When raised UV is worth it
- The box is handled closely: cosmetic boxes, fragrance, premium supplements and gift boxes.
- You want an embossed feel without the relief showing through to the inside panel.
- The design uses bold marks, dot patterns or lines that benefit from depth.
Design differences from flat spot UV
Thick varnish spreads slightly before it cures, so fine detail softens. Use bolder shapes, wider lines and more open counters in letters than you would for flat UV. Very large solid raised areas can look uneven; patterns and logos work better. Keep raised UV off panels that stack under weight or rub in transit, where the ridges can scuff.
Raised UV vs embossing
| Raised UV | Embossing | |
|---|---|---|
| How it is made | Thick varnish added on top | Board pressed into relief with a die |
| Look | Glossy, glass-like | Same finish as the surrounding surface |
| Inside panel | Unaffected | Shows the reverse impression |
| Fine detail | Moderate | Good on suitable stock |
| Best base | Matte or soft-touch lamination | Most coated and uncoated boards |
The embossing and debossing guide covers relief depth and board choice if you are weighing the two.
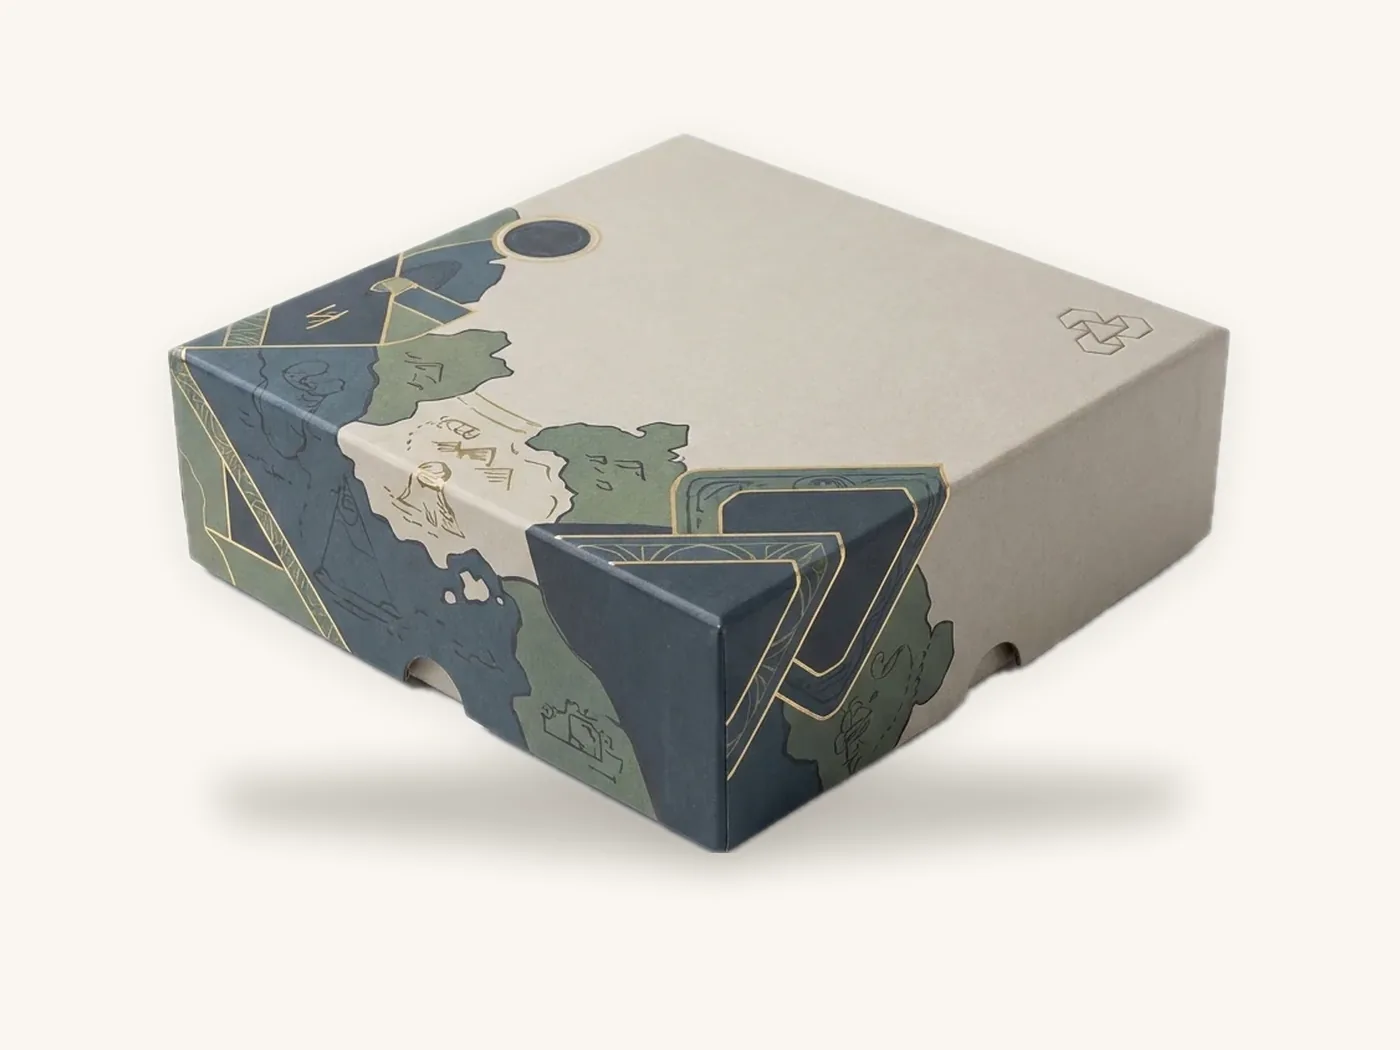
Best boxes and categories for spot UV
Spot UV performs best on smooth paperboard cartons and rigid box wraps with a laminated base. It is also a strong choice where many similar products compete in a small display.
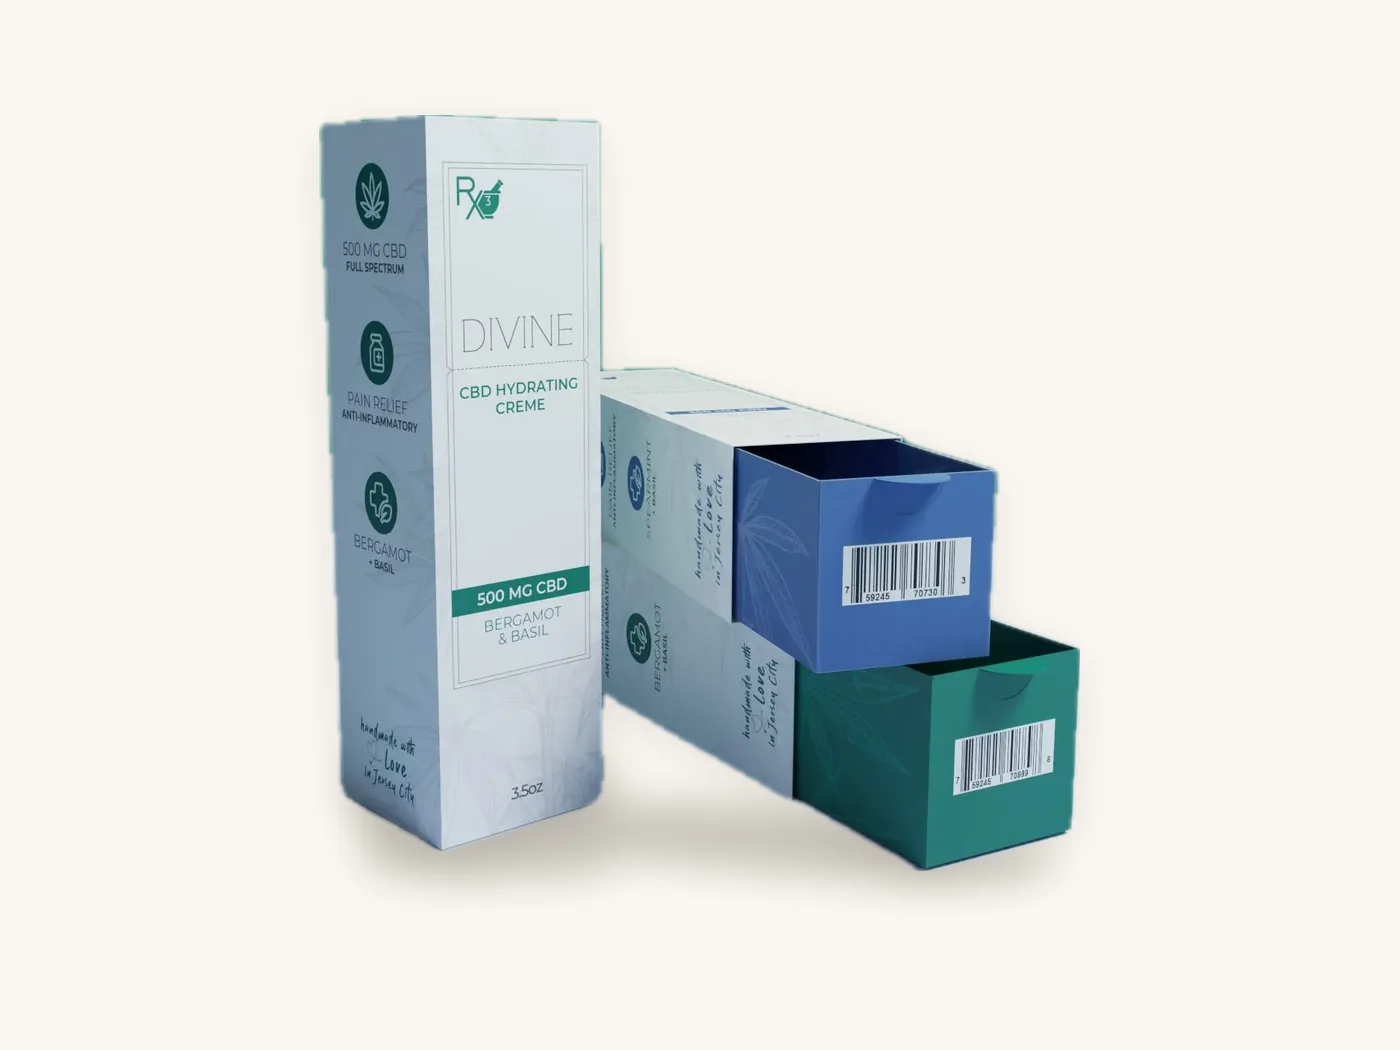
- CBD and cannabis. Displays are crowded and packaging must carry a lot of required text. A spot UV pattern or logo on a matte carton adds distinction without adding clutter. See CBD boxes and the CBD and cannabis industry page. Confirm state packaging and labeling rules with your regulator.
- Cosmetics and skincare. Tone-on-tone patterns over soft-touch or matte film suit minimal beauty branding.
- Retail product boxes. On custom product boxes, spot UV on the product image or name creates a focal point on shelf.
- Board games and puzzles. Spot UV on title lettering and character art over a matte lid gives a collectible feel.
- Rigid gift boxes. A glossy pattern across a dark matte lid works well alongside a foil logo.
It suits kraft, direct-printed corrugated and uncoated food cartons poorly. For natural-look packaging, embossing or a single foil accent is usually the better choice.
What spot UV costs
Spot UV adds a per-unit cost for varnish and machine time, plus a one-time tooling charge at Box Sense of about $40. There are no separate die or plate charges. The tooling is the same whether you order 50 or 5,000 boxes, so its share of the total shrinks quickly with quantity.
Reference price
This indicative per-unit price includes free US shipping and the spec shown. Use the instant price estimator for your size and finishes.
| Spec | 10 | 100 | 250 | 1,000 | 5,000 | 10,000 |
|---|---|---|---|---|---|---|
| CBD tincture box, 18 pt SBS, 1.5x1.5x4.5 in, full color, gloss, spot UV | $1.98 | $1.31 | $0.93 | $0.58 | $0.41 | $0.37 |
How to keep the cost down
- Share the UV layer across SKUs. If several products use the same logo position and pattern on the same dieline, ask whether one tool can serve them.
- Use flat UV unless touch matters. Raised UV is more material and more care.
- Put UV on the main panel only. Coating every side rarely adds proportionate impact.
- Compare against foil. For a single logo, foil and spot UV give different looks at different tooling costs; the custom packaging cost guide explains how finishes add up across a whole order.
Common spot UV mistakes and how to avoid them
- Spot UV over gloss lamination. Switch the base to matte or soft-touch, or use foil.
- UV layer built in raster or with tints. Rebuild as 100% vector spot color shapes.
- Varnish across folds. Stop shapes before score lines to prevent cracking.
- Too many UV areas. Choose one focal element and one supporting pattern at most.
- Hairline detail. Thicken lines and enlarge small type, especially for raised UV.
- UV file not updated after artwork edits. Re-check alignment at every revision.
- Judging the effect on screen. Approve on a printed sample in the lighting where the box will be seen.
Ordering spot UV boxes from Box Sense
We print, laminate, apply spot UV and die-cut in-house, so the print and varnish layers are proofed and registered in one facility.
What to send
- Box style and internal dimensions
- Board, for example 18 pt SBS
- Base finish: matte or soft-touch lamination recommended
- Spot UV type: flat or raised, and which panels
- Any foil or embossing, with location
- Quantities to price, such as 100, 500 and 1,000
- Artwork with the spot UV on a separate, named vector layer, or a request for design services to build it for you
Proofing and production
Our team supplies the dieline and checks your spot UV layer against the print artwork. You receive a 3D digital proof showing the varnish areas, with two revision rounds included. Unprinted structural samples are free, and a printed sample of approved artwork is free on orders of 100 or more; see samples.
Quotes are confirmed within 24 hours. Standard production takes 8–12 business days after proof approval, and rush production in 5 business days is available on most paperboard styles. Orders start at 10 boxes, shipping is free on every US order, and defective boxes reported within 14 days are reprinted free.
Frequently asked questions
What is spot UV on packaging?
Spot UV is a clear, glossy varnish applied only to selected areas of a printed box and cured instantly with ultraviolet light. It creates contrast between shiny highlights and the surrounding matte or soft-touch surface, so logos, patterns or images catch the light when the box is handled. It is common on cosmetic, CBD and retail cartons.
How do I set up artwork for spot UV?
Put the spot UV on a separate layer above your print artwork, built entirely from vector shapes and outlined text. Fill every shape with 100% of a single spot color swatch named for spot UV, with no tints or gradients. Align it precisely to the dieline and print artwork, keep it off folds and glue flaps, and export it as your printer specifies.
Can spot UV be applied to gloss laminated boxes?
It can be, but the effect is almost invisible, because gloss varnish over a gloss film has no contrast. Spot UV works best over matte or soft-touch lamination. If your box needs to stay glossy overall, a foil accent will give a more visible highlight than spot UV.
What is the difference between spot UV and raised UV?
Flat spot UV is a thin glossy layer that looks shiny but sits nearly level with the surface. Raised UV uses a much thicker layer that stands up from the surface, so you can feel it with a fingertip and it looks more like glass. Raised UV needs bolder shapes and wider lines because thick varnish softens fine detail.
How much does spot UV add to the cost of a box?
At Box Sense, spot UV has a one-time tooling charge of about $40 plus a small per-unit cost. As a reference, an 18 pt SBS CBD tincture box, 1.5x1.5x4.5 in, with full color, gloss and spot UV is about $1.31 per box at 100 units and about $0.58 at 1,000, including US shipping.
What is the minimum text size for spot UV?
It depends on the equipment and the effect, so follow your printer's specification. As a general rule of thumb, keep flat spot UV text at roughly 8 pt or larger in a bold weight, and lines at about 0.5 pt or heavier. Raised UV needs larger type and thicker lines because the varnish spreads slightly before curing.
Can you use spot UV on kraft or corrugated boxes?
It is not a good match. Uncoated kraft absorbs varnish unevenly and its texture hides the gloss, and direct-printed corrugated has an uneven surface. Spot UV works well on corrugated mailers that use a laminated printed liner. For natural kraft packaging, embossing or a simple foil accent usually gives a better result.
Next steps
Choose a matte or soft-touch base, pick one element to highlight, and build the spot UV as a clean vector layer. Check the cost of your spec in the box pricing estimator, then request a spot UV box quote. We will confirm pricing within 24 hours, check your UV layer against the dieline and prepare a 3D proof before anything goes to press.
Boxes in this guide
Order the packaging we covered
Written by the Box Sense Packaging Team
Our structural designers, prepress technicians and production staff print and convert custom boxes every day for brands in the United States, United Kingdom and UAE. Questions about this guide? Talk to us.