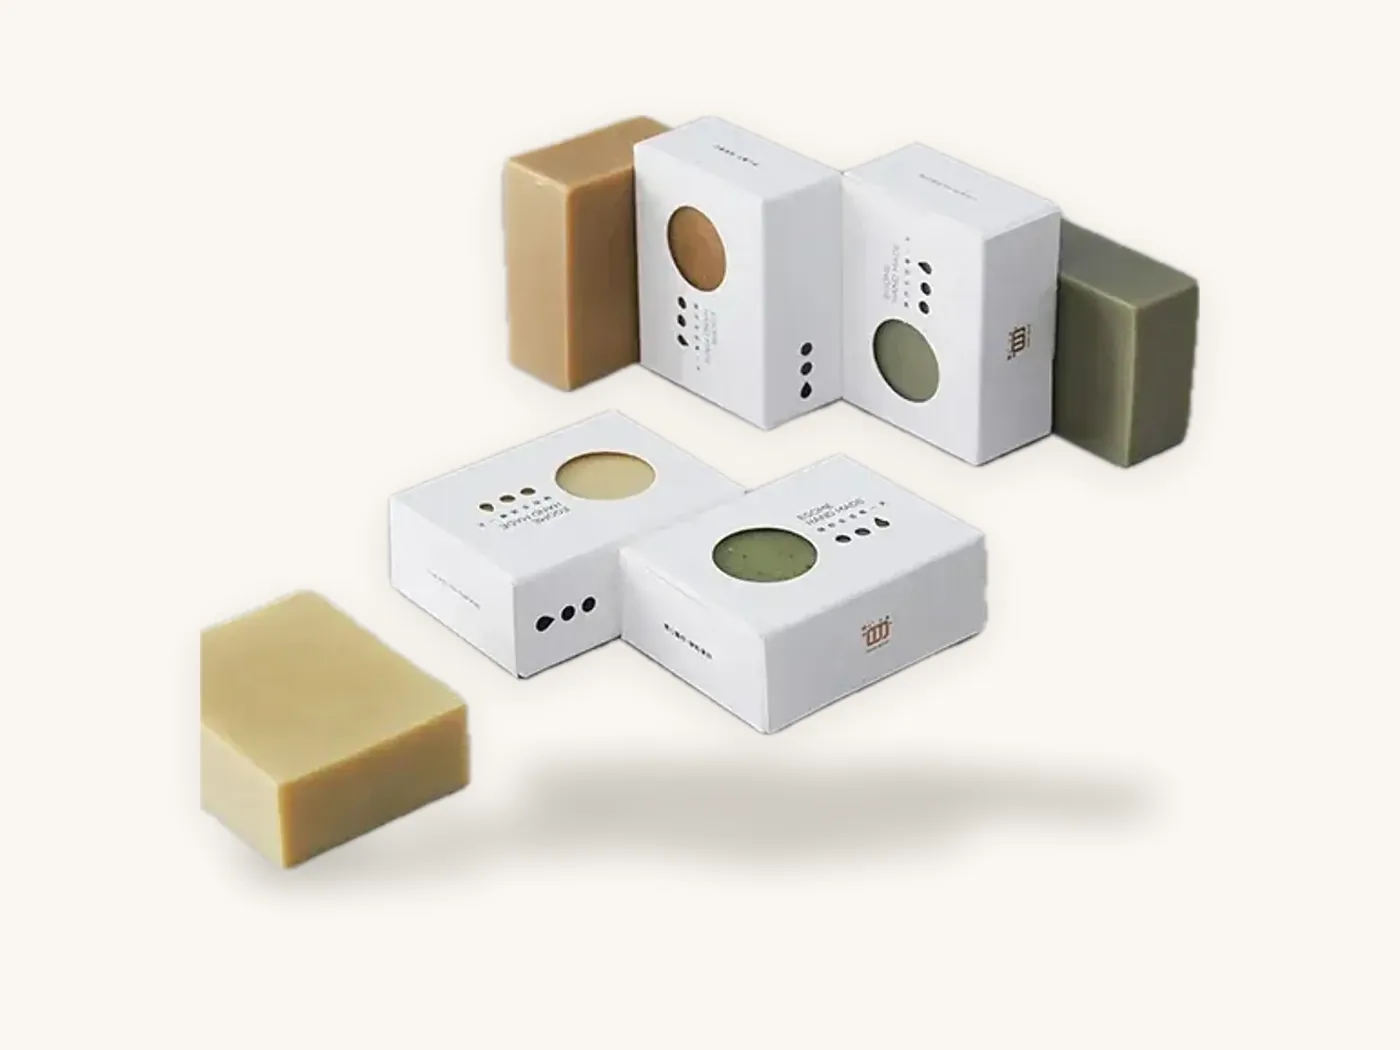
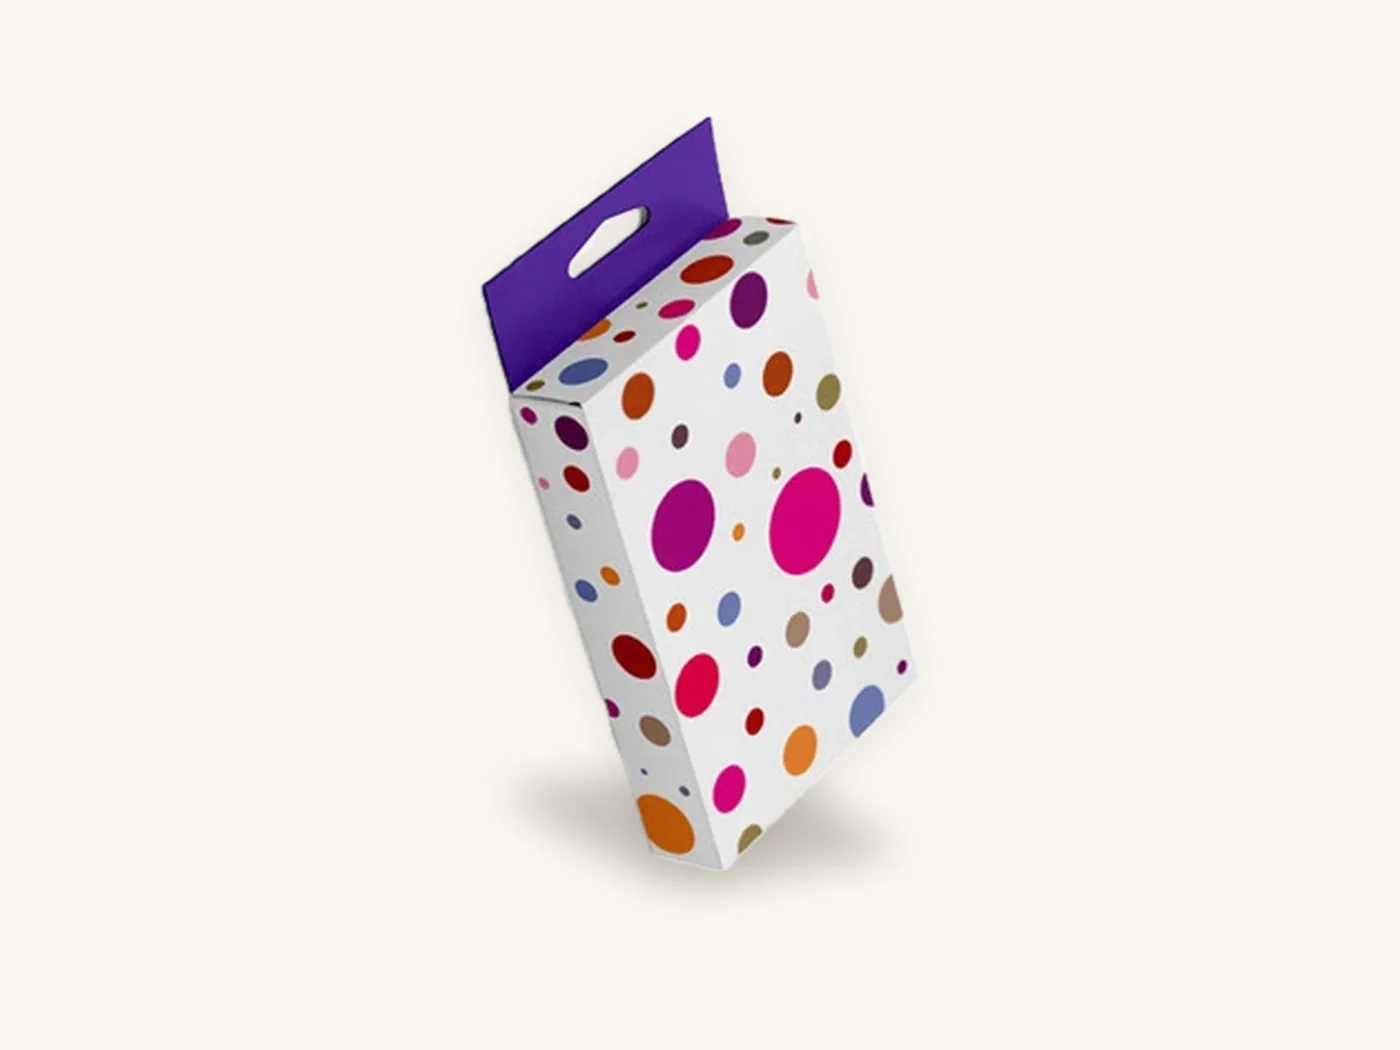
A cardboard floor display is a free-standing corrugated fixture, usually 4 to 6 feet tall, that holds product on tiered shelves, pegs or an open bin and stands on the sales floor away from the regular shelf. Brands use them for launches, seasonal promotions and secondary placement, because a floor display stand puts a product in the aisle where shoppers walk rather than in the slot where they already know to look.
The hard part is not the printing. It is designing a structure that carries real product weight for weeks, fits the retailer's footprint rules, ships without crushing and can be assembled by a store associate in a few minutes with no tools. This guide covers each of those problems in the order you will face them, from choosing a stand type to rolling it out across stores.
Key takeaways
- Pick the display type from the placement you have negotiated: tiered shelf stands for open floor, sidekicks for endcap sides, dump bins for impulse and bulk items, pallet displays for club and warehouse stores.
- Get the retailer's point-of-purchase (POP) guidelines before design starts; footprint, height, shelf load and fire or safety rules vary by chain.
- Corrugated displays are usually built from a printed face sheet laminated to B-flute or C-flute, with double-wall board in the base and shelves that carry the most weight.
- Design every shelf for the fully loaded product weight plus a safety margin, and test a fully stocked prototype for several days before approving production.
- Decide early whether displays ship flat for in-store assembly or pre-packed with product; it changes the structure, the shipper and your freight cost.
- Box Sense builds corrugated displays from a minimum of 10 units, which suits pilot programs, with free structural samples and standard production of 8–12 business days after proof approval.
Where a floor display stand earns its place
A floor display is a temporary fixture. Most programs run for a promotion window of a few weeks to a few months, then the unit is broken down and recycled. That short life is exactly why corrugated is the default material: it is light, printable edge to edge, cheap enough to discard and strong enough when engineered well.
A floor display is the right tool when you have secured incremental floor space, when a product needs explanation that a shelf tag cannot give, or when you are introducing a new line and want it grouped in one place. It is the wrong tool when you have not negotiated placement.
Floor displays compared with counter displays and bins
If the product is small, inexpensive and bought on impulse at checkout, a counter display box is usually the better starting point. It holds roughly 6 to 48 units, sits next to the register and costs a fraction of a floor unit. Our custom display boxes guide covers counter units in depth.
For bulk stock that does not need a branded tower, cardboard bin boxes give an open-front container that works on shelving or on the floor. Floor stands sit above both: more capacity, more graphics, more engineering.
Types of corrugated displays for the sales floor
The terms below are used loosely across the industry, so confirm what a retailer or broker means before quoting. The display boxes style page shows the structures we make.
| Display type | Typical placement | How product sits | Best for | Main constraint |
|---|---|---|---|---|
| Tiered shelf stand | Open floor, aisle end, lobby | 3 to 5 shelves, often angled forward | Boxed goods, bottles, books, snacks | Shelf strength and depth |
| Four-sided tower | Center aisle, high traffic | Shelves or pockets on every face | Multi-SKU ranges, gift items | Stability and shopper reach |
| Sidekick | Attached to the side of an endcap | Shallow shelves or peg hooks | Add-on items near a related product | Very narrow depth, mounting method |
| Dump bin | Floor or pallet | Loose product in an open tub | Plush toys, balls, candy bags, impulse items | Bulging walls under load |
| Peg-hook stand | Open floor or wall | Hooks through a corrugated back panel | Carded or bagged items | Hook pull-out strength |
| Pallet display (quarter, half, full) | Club and warehouse stores | Product stacked in trays on a pallet base | High volume, bulk packs | Pallet dimensions and forklift access |
Tiered shelf stands
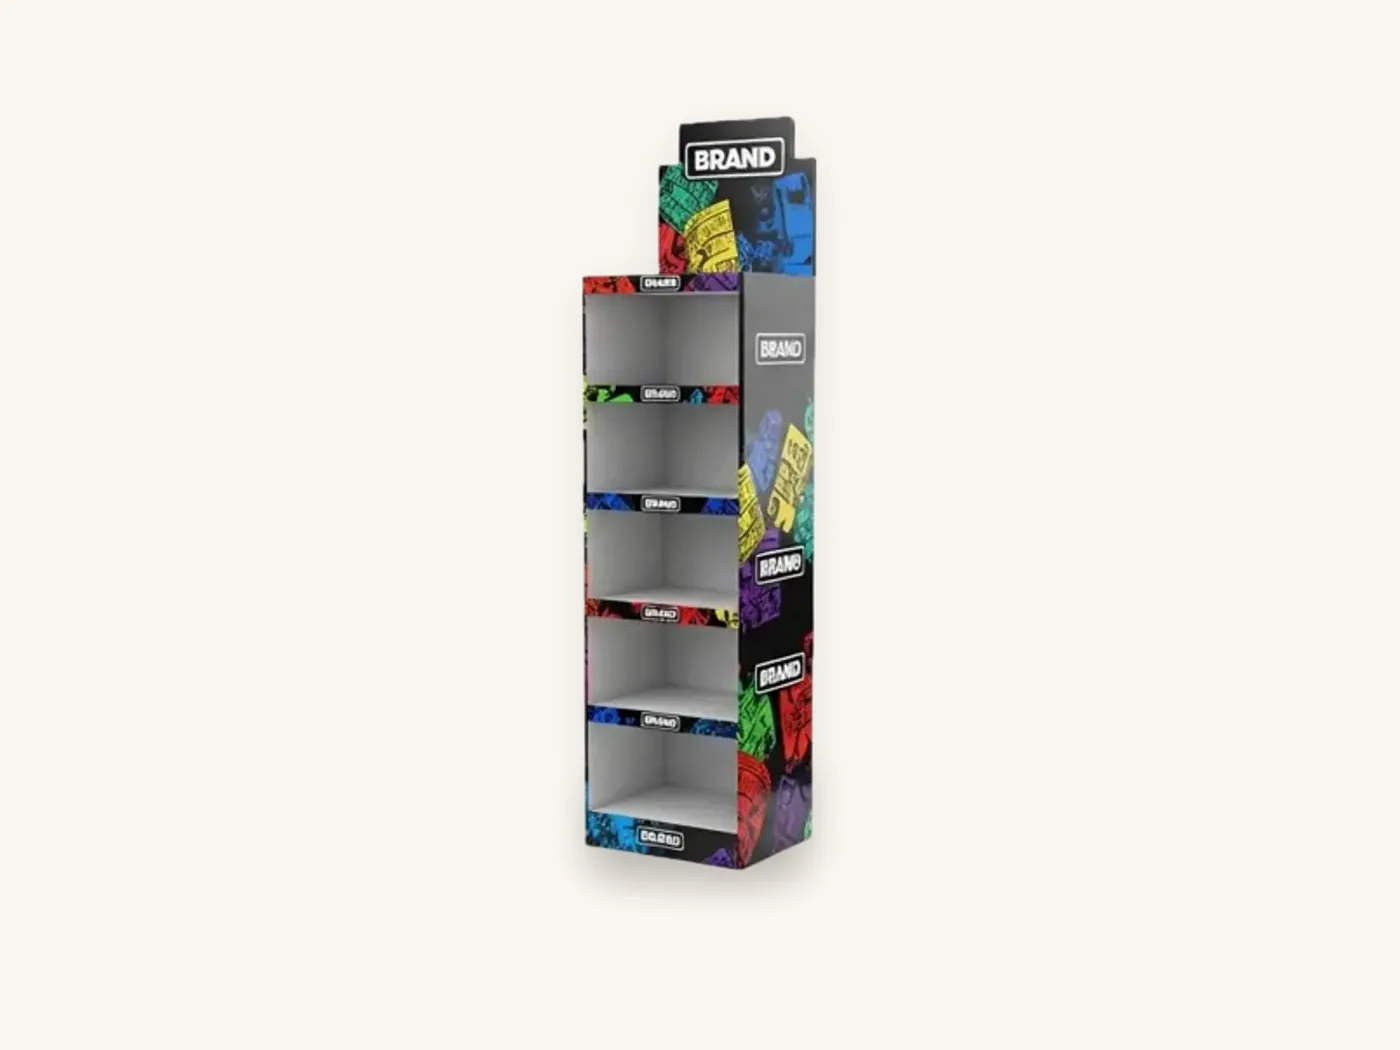
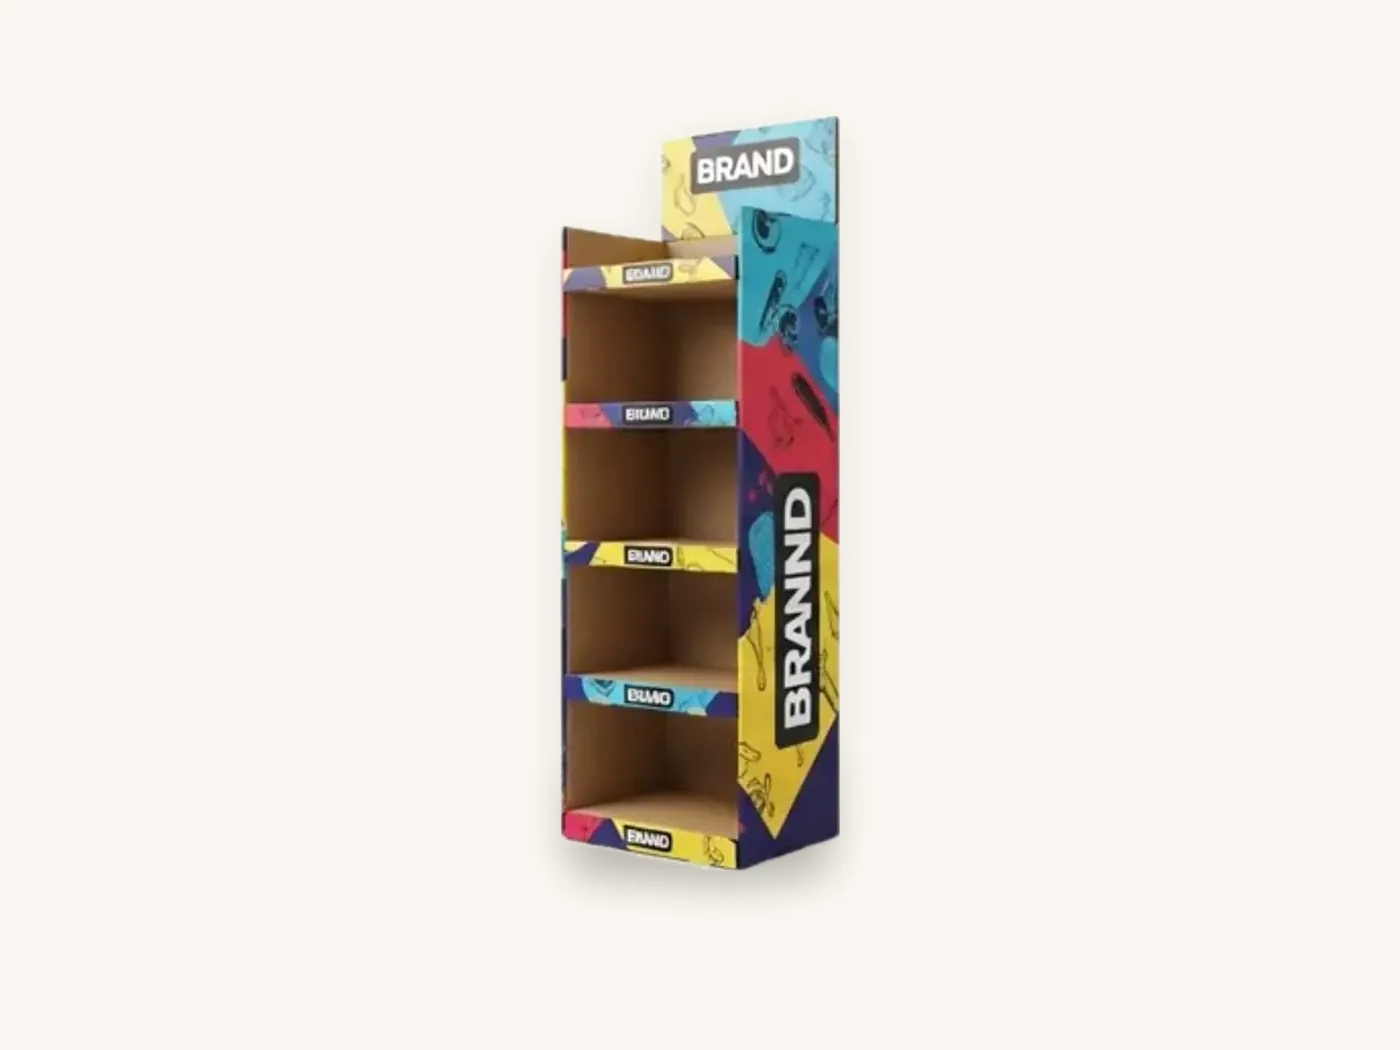
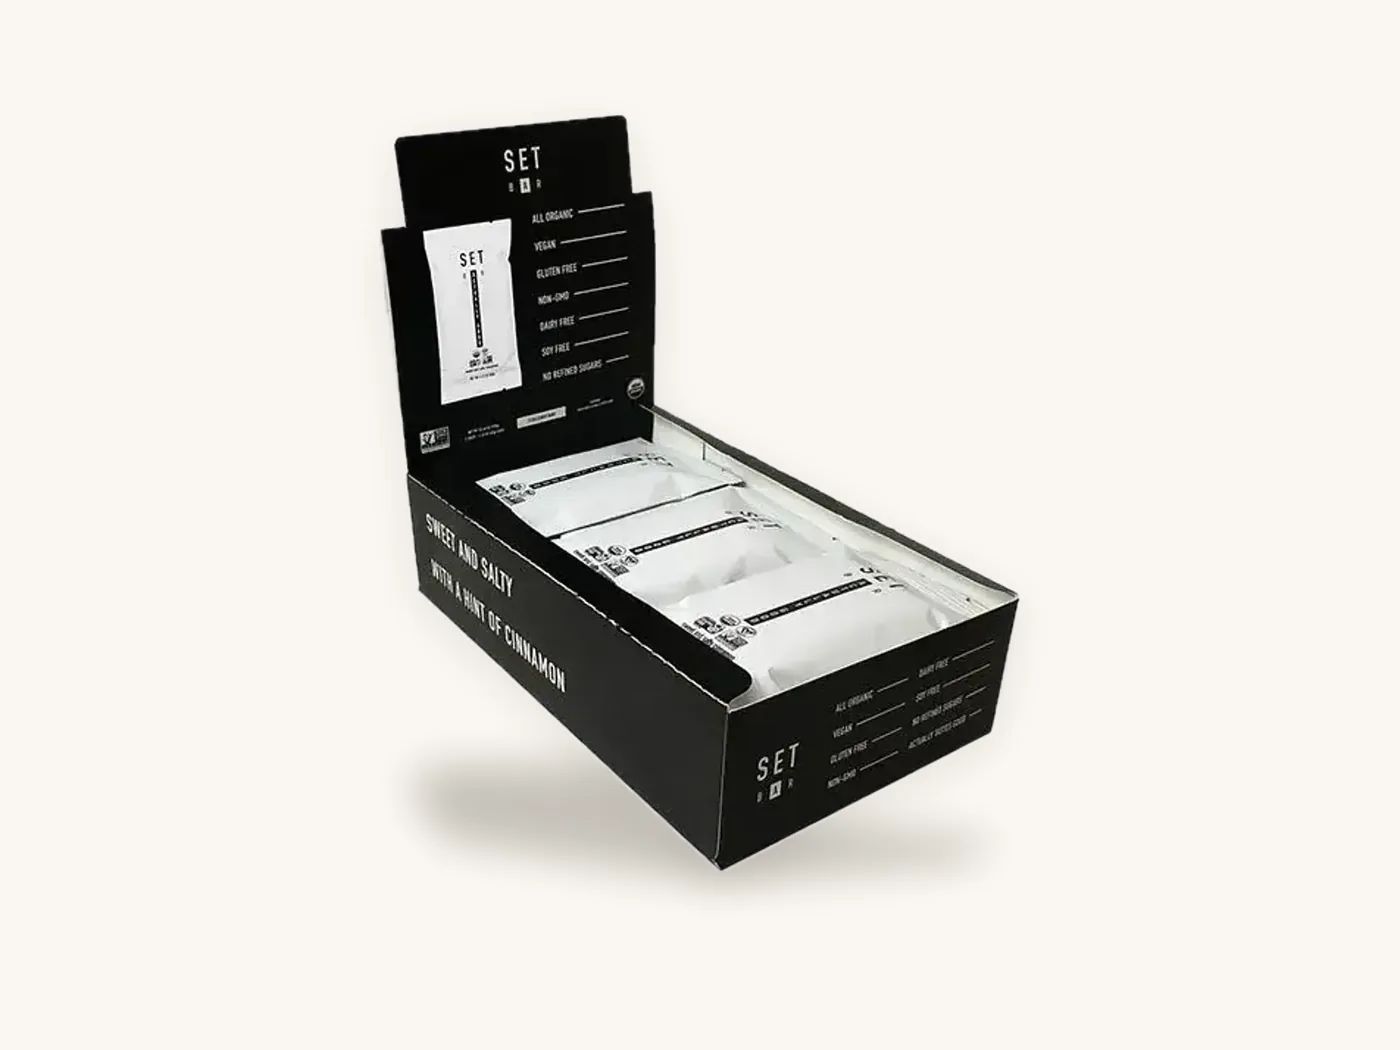
This is the stand most people picture: a back panel, two side walls, several shelves and a die-cut header on top. Shelves are usually folded trays that lock into slots in the side walls. Angling each shelf slightly forward helps shoppers see the front facing, and a lip on the front edge stops product sliding off.
Sidekicks and peg-hook units
Sidekicks hang from the side of a metal endcap or stand beside it, so depth is often only a few inches. Carded products on hooks fit this format well. If your product ships in a blister or a hang-tab carton, our hang tab boxes guide explains how to size the hole and tab so it pairs cleanly with peg displays. Poly-bagged items can use printed header cards instead.
Dump bins and pallet displays
Dump bins trade presentation for speed: stores fill them and shoppers dig. Their walls need reinforcement at the corners, because loose product pushes outward rather than down.
Pallet displays sit on a standard pallet so a forklift can move a pre-loaded unit straight from truck to floor. In the US the common base is a 48 x 40 in pallet, with half pallets around 48 x 20 in or 24 x 40 in and quarter pallets around 24 x 20 in. Always confirm the exact footprint the retailer specifies.
Sizing a cardboard floor display: footprint, height and capacity
Size is set from the outside in. The store gives you a footprint and a height limit; the product decides how many shelves fit inside that envelope and how many units each shelf holds.
Start with the retailer envelope
Ask for the maximum width, depth and overall height, including the header. Many programs land somewhere around 12 to 24 in wide and 48 to 72 in tall, but that is a range to sanity-check against, not a rule. Height matters for two reasons: shopper reach, and sight lines for store staff and security cameras, which some chains restrict.
Then work out shelves and facings
- Measure the packed product. Use the retail carton or bag, not the bare item. Record length, width, height and weight per unit.
- Set shelf depth. Divide the usable depth by the product depth to find how many units sit behind each facing. Two to four deep is common; deeper shelves are harder to shop and heavier to support.
- Set shelf height. Add clearance above the tallest item so a shopper's hand fits, typically an inch or two.
- Count facings. Divide the internal width by the product width, leaving a little side clearance.
- Total the load per shelf. Units per shelf multiplied by unit weight. This number drives the board grade and shelf design.
- Check the base. The bottom shelf should sit several inches off the floor so mop water and cart bumps do not reach product, and the base should be heavier board than the shelves above it.
- Add the header. Header height counts toward the overall limit and should not make the unit top-heavy.
Say you sell a boxed toy that measures 6 x 3 x 9 in and weighs 1 lb. A 22 in wide shelf holds three facings, and a 12 in deep shelf holds four units behind each, so twelve units and about 12 lb per shelf. Four shelves hold 48 units and nearly 50 lb in total. That load is manageable in corrugated, but it rules out a thin single-wall shelf with no support underneath.
Watch out: a display that looks fine empty can bow within days once stocked. Corrugated slowly loses stiffness under constant load, especially in humid stores. Always test a fully stocked prototype for several days, not a quick fit check.
Materials and structure: what makes a corrugated display strong
Corrugated board is a fluted medium between two liners. For displays, the choice of flute and wall construction sets shelf strength, and the face sheet sets print quality. Our corrugated board page lists the grades we run, and the corrugated flutes explained guide compares them in detail.
| Component | Common board | Why |
|---|---|---|
| Printed outer panels and header | Printed liner laminated to E-flute or B-flute | Smooth face for sharp graphics, stiff enough to stand |
| Side walls and back panel | B-flute or C-flute single wall | Carries vertical load down to the base |
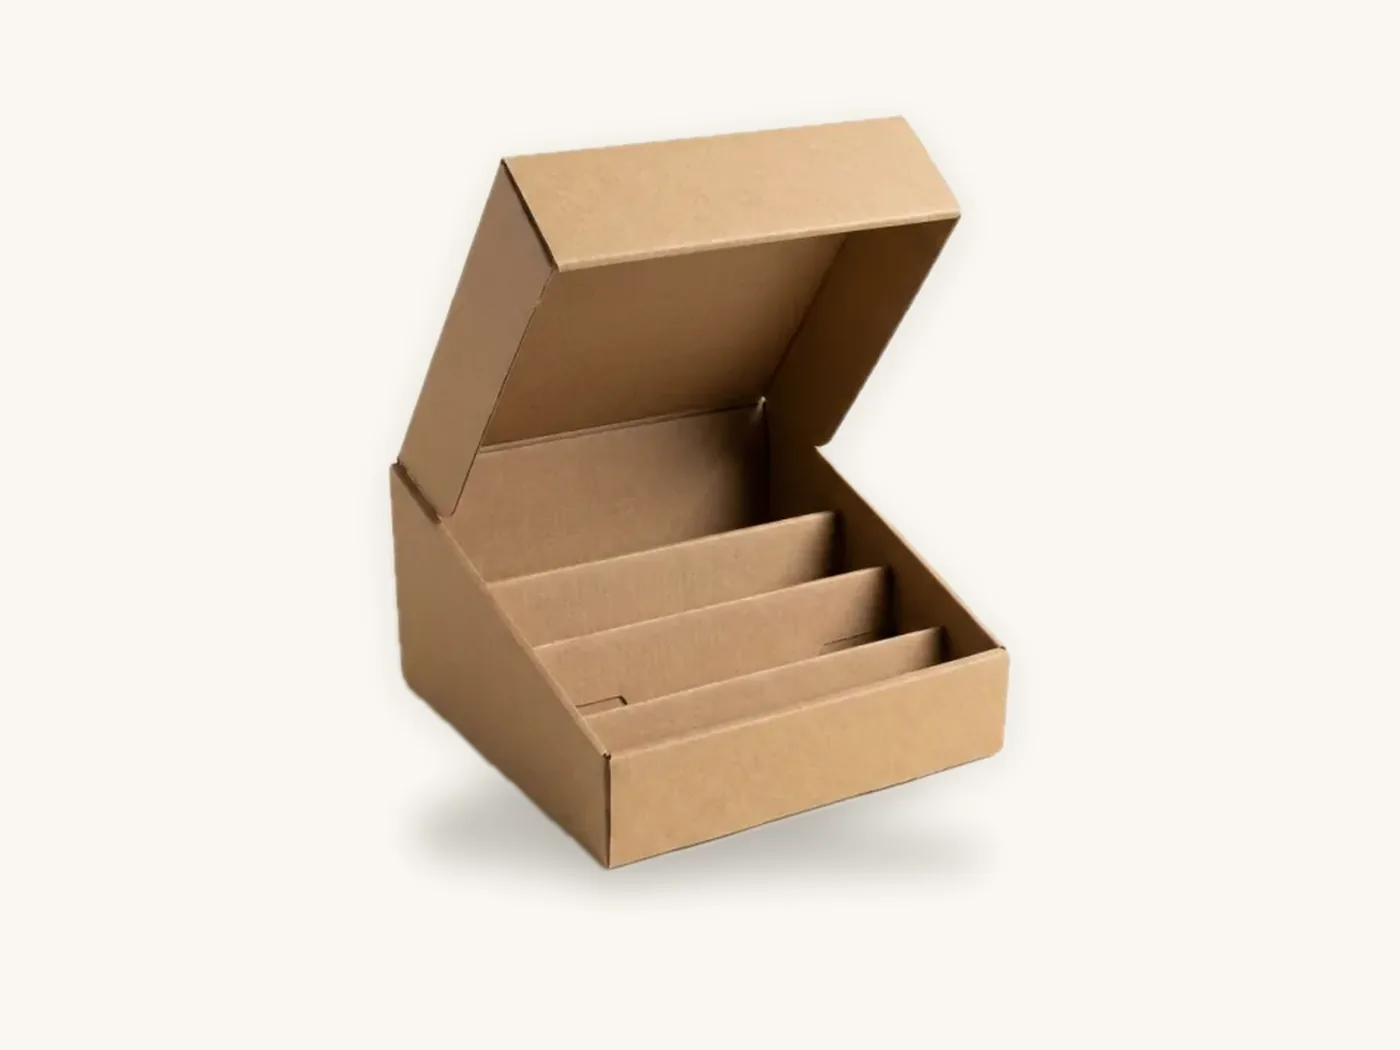
| Shelves | B-flute or C-flute, folded into a tray with a front lip | Folded edges act as beams and resist sagging |
| Shelf supports and risers | Double-wall BC flute or folded corrugated inserts | Stops sag under heavy loads |
| Base | Double-wall BC flute, sometimes with an internal cross brace | Takes the whole weight and the knocks from carts |
| Dump bin walls | Double-wall with reinforced corners | Resists outward pressure from loose product |
Folds do more work than thickness
A flat piece of board sags. The same board folded into a U-shaped shelf with a front lip and a rear flange is many times stiffer, because the folds act like beams. Good display engineering is mostly about where the folds go, where the load transfers into the side walls, and whether there is a hidden support under the middle of each shelf.
Printing and finish
For short pilot runs, digital printing onto the board keeps graphics sharp without plates. For larger rollouts, an offset-printed face sheet laminated to corrugated gives the most consistent color across hundreds of units. An aqueous coating or matte lamination resists scuffs from shoppers and carts. See printing and finishes for samples of each option.
Designing graphics that work from across the aisle
A floor display is read at three distances. Your graphics should give each distance one job, and not try to say everything everywhere.
The three reading distances
- From across the store (20 ft or more): brand mark and one bold visual in the header. Nothing else registers at this distance.
- From the aisle (5 to 10 ft): the offer or the reason to stop, such as a new flavor, a gift idea or a seasonal theme. Short, large type.
- At arm's length: product benefits, price-point messaging if the retailer allows it, and a QR code if you use one. This lives on the side panels and shelf lips.
Header and side panels
The header is a die-cut card that slots into the top of the back panel. Custom outlines, such as a character shape or a product silhouette, are made with a cutting die, and our die cut boxes guide explains how die-cut shapes are specified. Keep the header shallow enough that the stand is not top-heavy.
Side panels are often the most visible surface as shoppers walk down an aisle, so put the brand and core message there too. Keep shelf lips low enough that front facings stay visible, and leave room for any retailer price strips.
Retailer requirements and approvals
Every chain runs its own POP program. Some accept almost any clean corrugated display, others publish detailed manuals covering footprint, height, material, load testing and labeling. Treat the retailer's manual as the spec, and treat this section as the list of questions to ask.
Questions to ask your buyer or broker
- Maximum footprint and height, including the header
- Whether the display ships pre-packed or flat, and how it will arrive at stores (distribution center or direct)
- Required display ID, item numbers or barcodes on the shipper and the display itself
- Maximum weight per shelf and per unit, and any testing evidence the retailer wants
- Restrictions on hooks, sharp edges, overhangs or protrusions into the aisle
- Whether assembly instructions must be printed on the shipper or included as a card
- How long the display is expected to stay on the floor
- Recycling or material rules for disposal after the program
Safety and stability
A tall corrugated unit can tip if the load sits high or a shopper pulls on an upper shelf. Keep heavier items on lower shelves, widen the base or add an internal weight tray when the design is tall and narrow, and avoid sharp corners at child height. Retailers may have their own stability requirements, so confirm them in writing before you finalize the structure.
Shipping a floor display: flat-packed or pre-packed
This decision affects structure, cost and store labor, so make it before the dieline is drawn.
| Ships flat (knocked down) | Ships pre-packed (loaded) | |
|---|---|---|
| Who assembles | Store associate or merchandiser | Your warehouse or co-packer |
| Freight | Compact, cheaper to move and store | Bulky, higher freight cost per unit |
| Store labor | Several minutes to assemble and stock | Remove the shipper and place on the floor |
| Structure | Must go together without tools or tape | Can use glue and fixed parts |
| Risk | Incorrect assembly, missing parts | Transit damage to product and display together |
| Best for | Pilot programs, broad rollouts, lighter items | Club stores, pallet displays, large programs with store-labor limits |
Designing for easy assembly
If stores assemble the unit, every step must be obvious. Number the parts, print arrows and "this side up" marks on unprinted inner surfaces, and design locking tabs that only fit one way. Include a one-page illustrated instruction card in the shipper. The goal is a unit that a new associate can build correctly in a few minutes.
The shipper
Flat displays travel in a corrugated shipper sized to the flat pieces. Pre-packed displays usually travel in a full-height outer carton or a pallet wrap with corner boards. Our custom shipping boxes guide covers board strength and sizing for outer cartons, and custom shipping boxes can be printed with display ID and assembly details.
Tip: photograph your fully stocked prototype from the front, side and three-quarter angle, and put those photos on the instruction card. A picture of the finished unit prevents more assembly mistakes than any written step.
Planning a retail rollout: pilot, measure, scale
Floor displays are rarely right the first time. The smart path is to build a handful, put them in a few stores, and fix what you learn before ordering hundreds.
A rollout process that limits risk
- Confirm the placement and the brief. Retailer, store count, footprint, program length, SKUs and target units per display.
- Build a structural sample. Unprinted, fully stocked, left loaded for several days. Check shelf sag, base stability and assembly time.
- Finalize graphics on the approved structure. Artwork goes on the final dieline, not an early draft.
- Produce a pilot batch. Ten to a few dozen units for a small number of stores or a trade show. A low minimum makes this practical.
- Visit the pilot stores. Photograph how the displays were assembled and placed, what sold through and what was damaged. Talk to store staff if you can.
- Revise. Common fixes include a stronger bottom shelf, clearer assembly marks, a shorter header or better shelf lips.
- Order the rollout quantity. Include spares for damaged or lost units and time for distribution.
- Plan the reset. Decide what happens at the end of the program: replacement graphics, a refill kit, or breakdown and recycling.
Cost drivers for floor displays
Floor stand pricing depends heavily on the structure, so we quote each design rather than list a single price. The main drivers are overall size and board used, the number of shelves and supports, double-wall components, print coverage and finish, assembly (flat versus glued), inserts or hooks, and the quantity ordered. Use the instant price estimator for standard display styles and request a quote for a custom stand.
For comparison, a simpler counter unit is far cheaper: a 10x8x6 in E-flute counter display printed full color is about $5.08 each at 100 units and about $2.26 at 1,000. If budget is tight, a counter display plus a shelf-edge header can be a practical first test before committing to floor units.
How to order a cardboard floor display from Box Sense
We make floor display stands in our own facility, from structural design through printing, die-cutting and gluing. You can send a rough brief and our structural team will turn it into a workable design.
What to include in your brief
- Product dimensions, weight and packaging type (carton, bag, carded, loose)
- Number of SKUs and how you want them grouped
- Retailer footprint and height limits, or a note that you need a recommendation
- Display type: shelf stand, tower, sidekick, dump bin or pallet
- Ship flat or pre-packed, and the number of stores
- Artwork status, or a request for help from our design services team
- Quantities to price, for example a pilot batch and a rollout quantity
- Target in-store date and delivery addresses
What happens next
- Quote within 24 hours. We confirm pricing for your structure and quantities.
- Dieline and 3D proof. Free design support includes the dieline, artwork setup and a 3D digital proof, with two revision rounds.
- Structural sample. Unprinted structural samples are free, so you can load and test the stand before printing. Printed samples of approved artwork are free on orders of 100 or more. See samples.
- Production. Standard production takes 8–12 business days after proof approval. Rush production in 5 business days is available on most corrugated styles; confirm it for large custom stands.
- Delivery. Shipping is free on every US order, and international shipping is quoted at cost.
The minimum order is 10 units, with no die or plate charges. Defective units reported within 14 days are reprinted free. Displays for retail and consumer goods, toys and games and food and beverage brands are the most common programs we build.
Frequently asked questions
How much weight can a cardboard floor display hold?
It depends on the board grade, shelf design and supports. A well-engineered corrugated stand with folded shelves and double-wall base can carry a substantial load, and many hold dozens of pounds in total. Design each shelf for its fully loaded weight plus a margin, keep heavy items low, and test a stocked prototype for several days, since corrugated can slowly lose stiffness under constant load.
How long does a corrugated display last in a store?
Corrugated displays are built as temporary fixtures, and most programs run for a few weeks to a few months. Lifespan depends on how heavily the unit is shopped, humidity, cart traffic and mopping near the base. A raised bottom shelf, a double-wall base and a scuff-resistant coating extend useful life. For year-round placement, plan replacement units or refreshed graphics.
What is the difference between a floor display and a counter display?
A floor display stands on the sales floor, is usually 4 to 6 feet tall and holds a large quantity on several shelves, hooks or a bin. A counter display sits on a counter or shelf near checkout and typically holds roughly 6 to 48 small units. Floor displays need more engineering and freight; counter displays are cheaper and easier to place.
Do cardboard display stands ship assembled?
They can ship either way. Most ship flat in a corrugated shipper and are assembled in store without tools, which keeps freight low. Pre-packed displays arrive assembled and loaded with product, which saves store labor but costs more to ship. Club stores and pallet programs often prefer pre-packed units. Confirm the retailer's preference before designing the structure.
Can I order a small number of floor displays for a pilot?
Yes. Box Sense produces displays from a minimum of 10 units, which suits pilot programs in a few stores, trade shows or retailer presentations. A small first batch lets you check assembly, stability and sell-through before a larger rollout. Unprinted structural samples are free, so you can test the stand fully loaded before approving printed production.
Are corrugated displays recyclable?
Corrugated displays are generally accepted in cardboard recycling streams once product, hooks and any plastic parts are removed. Choosing aqueous coating over plastic lamination, paper-based shelf strips and no metal fasteners keeps breakdown simple for stores. FSC-certified board and soy or water-based inks are available. Check local recycling rules before printing any recyclability claim on the display.
Next steps
Gather your product dimensions, weights, SKU count and the retailer's footprint limits, then check standard display pricing with our price estimator. When you are ready to build a stand, request a floor display quote and we will confirm pricing within 24 hours, draw the structure and send a free unprinted sample for load testing. You can also browse our floor display stands for structure ideas.
Boxes in this guide
Order the packaging we covered
Written by the Box Sense Packaging Team
Our structural designers, prepress technicians and production staff print and convert custom boxes every day for brands in the United States, United Kingdom and UAE. Questions about this guide? Talk to us.