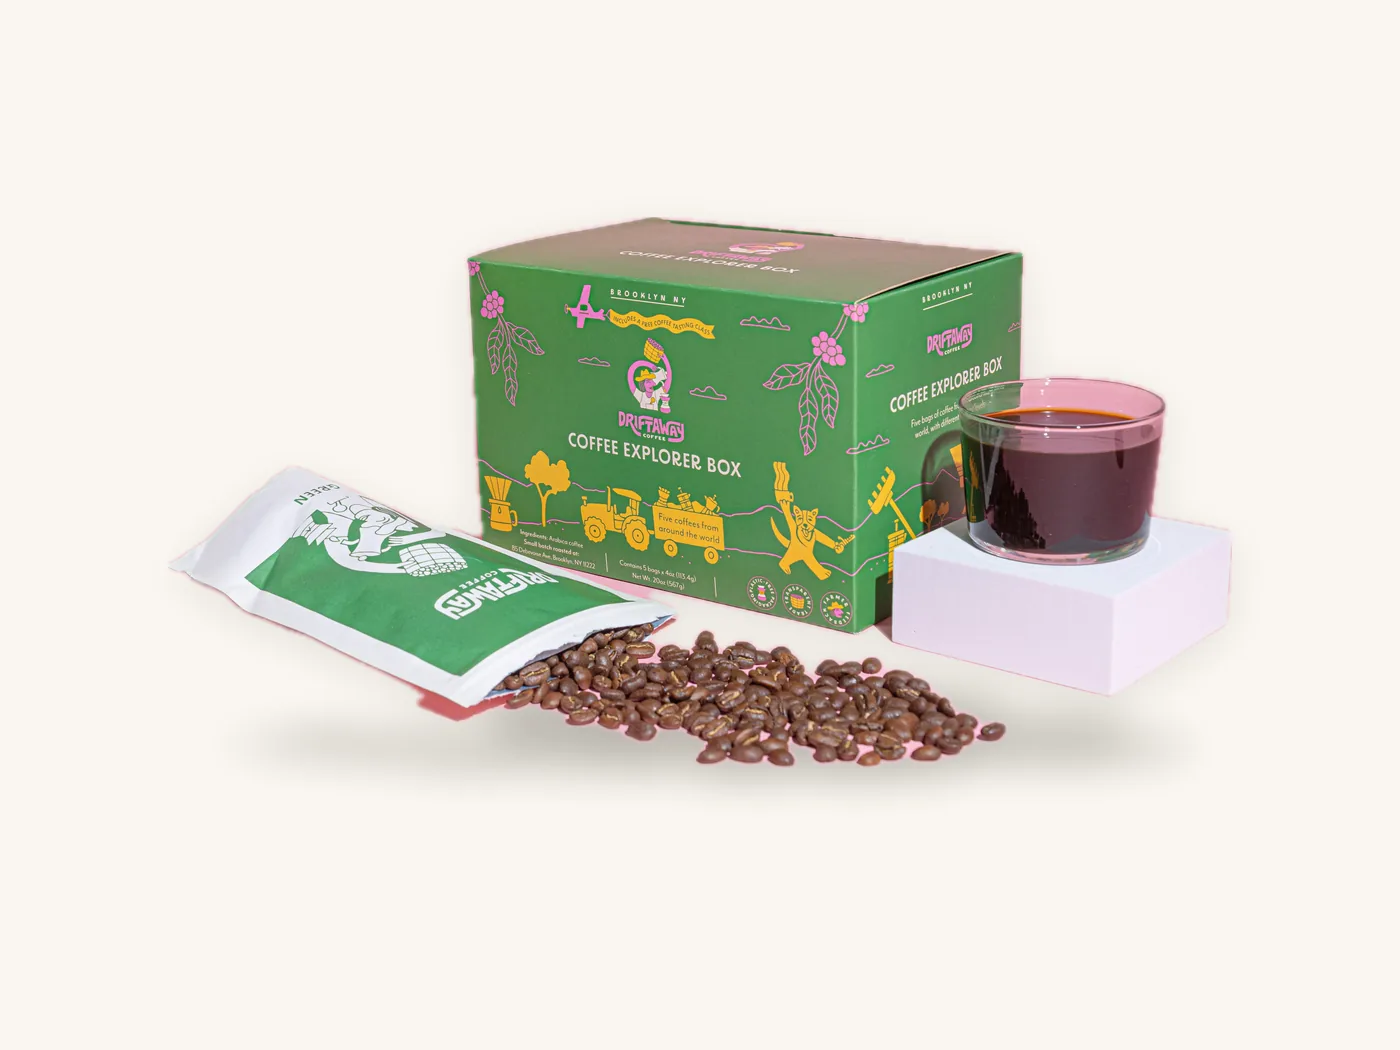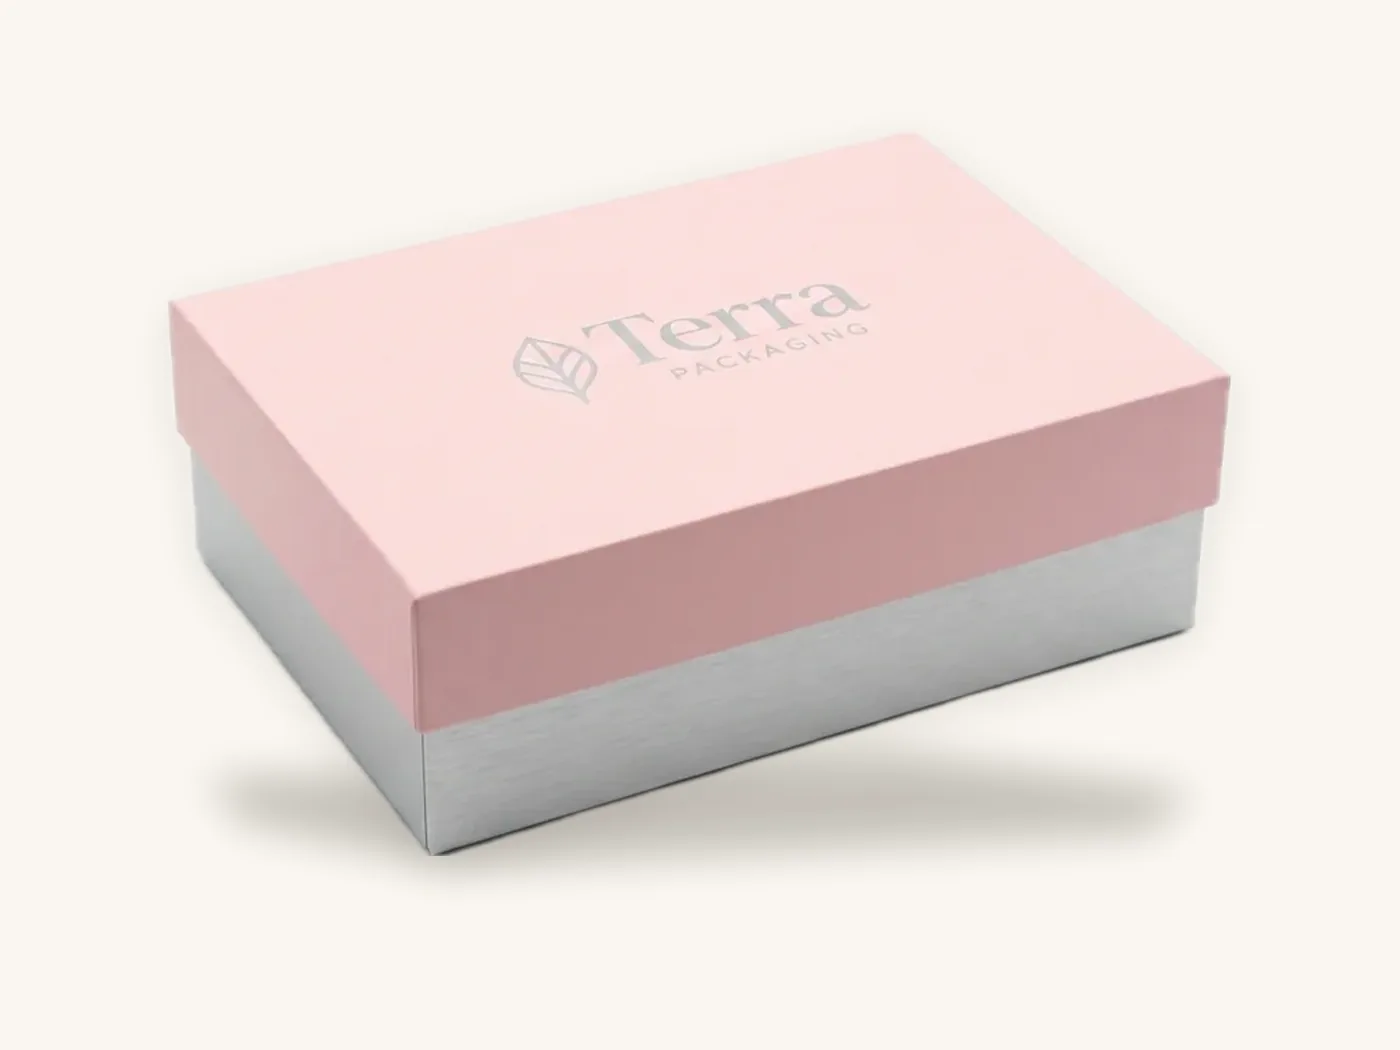
Custom packaging samples come in four main types, and each one answers a different question. A 3D digital proof checks the artwork layout, an unprinted structural sample checks size and fit, a printed prototype checks how the design looks and feels on real board, and a pre-production sample confirms that the production run will match what you approved.
Most packaging problems that reach customers could have been caught by the right sample at the right time. The trick is not to order every sample for every project, but to match the sample to the risk. This guide explains what each type proves, what it cannot prove, how to test box samples properly, and how sampling fits into a realistic ordering timeline.
Key takeaways
- 3D digital proofs confirm artwork placement and orientation, but not color accuracy, board feel or fit.
- Structural samples are unprinted boxes made to your dimensions. They are the cheapest way to prevent the most expensive mistake: the wrong size.
- Printed samples show real color, finish and texture, but a digitally printed sample can differ slightly from an offset production run.
- Pre-production samples matter most on large or repeat orders, where they become the reference standard for the whole run.
- Test samples with the real product, the real packing process and a real shipment, not just a visual check on a desk.
- At Box Sense, unprinted structural samples are free, and a printed sample of approved artwork is free on orders of 100 or more units.
The four sample types at a glance
Sample terminology varies between suppliers. Some say "mockup" for a digital render, others for a physical prototype. Before approving anything, ask exactly what the sample is, how it is made and what it is meant to prove.
| Sample type | What it is | What it proves | What it does not prove |
|---|---|---|---|
| 3D digital proof | An on-screen render of your artwork applied to the dieline | Artwork placement, panel orientation, text reading direction, overall look | Actual color, finish, board thickness, product fit |
| Structural sample | An unprinted box made to your dimensions and board grade | Size, fit, closure, insert layout, strength, packing speed | Print quality or color |
| Printed prototype | A printed and finished sample of your approved artwork | Color on real board, finishes, texture, readability, shelf presence | Exact production color if printed by a different method |
| Pre-production sample | A sample made with production materials and process before the full run | That production matches the approved spec | Much about design, which should already be final |
A fifth reference worth knowing is a retained production sample: a few boxes set aside from the finished run. It gives you and the manufacturer a physical standard for reorders and for resolving any quality question later.
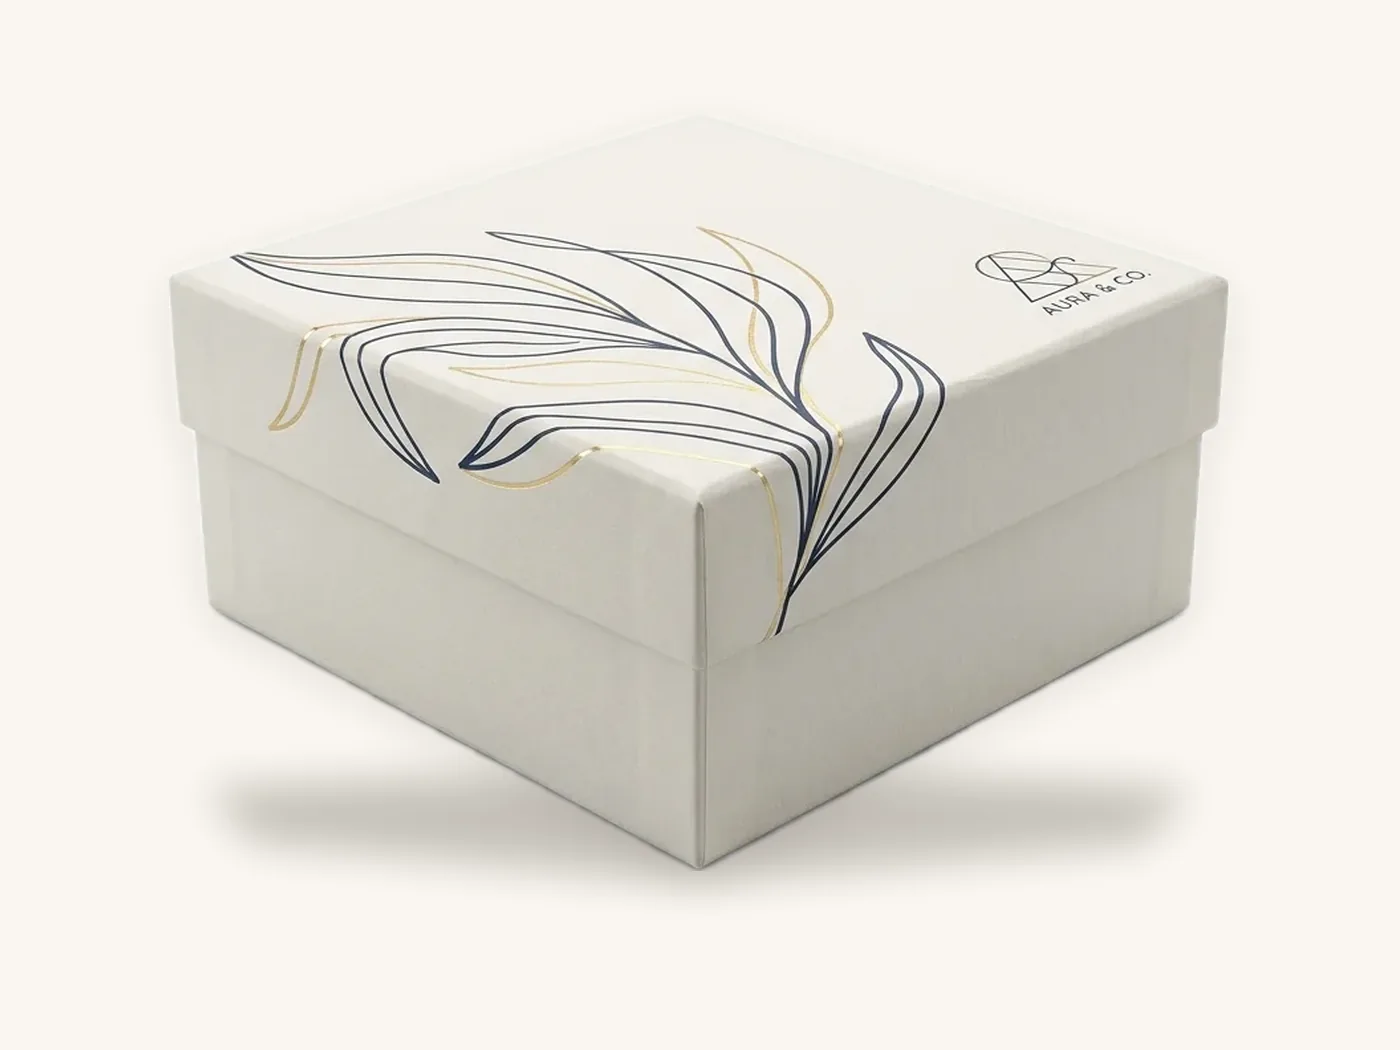
Why sampling pays for itself
Custom packaging is cut to a die and printed to a file. Once the run is produced, it cannot be adjusted. A sample costs little in time and money compared with a run of boxes that do not fit or do not look right.
The mistakes samples catch
| Problem | How it happens | Sample that catches it |
|---|---|---|
| Product does not fit | Measured the bare product, not the packed product | Structural sample |
| Box too loose, items rattle | Clearance added twice, or insert left out of sizing | Structural sample |
| Lid will not close flat | Depth did not allow for tissue, cards or insert platform | Structural sample |
| Text upside down on inside lid | Artwork placed without considering how the box opens | 3D digital proof |
| Brand color looks wrong | Screen color, CMYK conversion or board color not considered | Printed prototype |
| Kraft design looks muddy | Light colors printed without white ink underneath | Printed prototype |
| Finish scuffs or cracks at folds | Lamination or heavy ink coverage over tight creases | Printed prototype, then shipping test |
| Production differs from approved sample | Different materials or print process in the run | Pre-production sample |
Notice that the most common and most expensive failure, a box that does not fit, is caught by the cheapest sample. That is why a structural sample should be the default for any new size.
Structural samples: testing size, fit and strength
A structural sample is an unprinted box made from the same board grade and style you plan to order. It is sometimes called a blank or a white sample. Because it involves no printing, it can be made quickly and inexpensively, and it is the right first step for every new box size.
How to test a structural sample
Do not just drop the product in and nod. Run it through the steps your packaging will actually go through.
- Pack the real product. Use the actual item, not a similar one, with any pouch, wrap, tissue, card and insert you plan to include.
- Time the packing. Have the person who will pack orders assemble and fill ten boxes. Note any step that slows them down or needs two hands.
- Check the closure. Close the lid or flaps. It should close flat without force and without gaps.
- Shake it. Hold the closed box and shake it gently in each direction. Movement you can hear usually becomes damage in transit.
- Open it as a customer would. Note what the eye lands on first and whether the product lifts out easily.
- Drop it. From waist height onto a hard floor, drop the packed box on a face, an edge and a corner. Check the product and the box.
- Ship it. Send one packed sample through your real carrier to an address a few states away and inspect it on arrival.
- Record the result. Write down measurements, issues and requested changes before you forget them.
For formal pre-shipment testing standards, the ISTA drop testing guide explains how lab protocols work and when they are worth paying for.
Tip: photograph the sample at each step of your test, especially the closure and the opened box. Photos make revision requests clear and give you a record to compare with the production boxes later.
What to change after a structural sample
Common adjustments are small: an eighth of an inch added to depth, a slightly tighter insert cavity, a thicker board grade for a heavier item, or a different closure style. It is much easier to change dimensions at this stage than after artwork is built on the dieline, so finalize the structure before investing heavily in design.
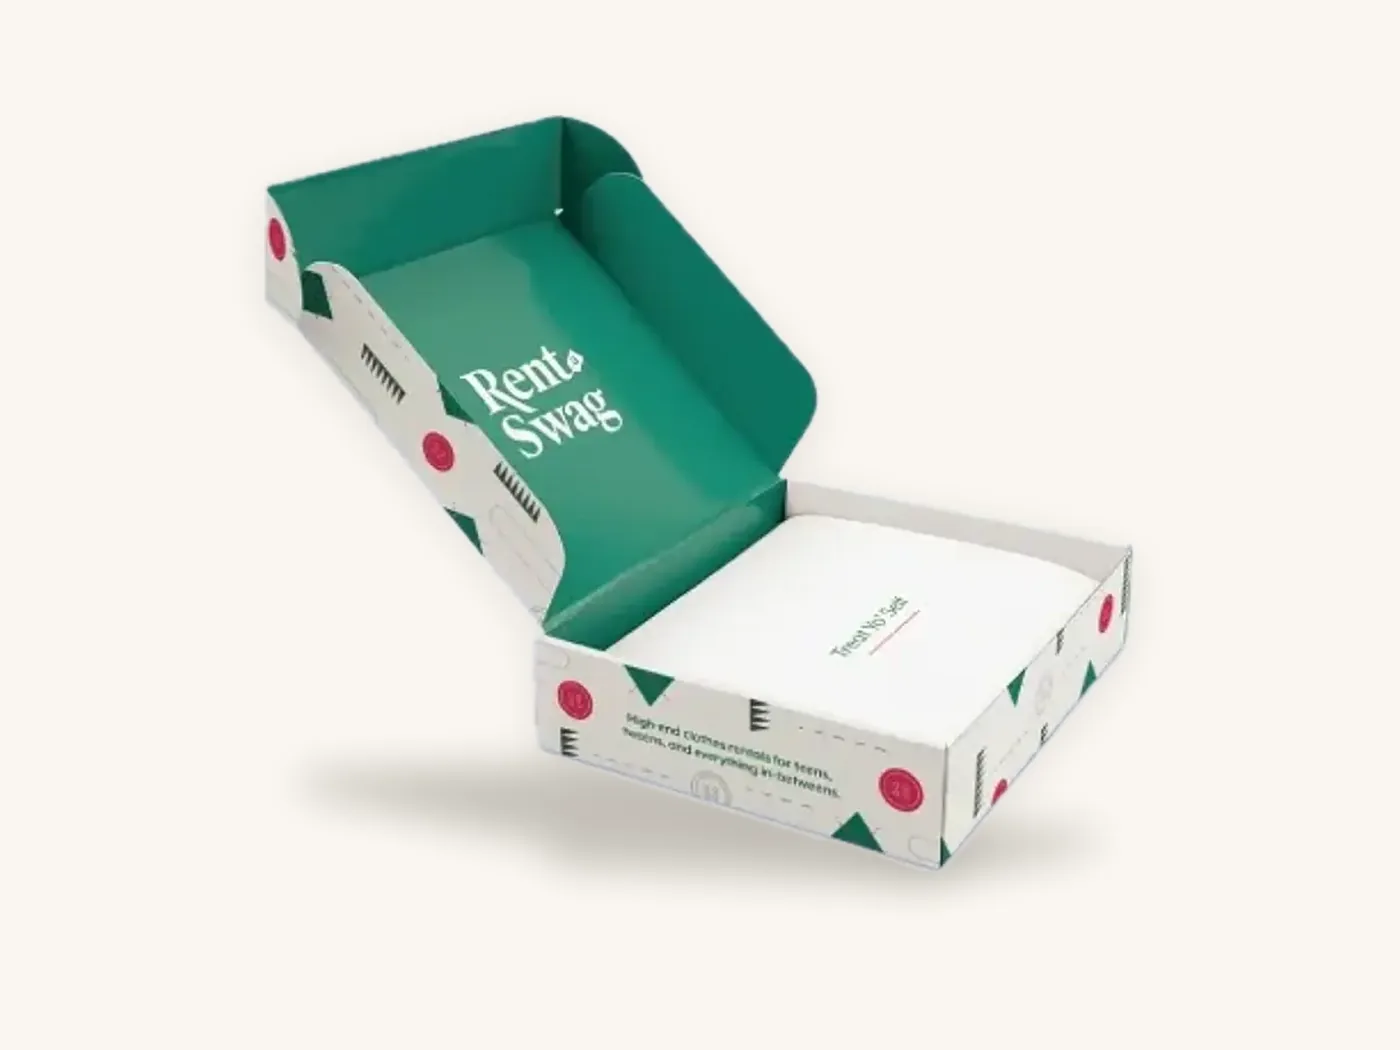
3D digital proofs: fast, free and limited
After the structure is confirmed, artwork goes onto the dieline and a 3D digital proof shows how it wraps around the box. This is the stage where layout mistakes are cheapest to fix.
What to check on a 3D proof
- Every panel is in the right place and faces the right direction when the box is assembled
- Inside-lid artwork reads the right way up when the box is opened
- Logos and text are not cut off by folds, tucks or glue flaps
- Barcodes, ingredient panels and required text sit on flat, visible panels
- Background colors extend past the cut lines as bleed
- Foil, spot UV or embossing areas are marked on the intended elements
What a 3D proof cannot show
A screen emits light, while a printed box reflects it, so on-screen color is always an approximation. The proof also cannot show board texture, how a kraft liner changes ink, the weight of a rigid box or the feel of soft-touch lamination. If any of those matter to the decision, move to a printed sample. The packaging mockups and 3D proofs guide goes deeper on getting value from digital proofs.
Printed samples: color, finish and feel
A printed prototype is your artwork printed on the real board, finished and assembled. It is the closest you can get to holding the final product before production.
When a printed sample is worth it
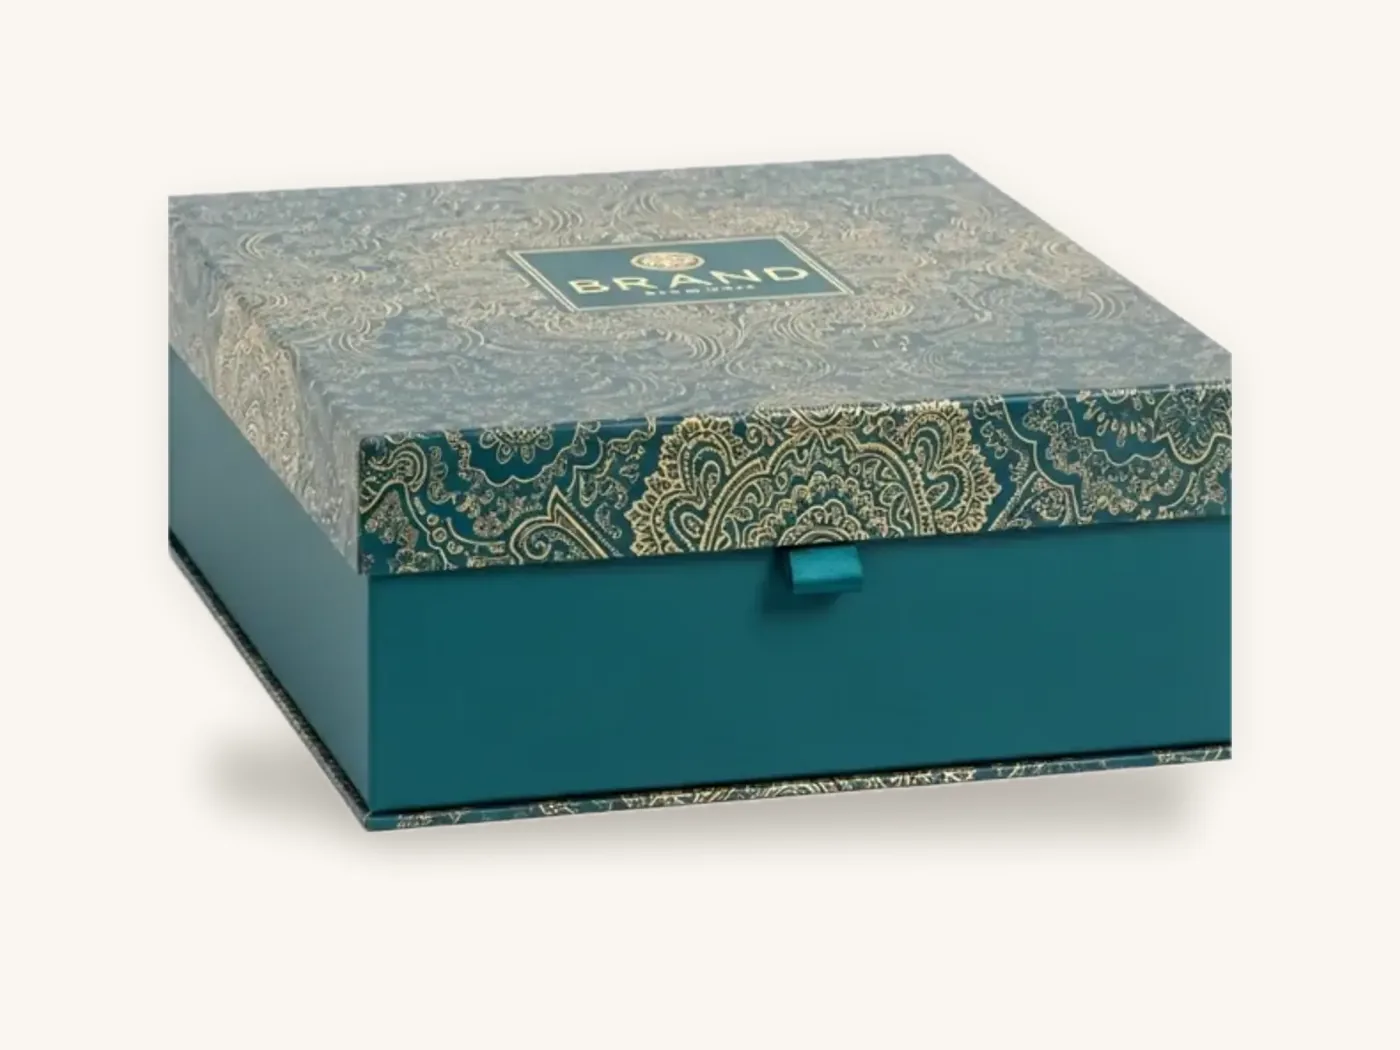
Order a printed sample when color accuracy is central to your brand, when you are using a finish you have not seen before, such as soft-touch lamination, foil on kraft or spot UV, when the box will be photographed for launch, or when a retailer or investor needs to approve the packaging.
Understanding color on a printed sample
Several factors change how your colors look on the box:
- Board color. White SBS or white-lined corrugated gives the brightest color. Kraft darkens and warms every ink unless white ink is printed first.
- Coating and lamination. Gloss deepens and saturates color; matte and soft-touch soften it slightly.
- CMYK versus spot color. Some brand colors, especially bright oranges, greens and blues, cannot be reproduced exactly in CMYK. A PMS spot color gives a closer match. See CMYK versus Pantone for packaging.
- Print method. Short runs and samples are often printed digitally; larger runs move to offset. The two can differ slightly in color and fine detail.
Because of that last point, ask your supplier how the sample will be printed compared with the production run. When exact matching matters, name PMS colors and treat the approved sample as a target within normal print tolerances, which the packaging print tolerances guide explains.
Watch out: judge printed samples under consistent, neutral light, ideally daylight near a window, not under warm office bulbs or on a phone screen. Compare against a physical color reference, such as a printed Pantone guide or a previous box, rather than your monitor.
Pre-production samples for larger runs
A pre-production sample is made after design approval, using the materials and process planned for the production run. Its job is confirmation, not design. You are checking that nothing changed between the approved prototype and the run.
When to ask for one
Pre-production samples matter most when the order is large, when the box has complex finishing such as multiple foils or embossing registration, when color must match an existing product line, or when a retailer has approved a specific sample. On a small run, the production boxes themselves arrive quickly enough that a separate pre-production sample adds little.
How to approve a pre-production sample
Compare it with the approved spec, side by side with the prototype: dimensions, board grade, color, finish placement, insert fit and closure. Sign off in writing with any tolerances you care about. Then keep that sample; it becomes the reference standard for the order and for future reorders. The packaging quality control guide covers how to inspect a finished run against it.
What to check on samples by box type
Different structures fail in different ways, so focus your testing on the weak points of the style you are ordering.
| Box type | Key things to test on a sample | Common revision |
|---|---|---|
| Mailer box | Lid closes flat, ears lock firmly, product does not slide, inside lid reads correctly | Add depth for tissue or insert; move inside text away from rolled walls |
| Folding carton | Tuck flaps hold, product slides in without scuffing, barcode scans, hang tab carries weight | Adjust tuck friction; enlarge dust flaps; move barcode to a flat panel |
| Rigid box | Lid lifts smoothly without sticking, wrap corners are clean, insert holds product firmly | Loosen lid tolerance; change insert material; simplify wrap artwork at edges |
| Shipping box | Packed weight is within board rating, corners survive drop tests, labels fit on top panel | Increase ECT or flute; add partitions; right-size to cut dimensional weight |
| Window box | Window frames the product, film is taut, product label shows through | Move or resize window; switch window film |
For the specifics of each structure, see the custom mailer boxes guide and the custom rigid boxes guide. Folding carton styles like straight tuck end boxes are worth sampling mainly for tuck friction and product insertion.
Giving feedback that gets the next sample right
A vague note like "a bit bigger" costs a revision round. Precise feedback gets the right result the first time.
Feedback checklist
- State measurements in inches or millimeters: "increase inside depth from 3 in to 3 1/8 in"
- Say which panel you mean using the dieline labels: "front panel," "inside lid," "tuck flap"
- Attach photos with arrows or notes on the problem area
- Separate structural changes from artwork changes, since they affect different files
- Describe color changes against a physical reference: "match PMS 7690 C" rather than "bluer"
- Confirm what is approved as well as what needs changing
- Name one person who gives final approval, so conflicting notes do not arrive from different people
Planning samples into your timeline and budget
Samples add time before production, so plan them backward from your in-hand date. A realistic sequence for a new custom box looks like this:
- Request a quote with dimensions and quantities.
- Receive a structural sample and test it.
- Confirm dimensions and receive the dieline.
- Build artwork and review the 3D digital proof.
- Order a printed sample if color, finish or stakeholder approval requires it.
- Approve the proof or sample in writing.
- Production begins, then delivery.
Each physical sample adds its own production and transit time, and each revision adds another loop. Ask your supplier for the current sample timeline when you request it, and leave slack before any launch, retail deadline or holiday.
On budget, remember that sampling is usually far cheaper than the alternative. A wrong-size run of even a few hundred boxes costs far more than a structural sample. The custom packaging cost guide and the article on how much custom boxes cost show how to budget the full project.
A small first run as a sample
With a low minimum order, a short production run can act as a large-scale prototype. Say you are launching a new candle and want packaging for photography, a few retail buyers and a handful of early customers. Ordering 10 to 50 printed boxes gives you real production samples to test in the market before committing to a larger run. The per-unit price is higher at those quantities, so check the instant price estimator to compare tiers.
How samples work at Box Sense
We treat samples as part of getting the order right, not as an upsell. Here is what is included and how to request each type.
- 3D digital proof: included with free design support, along with the dieline, artwork setup and two revision rounds. Our design services team prepares it.
- Unprinted structural samples: free. Send your product dimensions or the product details, the box style and board preference.
- Printed samples: a printed sample of approved artwork is free on orders of 100 or more units.
- Short runs: the minimum order is 10 boxes, with digital printing for short runs and no die or plate charges, so a small first run is practical.
- Production timing: standard production is 8–12 business days after proof approval, with rush production in 5 business days on most paperboard and corrugated styles.
- Quality backstop: defective boxes reported within 14 days are reprinted free.
To request a sample, send the product dimensions and weight, the style you have in mind, such as two piece boxes, custom mailer boxes or custom rigid boxes, your board and print preferences, and the quantities you expect to order. The samples page summarizes the policy, and the how it works page walks through the full process.
Frequently asked questions
Are custom packaging samples free?
It depends on the supplier and the sample type. At Box Sense, unprinted structural samples are free, 3D digital proofs are included with free design support, and a printed sample of approved artwork is free on orders of 100 or more units. Elsewhere, printed samples often carry a charge because they need separate setup, so ask what is included before requesting one.
What is the difference between a structural sample and a printed sample?
A structural sample is an unprinted box made to your dimensions and board, used to test size, fit, closure and strength. A printed sample carries your actual artwork and finishes, used to check color, texture and appearance. Most projects should start with a structural sample, then add a printed sample if color or finish needs physical approval.
Do I need a sample before ordering custom boxes?
For any new size or structure, a structural sample is strongly recommended because fit problems are the most expensive to fix. If you are reordering an existing box or using a proven size, a 3D digital proof may be enough. A printed sample is worth it when exact color, special finishes or stakeholder approval matter.
How accurate is a printed packaging sample?
A printed sample shows real color on real board with real finishes, so it is far more accurate than a screen. It may still differ slightly from production if the sample is printed digitally and the run is printed offset. Specify PMS colors where exact matching matters and ask how the sample is printed compared with the production run.
What is a pre-production sample?
A pre-production sample is made after the design is approved, using the same materials and process planned for the full run. It confirms that production will match the approved spec before the entire order is made. It is most valuable for large orders, complex finishing or color-matched product lines, and it becomes the reference standard for inspection.
How do I test a box sample?
Pack the real product with every insert and wrap, close the box and check it closes flat. Shake it to listen for movement, then drop it from waist height on a face, edge and corner. Time how long packing takes, and ship one sample through your real carrier. Record measurements and photos to guide revisions.
Can I order a small run instead of a sample?
Yes, if your supplier has a low minimum. Box Sense produces custom boxes from 10 units, so a short run can serve as a real-world prototype for photography, retail buyers or early customers. The unit price is higher at small quantities, but you get production-quality boxes and can adjust the design before a larger order.
Next steps
Start with the structure. Send your product dimensions and preferred style through the quote request form and ask for a free structural sample. While you test it, use the instant price estimator to compare quantity tiers so you are ready to approve artwork and move straight into production.
Boxes in this guide
Order the packaging we covered
Written by the Box Sense Packaging Team
Our structural designers, prepress technicians and production staff print and convert custom boxes every day for brands in the United States, United Kingdom and UAE. Questions about this guide? Talk to us.