The most expensive custom packaging mistakes are rarely dramatic. They are small decisions made early, like measuring the bare product instead of the packed product, or approving a flat PDF without checking which panel is the front, that get multiplied across a full production run. Fixing them after printing means a reprint; fixing them before takes a tape measure, a structural sample and a checklist.
Below are 25 mistakes we see brands make, grouped into five themes: planning and budget, sizing and structure, materials and finishes, artwork and print, and ordering and logistics. Each one comes with a specific fix. Use it as a pre-order review, whether this is your first box or your fifth reorder.
Key takeaways
- Most packaging design mistakes are sizing and artwork errors that a free structural sample and a careful proof review would catch.
- Measure the packed product, specify internal dimensions, and design the insert and box together.
- Match board and finish to the real use: shipping, shelf, gift or storage. Premium finishes cannot fix weak structure.
- Box ordering mistakes often come from ordering the wrong quantity: too few means expensive reorders; too many ties up cash and space.
- Plan backward from your in-hand date using standard production of 8–12 business days after proof approval, not rush.
- Read every proof for the dieline, barcode, legal copy and panel orientation, not only the logo and colors.
Planning and budget mistakes
These happen before anyone opens a design file, and they shape everything after.
1. Starting with the box style instead of the job
Choosing "a rigid box" or "a mailer" before defining how the product ships, where it sells and what it weighs often leads to the wrong structure. Fix: write down the channel (parcel, retail shelf, gift, wholesale case), product weight and fragility first, then shortlist styles. The mailer vs shipping box vs folding carton guide helps with that decision.
2. Budgeting the box but not the total landed cost
A cheaper box can be more expensive once you add insert, fill, tape, labor and dimensional weight charges. Fix: compare options on cost per shipped order, including packing time and postage. Our packaging landed cost guide shows how to build that number.
3. Comparing quotes with different specs
One quote is for 32 ECT B-flute printed one color, another for E-flute printed full color with inside print. The cheaper number is not the better deal. Fix: send every supplier the same written spec: style, internal size, board, print coverage, finishes, insert and quantity. The packaging quote checklist gives you a template.
4. Ordering for today's volume only
Ordering the exact number for next month's orders feels safe, but reordering every few weeks at small-run pricing adds up. Fix: check the next quantity tier. An 8x6x3 in full-color E-flute mailer is about $2.64 each at 100 but about $1.41 at 500. If you will use 500 within a few months and have the space, the larger run often costs less overall.
5. Ordering far more than you can store or sell
The opposite mistake: buying 10,000 boxes for the unit price, then paying for storage or discarding them after a rebrand. Fix: order roughly the quantity you will use before your next planned design change, and read the packaging storage and inventory guide before committing to a large run.
Sizing and structural mistakes
Sizing errors are the costliest because every box in the run is cut from the same die.
6. Measuring the product instead of the packed product
The bottle fits, but not with its protective sleeve, tissue and insert card. Fix: assemble the product exactly as it will ship, then measure the longest point on each axis.
7. Giving outside dimensions when the supplier expects inside
Board thickness adds to every side. On E-flute, that is about 1.5 mm per wall; on B-flute, about 3 mm. Fix: always state dimensions as internal length x width x depth, and say "internal" in writing.
8. Leaving no clearance, or far too much
Zero clearance makes packing slow and can split corners. Excess space lets products move and raises shipping cost. Fix: for rigid items, add roughly 1/8 in to length and width; for soft goods, close to zero. Test with a structural sample. The custom box sizes guide covers sizing by product type.
9. Designing the insert after the box
An insert takes up board thickness on every side it touches, and a raised platform changes depth. Adding one later can mean the product no longer fits. Fix: size the box inserts and box together from the start.
10. Choosing a closure that does not suit the product
A straight tuck end carton holding a heavy glass jar can push open at the bottom; a reverse tuck on a product displayed face-up can show the flap on the wrong side. Fix: use an auto lock bottom for heavier contents, and choose tuck direction based on how the box is displayed. The tuck end boxes guide explains the differences.
Tip: order a free unprinted structural sample before you finalize artwork. Pack it, close it, shake it and drop it from waist height. It is the cheapest way to catch mistakes 6 through 10 at once.
Material and finish mistakes
Board and finishes decide how packaging performs and how it looks after shipping, not just in the proof.
11. Using retail board for shipping
A beautiful 18 pt SBS carton sent directly through the parcel network will usually get crushed. Fix: ship folding cartons inside a corrugated shipper, or use a corrugated custom mailer box for direct shipping.
12. Over-specifying board strength
Double-wall board for a light apparel item adds cost, weight and storage space for no benefit. Fix: match flute and wall to weight and fragility. The corrugated flutes explained guide gives rough ranges.
13. Choosing a finish that scuffs in transit
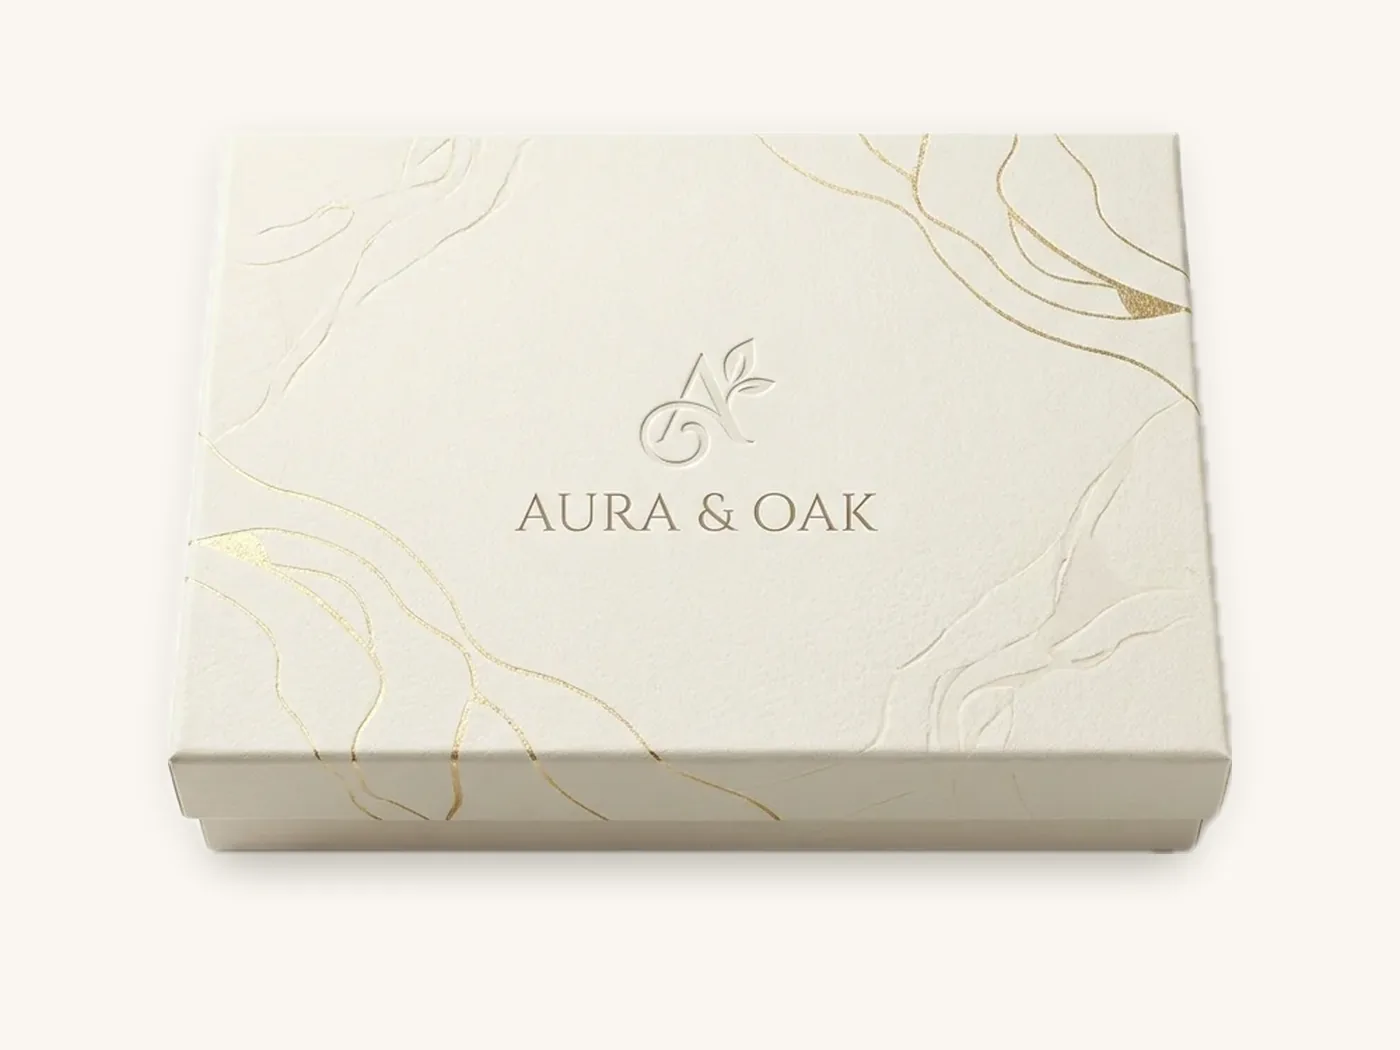
Some finishes show scratches and fingerprints on dark flood colors, especially after parcel handling. Fix: consider matte lamination for dark designs that ship, keep high-gloss or delicate finishes for items shipped inside an outer box, and ask for a printed sample of dark designs.
14. Adding premium finishes without a purpose
Foil, embossing, spot UV and soft-touch all add cost; foil and embossing each carry about $60 of one-time tooling and spot UV about $40. Using several at once can make a design look cluttered. Fix: pick one premium feature that supports the brand, usually on the logo, and apply it deliberately. The packaging finishes guide compares them.
15. Making green claims you cannot support
Printing "100% recyclable" or "compostable" without checking the materials, coatings, windows and local recycling access can mislead customers. Fix: make claims specific and qualified, follow the Federal Trade Commission's Green Guides, and choose materials such as aqueous coatings and paper tape if recyclability matters. See green claims on packaging.
Artwork and print mistakes
Artwork mistakes are the most common reason for reprints, and almost all of them are visible in the proof if you know where to look.
16. Designing on a mockup instead of the dieline
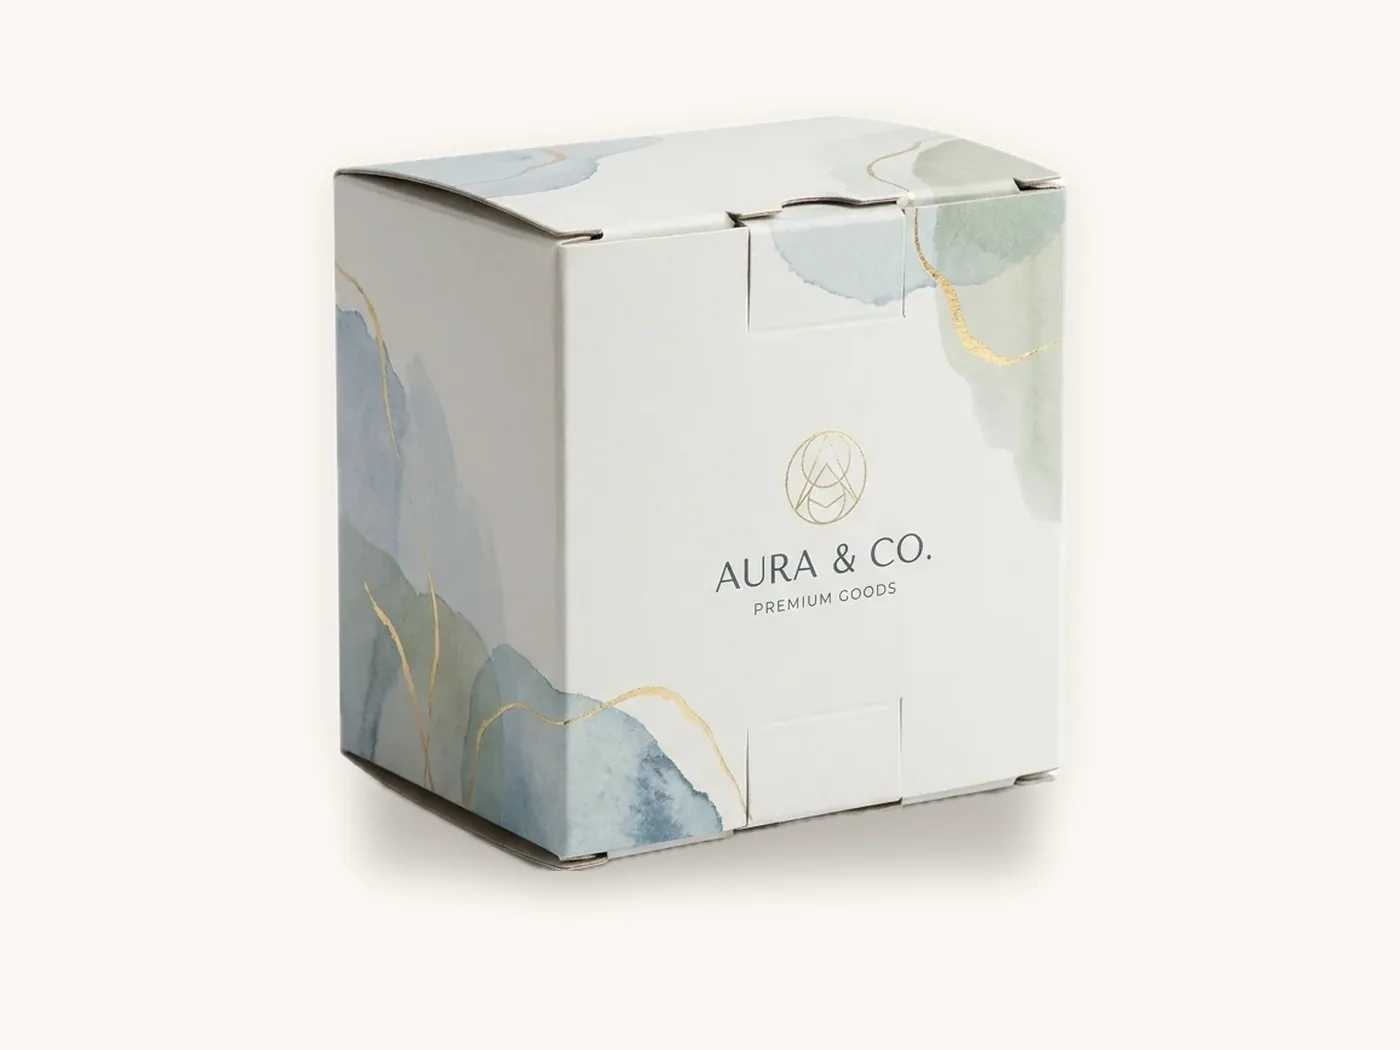
Artwork that looks right on a 3D render may wrap around the wrong edge on the real box. Fix: place artwork on the supplier's dieline, with each panel labeled front, back, top, bottom and flaps. The guide on what a dieline is explains how to read one.
17. Missing bleed and safe zones
Backgrounds that stop exactly at the cut line leave white slivers; text that runs to the edge gets trimmed. Fix: extend backgrounds 1/8 in (3 mm) past cut lines and keep text and logos at least 1/8 in inside every cut and crease.
18. Low-resolution images and unoutlined fonts
A logo copied from a website looks sharp on screen and blurry in print. Fonts that are not outlined can substitute. Fix: use vector logos, outline fonts, and keep raster images at 300 dpi at final size.
19. Expecting screen colors in print
Screens show RGB; boxes print in CMYK or spot colors, and board type changes how color reads. Kraft board darkens every color. Fix: set files up in CMYK, specify PMS spot colors for critical brand colors, and use white ink under color on kraft. The CMYK vs Pantone guide covers this.
20. Barcodes that do not scan
Barcodes printed too small, across a fold, in low-contrast colors or without quiet zones cause retail rejections. Fix: print dark bars on a light background at the recommended size, on a flat panel, with clear margins. Test-scan the printed sample.
21. Missing required label information
Food, cosmetics, supplements, children's products and cannabis all have category-specific labeling rules, and retail buyers add their own. Fix: confirm required copy with the relevant regulator, such as the FDA or CPSC, or counsel before artwork approval, and leave room for it in the layout.
Ordering, proofing and logistics mistakes
The last group happens at the handoff between design and production.
22. Approving the proof too quickly
Teams check the logo and colors and miss a typo in the ingredient list or an upside-down inside lid message. Fix: review every panel with a written checklist, and get sign-off from whoever owns legal copy.
23. Skipping the printed sample on a first large run
For a first run of several hundred or more, a printed sample catches color, finish and fit issues that a digital proof cannot. Fix: request one. At Box Sense, a printed sample of approved artwork is free on orders of 100 or more. The packaging samples guide explains which sample to ask for.
24. Planning around rush production
Rush is a safety net, not a schedule. Designs with foil, embossing, rigid construction or custom inserts need more lead time. Fix: plan for standard production of 8–12 business days after proof approval, plus proofing and freight. Keep rush in 5 business days for emergencies on paperboard and corrugated styles. See the custom packaging lead times guide.
25. Not saving the final spec for reorders
Six months later, nobody remembers the exact board, finish or PMS color, and the reorder comes back slightly different. Fix: keep a one-page spec sheet with the dieline reference, board, print method, color references, finishes, insert and approved proof file. Reorder against that sheet.
Mistake summary: cost of each error and when to catch it
Use this table to see where each group of mistakes costs money and the cheapest point to catch it.
| Theme | Mistakes | What it typically costs | Cheapest point to catch it |
|---|---|---|---|
| Planning and budget | 1–5 | Wrong structure, overpaying per unit, excess inventory | Before requesting quotes |
| Sizing and structure | 6–10 | Full reprint, slow packing, shipping damage | Structural sample |
| Materials and finishes | 11–15 | Damaged deliveries, unnecessary spend, misleading claims | Spec review and printed sample |
| Artwork and print | 16–21 | Reprint, retail rejection, compliance risk | Proof review |
| Ordering and logistics | 22–25 | Missed launch dates, inconsistent reorders | Proof approval and scheduling |
A pre-order checklist that prevents most of these mistakes
Run through this before approving any custom packaging order.
- Channel, product weight and fragility written down
- Style shortlisted for the job, not just for looks
- Packed product measured; internal dimensions specified with clearance
- Insert sized together with the box
- Board grade matched to weight and shipping method
- One deliberate premium finish, or none
- Environmental claims checked against FTC guidance
- Artwork placed on the supplier's dieline with bleed and safe zones
- Vector logos, outlined fonts, 300 dpi images, CMYK and named PMS colors
- Barcode size, contrast and placement checked
- Required regulatory copy confirmed
- Structural sample tested; printed sample requested for large runs
- Every panel of the proof reviewed and signed off
- Timeline built on standard production plus freight and a buffer
- Quantity checked against usage, storage and the next price tier
- Final spec sheet saved for reorders
For a startup working through this for the first time, the packaging for startups guide walks through the early decisions, and packaging marketing strategy covers how packaging fits into the wider brand plan.
What these mistakes cost: price references
Some of the mistakes above are about paying for the wrong spec or quantity. These indicative per-unit prices, with free US shipping included, show how much spec and quantity move the number. Use the instant price estimator for your size.
| Spec | 100 | 500 | 1,000 | 5,000 |
|---|---|---|---|---|
| Straight tuck end carton, 18 pt SBS, 3x2x5 in, full color, aqueous | $1.15 | $0.61 | $0.51 | $0.36 |
| Mailer box, E-flute, 8x6x3 in, full color outside | $2.64 | $1.41 | $1.17 | $0.83 |
| Shipping box RSC, B-flute, 12x10x6 in, 1-color | $4.69 | $2.50 | $2.08 | $1.48 |
| Rigid box, 2 mm greyboard wrapped, 8x6x3 in, full color, matte | $9.10 | $4.85 | $4.05 | $2.87 |
Two lessons stand out. First, the jump from 100 to 500 units roughly halves the unit price on most specs, which is why mistake 4 matters. Second, a rigid box costs several times more than a mailer of the same size, which is why mistake 1 matters: pick the structure for the job. The custom packaging cost guide explains the drivers behind these differences.
Watch out: a reprint does not only cost the boxes. It costs packing time, delayed orders and sometimes a missed launch date. That is why a short delay for a structural sample or a second proof review is almost always worth it.
How to order from Box Sense without these mistakes
Our process is built to catch most of the errors above before production.
What to send
- Product dimensions and weight, measured as packed
- Channel and shipping method
- Style preference or a request for a recommendation
- Board, print coverage, finishes and insert
- Quantities to price, such as 100, 500 and 1,000
- Regulatory or retailer requirements that affect artwork
- Target in-hand date
- Artwork, or a request for help from design services
What happens next
- Quote within 24 hours.
- Free design support: we supply the dieline, set up artwork and send a 3D digital proof with two revision rounds.
- Samples: unprinted structural samples are free; a printed sample of approved artwork is free on orders of 100 or more. See samples.
- Production: standard 8–12 business days after proof approval; rush in 5 business days on most paperboard and corrugated styles.
- Delivery: free shipping on every US order; international shipping quoted at cost.
The minimum is 10 boxes, with no die or plate charges, so testing a design with a short run before a large order is practical. Defective boxes reported within 14 days are reprinted free. Browse custom product boxes and custom rigid boxes for style options.
Frequently asked questions
What is the most common custom packaging mistake?
Sizing is the most common costly mistake: measuring the bare product instead of the packed product, giving outside instead of inside dimensions, or adding an insert after the box is sized. Because every box in a run comes from the same die, a sizing error usually means a reprint. A free structural sample catches it before production.
How do I avoid packaging design mistakes?
Design on the supplier's dieline rather than a mockup, add 1/8 in bleed and keep text 1/8 in inside cuts and creases, use vector logos and CMYK files with named PMS colors, and check barcodes and required label copy. Then review every panel of the 3D proof with a checklist before approving.
How can I avoid ordering the wrong quantity of boxes?
Estimate how many boxes you will use before your next planned design change, compare the price at that quantity with the next tier up, and check your storage space. Ordering too few means frequent reorders at higher unit prices; ordering too many ties up cash and space and risks waste after a rebrand.
Should I order a sample before a full packaging order?
Yes. An unprinted structural sample confirms fit, closure and protection before artwork is final, and at Box Sense it is free. For larger first runs, a printed sample of approved artwork shows real color and finish; it is free on orders of 100 or more. Both cost far less than a reprint.
Why do printed box colors look different from my screen?
Screens display RGB light, while boxes print in CMYK ink or spot colors on board that absorbs and reflects light differently. Kraft and uncoated boards darken colors, and finishes change how they read. Set files in CMYK, specify PMS colors for critical brand colors and review a printed sample if color accuracy matters.
How much extra time should I allow for custom packaging?
Allow time for quoting, proofing and revisions, any sample, production and freight. At Box Sense, standard production takes 8–12 business days after proof approval, and rush in 5 business days is available on most paperboard and corrugated styles. Build your schedule on standard production and keep rush as a backup.
What should a packaging reorder spec sheet include?
Include the box style and dieline reference, internal dimensions, board grade, print method, CMYK and PMS color references, finishes, insert details, quantity and the approved proof file. Keeping this on one page means reorders match the original run and new team members can reorder without guessing.
Next steps
Run your current or planned packaging against the 16-point checklist above, then price the corrected spec in the custom packaging estimator. When you are ready, request a quote and we will confirm pricing within 24 hours, supply a dieline and send a free structural sample so you can catch mistakes before production.
Boxes in this guide
Order the packaging we covered
Written by the Box Sense Packaging Team
Our structural designers, prepress technicians and production staff print and convert custom boxes every day for brands in the United States, United Kingdom and UAE. Questions about this guide? Talk to us.